

With a buttery, flaky crust and cozy cinnamon-kissed filling, this Granny Smith Apple Pie serves up apple pie perfection with a wonderfully tart twist! It’s your quintessential apple pie made with every genius shortcut imaginable, and dare I say… as easy as pie!
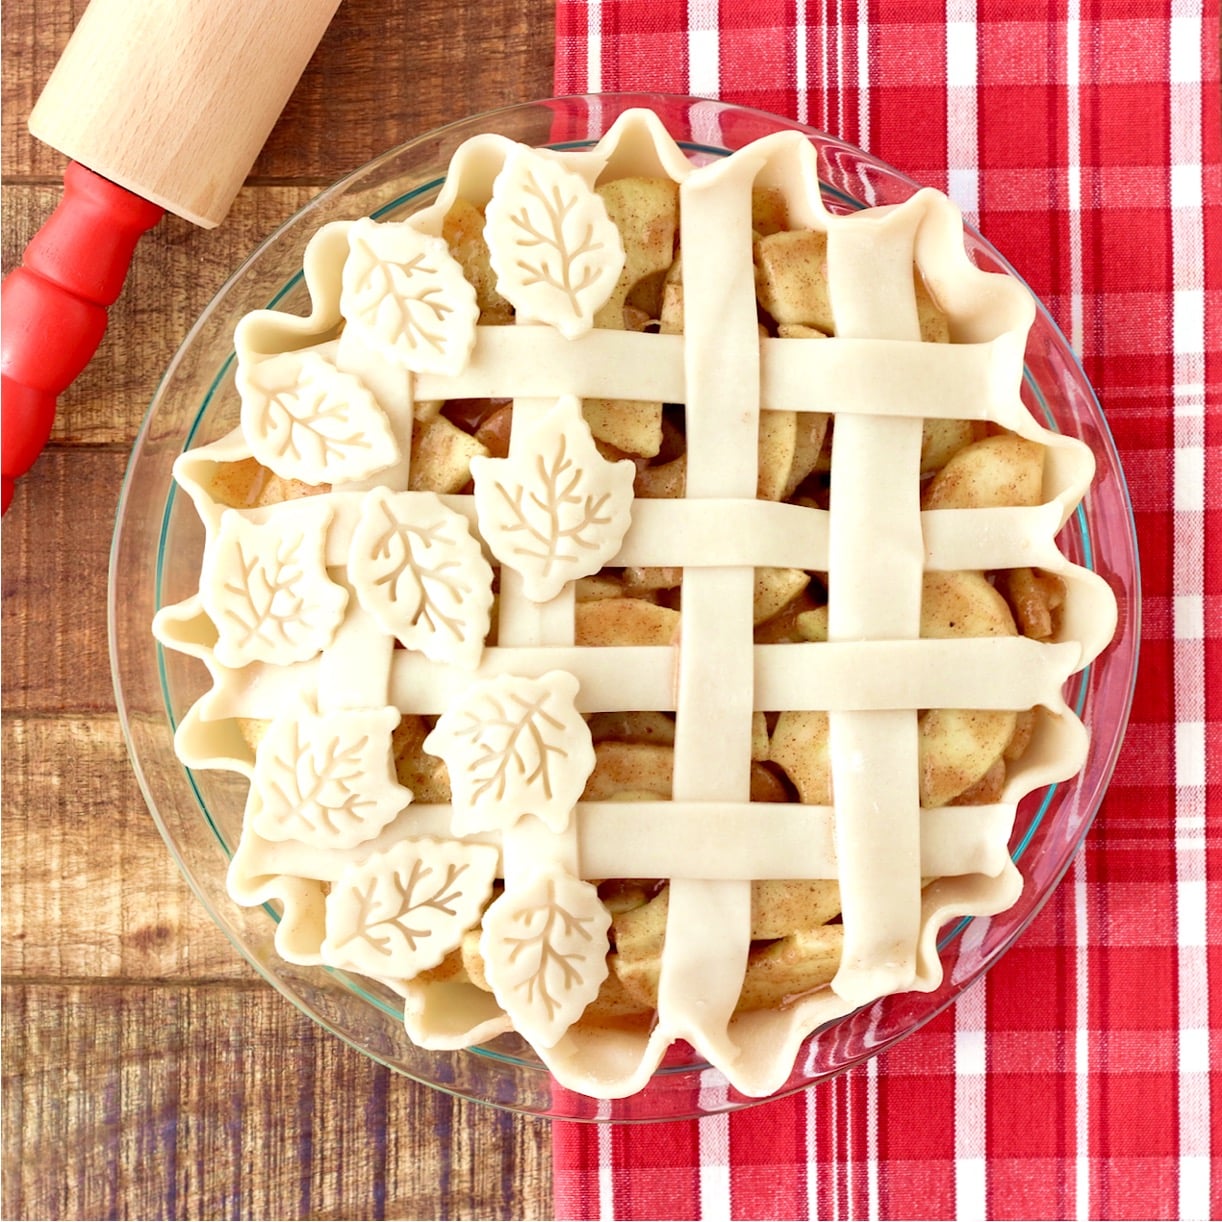

When it comes to recreating old school diner desserts, this buttery lattice-top beauty is THE pie that will make you famous.
Gooey and tender, and infused with sweet nostalgia, it’s like the ultimate American dream with every bite!
Johnnie writes: "It tastes and smells amazing! Such an easy recipe!"
So move on over store-bought cans of apple pie filling, because this granny smith apple pie is the real deal, and tastes just like it came from the orchard.
It serves up a sublime balance of both sweet and tart, with spice kissed apples baked right into a golden buttery crust. All thanks to my secret blend of apple pie spices!
Paired with a big scoop of vanilla ice cream, you’ve got old fashioned apple pie recipe perfection. Another slice anyone?
You’ll also love how quick and easy the pie filling is to make. It only takes a few minutes with the help of my favorite kitchen shortcuts.
In fact, all of my Homemade Pies Recipes are crazy easy to make. Including my dazzling Homemade Raspberry Pie, perfectly tart Old Fashioned Blackberry Pie, and heavenly Homemade Blueberry Pie Recipe.
You can even give your cozy classic treat a marvelous autumn upgrade when you make my decadent Caramel Apple Pie.
So what are you waiting for?
It’s time to make some sweet memories with a granny smith pie even grandma would approve of!
Now… let’s get these warm spices dancing on your tongue!
Ingredients
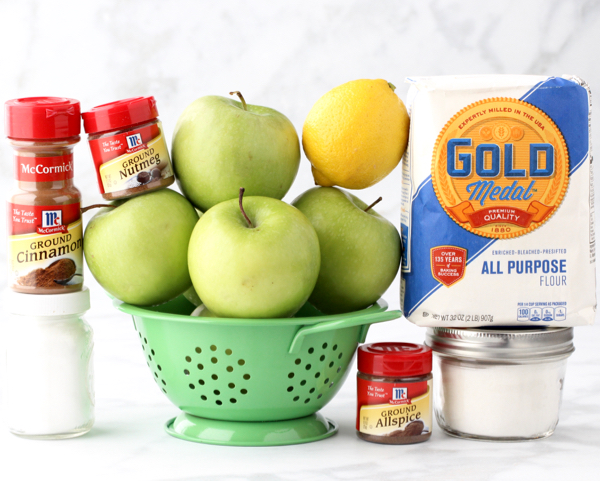
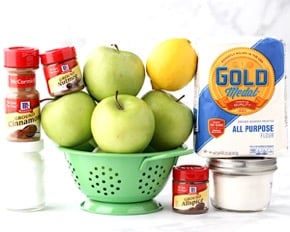
You’ll just need the following simple ingredients to bake up my easy apple pie recipe with store bought crust…
- Granny Smith Apples – to give your apple pie the perfect tart bite!
- Lemon – for fresh squeezed lemon juice.
- Sugar – just your standard Granulated Sugar (white sugar).
- All Purpose Flour – to help thicken your pie filling.
- Cinnamon, Nutmeg & Allspice – these are the warm and cozy spices that will make your granny smith apple pie beyond heavenly!
- Salt – to enhance the flavors.
- Pie Crusts – you can use store bought or make my deliciously easy Homemade Pie Crust Recipe.
- Egg & Milk – for the egg wash you’ll add to the top crust.
- Turbinado Sugar – also called ‘Sugar in the Raw’, for the pie crust topping.
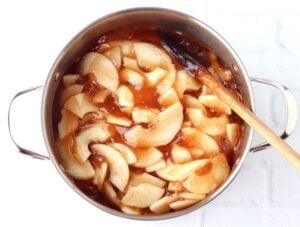
If you need and/or want to plan ahead, go learn how to make my canned Apple Pie Filling Recipe!
Supplies Needed
Like with all of my Easy Pie Recipes, this apple pie granny smith recipe is so much easier when you have the right tools. So before you start, be sure to round up these simple tools to make preparing your apple pie a cinch…
9″ or 9.5″ Pie Plate
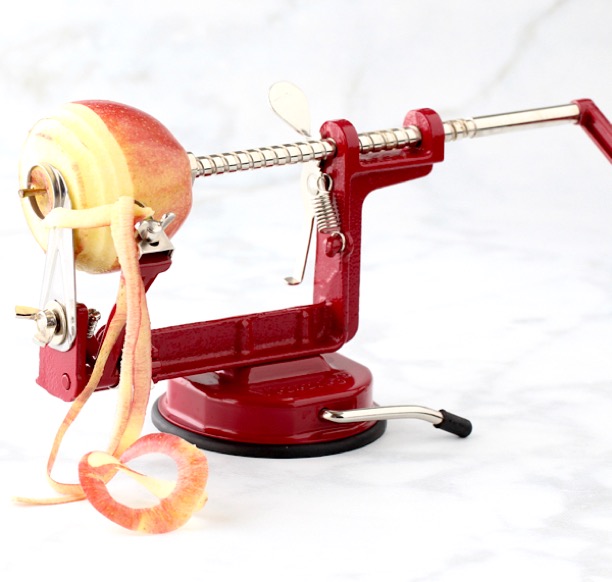
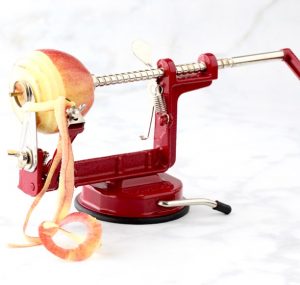
Johnny Apple Peeler – I don’t know what I’d do without my Johnny Apple Peeler! I seriously love it, and it makes getting the job of peeling and thin slicing your apples so fast and EASY!
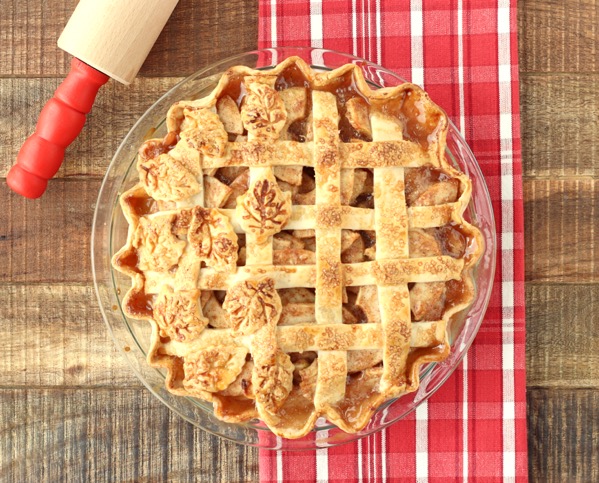
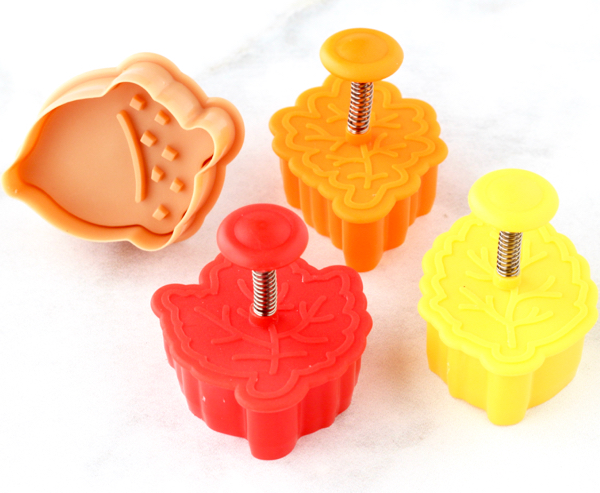
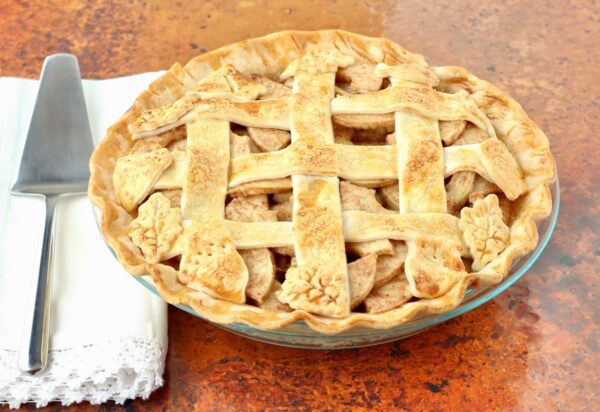
Leaves and Acorn Pastry Stampers Set – No old fashioned apple pie recipe is complete without a cute top crust… and this is the exact stamper set I have and use to make the fun leaf shapes on my pies.
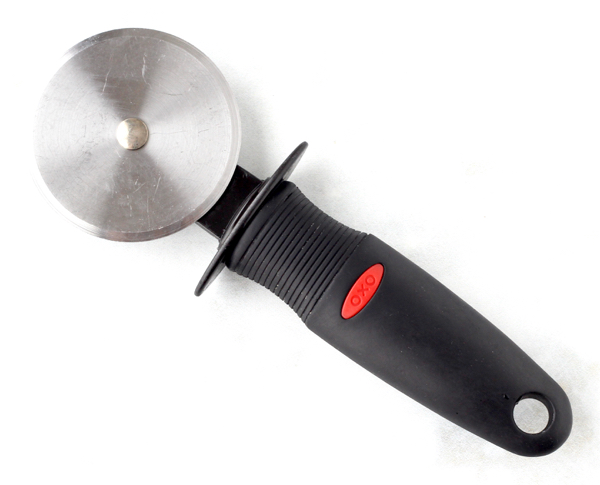
Pizza Wheel – I use my pizza wheel to slice my lattice top crust, and it works like a charm! It’s sharp, precise, and so easy to work with!
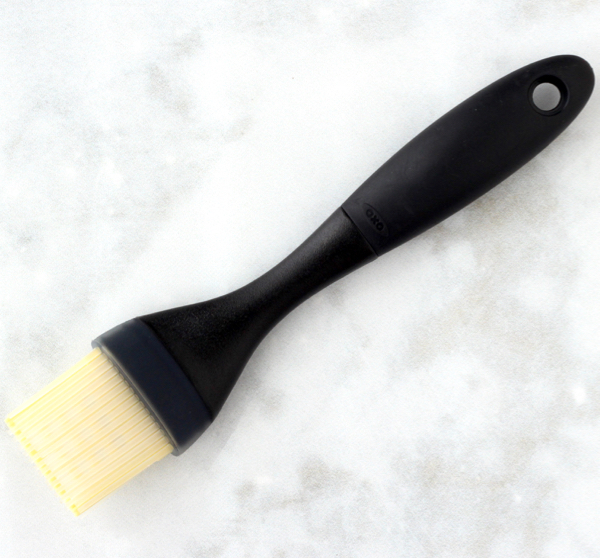
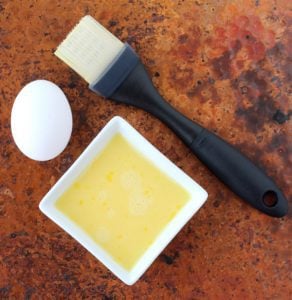
Pastry Brush – This is the OXO Pastry Brush I have and love… it has extra layers of bristles to get the job done without clumping!
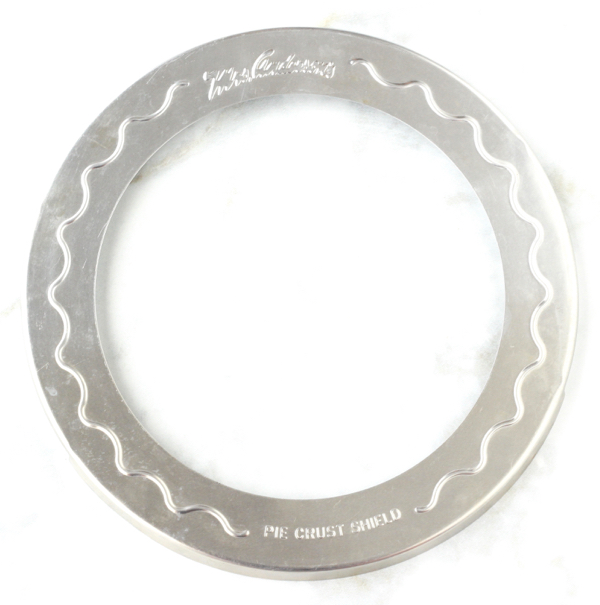
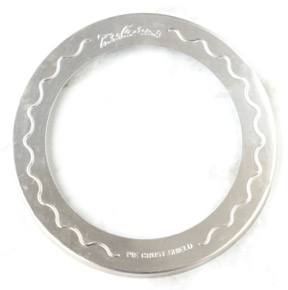
Pie Crust Shield – These will help keep your granny smith pie crust from burning. I’ve been using them for years and years, and love them!
How To Make Apple Pie
Just follow these simple steps to create your perfectly sweet and tart granny smith apple pie…
1. Preheat your oven.
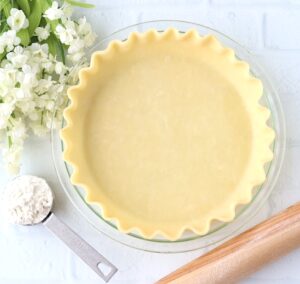
2. Then carefully place a pie crust into your pie dish.
3. Prepare your apples.
4. Mix together your flour, sugar, and spices.
5. Pour this mixture over your apples, then transfer the apple mixture to your baking dish.
6. Now it’s time to work on your top pie crust.
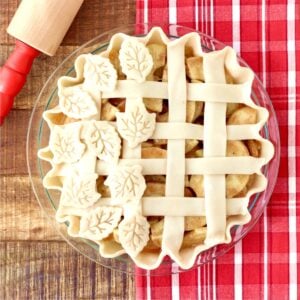
You can make a more elaborate crust with a little braid and varied lattice widths like this…
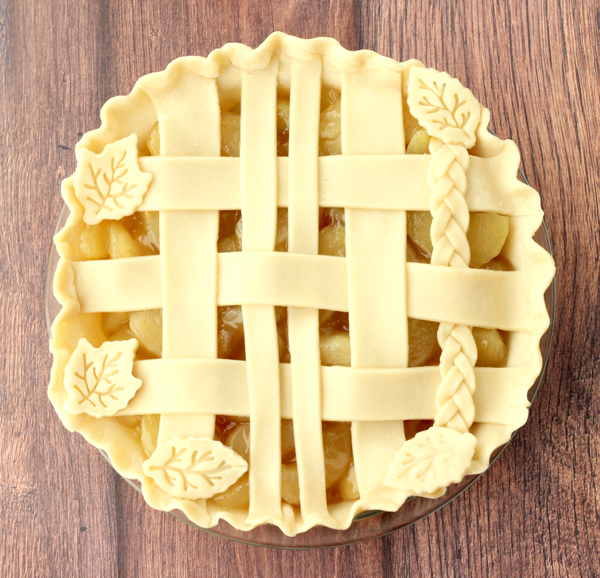
Or try a fun, simple crust using pastry stampers, like these…
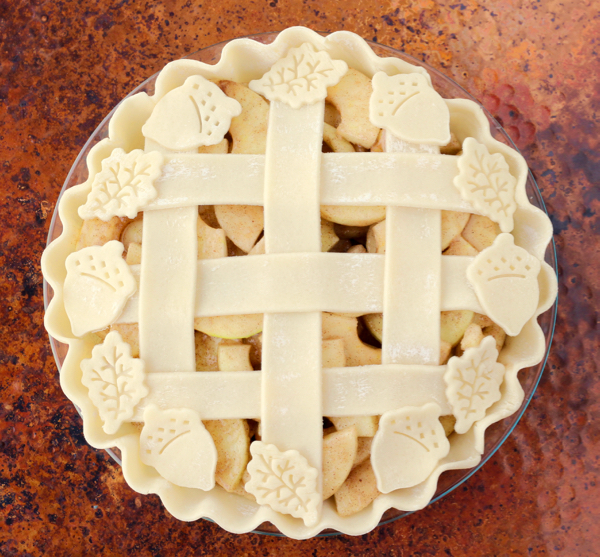
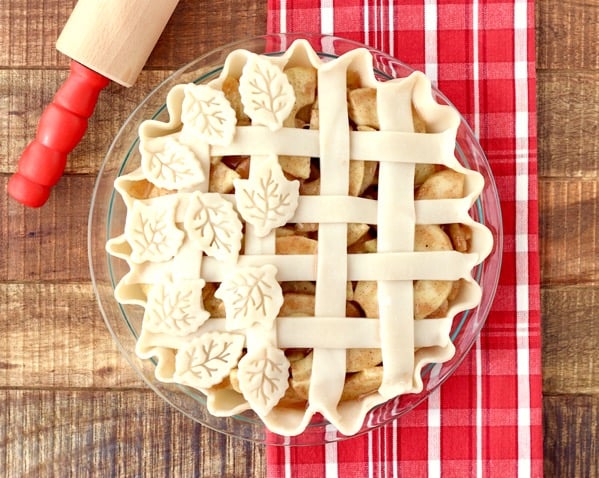
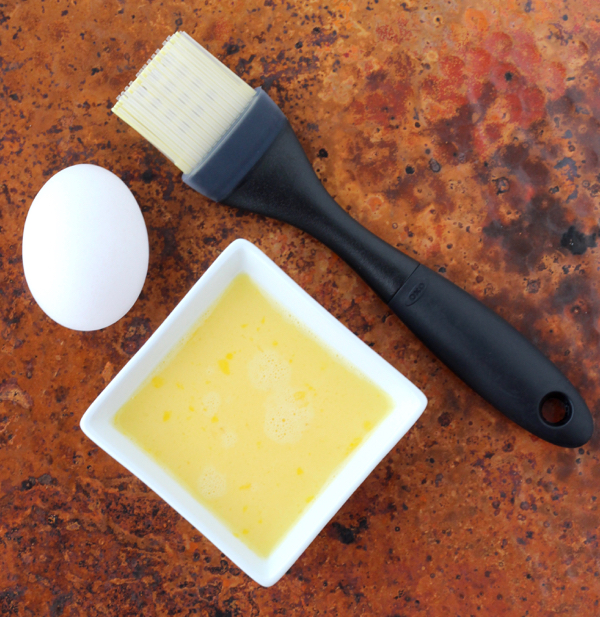
7. Once you’ve finished your top crust design, add the premade egg wash to the top of your crust.
I like to use a good quality Pastry Brush to brush the egg wash on with.
8. Then, after you’ve added the egg wash to your granny smith apple pie crust, evenly sprinkle the top of the crust with your Turbinado Sugar.
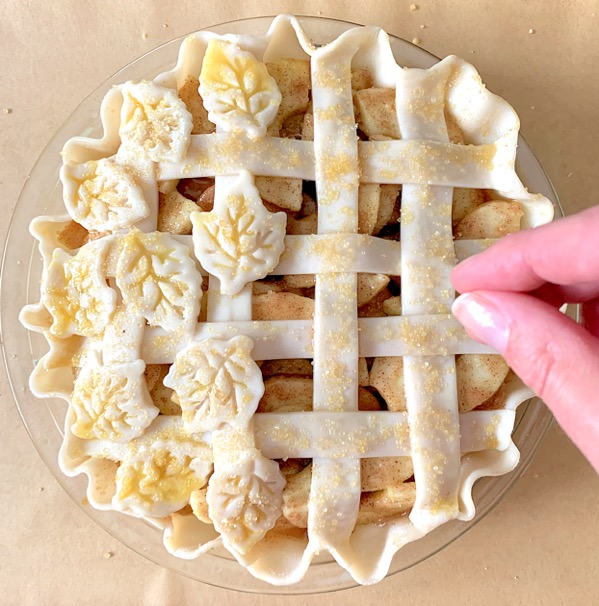
9. Place your pie on a cookie sheet and slide it into your preheated oven.
10. Then bake per the instructions in the below recipe card.
Scroll down for the printable recipe card with detailed, step-by-step instructions.
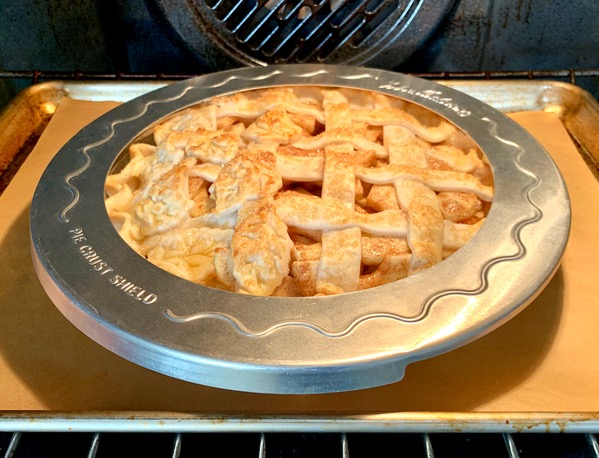
How Long Does Apple Pie Last in Fridge?
Leftovers of your granny smith apple pie can be covered and stored in the refrigerator for up to 4 days.
What To Serve With Granny Smith Apple Pie
Add the perfect companion to your granny smith apple pie with an indulgent cup of my Homemade Hot Chocolate Recipe or a piping hot mug filled with my Spiced Coffee Recipe!
If you prefer something cold, you can’t go wrong with a lovely glass of my Chick Fil A Sweet Tea Recipe or a frosty mug filled with Frozen Hot Cocoa!
Reviews
Here’s what your frugal friends are saying about making my old fashioned apple pie recipe…
Kim writes: “Not only is it delicious, it’s also the prettiest”
S. writes: “Delicious!”
Johnnie writes: “It tastes and smells amazing! Such an easy recipe!”
Jacqui writes: “Fabulous!”
Cathy writes: “Super easy”
Heather writes: “Such a classic, and so pretty!”
Georgea writes: “Yummy”
Pamela writes: “Made this for Thanksgiving and it turned out great! Did a turkey on top in extra crust rather than lattice.”
Elena writes: “Sooooooo delicious!!!”
Cindy writes: “I love it hot with a scoop of vanilla ice cream. Yum!”
More Delicious Pies
Did You Enjoy This Recipe? ⭐️⭐️⭐️⭐️⭐️ Leave a comment & review below!
Granny Smith Apple Pie
Doubling Recipe Tip
If doubling or tripling recipe with buttons below, ingredient notes found after comma will not adjust. Increase ingredients as needed.
Ingredients
- 6 cups Granny Smith Apples, peeled & thin-sliced (approx. 4-5 medium apples)
- 2 tsp. Lemon Juice, fresh squeezed
- 1 cup Granulated Sugar, white
- 4 tbsp. All-Purpose Flour
- 1 tsp. Ground Cinnamon
- 1/4 tsp. Ground Nutmeg
- 1/4 tsp. Salt
- 1/8 tsp. Allspice
- 2 9" Pie Crusts, (Homemade or Pillsbury Refrigerated Crusts)
- 1.5 tsp. Turbinado Sugar, sugar in the raw (for Pie Crust Topping)
For The Egg Wash
- 1 large Egg
- 1 tbsp Milk
- 1 pinch Salt
Instructions
- Gather your apple pie ingredients.

- Preheat oven to 400 degrees.
- Carefully place one pie crust in 9″ pie dish. Trim and fold edges over, and crimp, pinch, or flute around the entire edge.

- Peel and thinly slice your apples. I use a Johnny Apple Peeler to get the job done in a jiffy!

- In large mixing bowl, stir together apple slices and lemon juice until apples are well coated.
- In medium mixing bowl, whisk together Sugar, Flour, Cinnamon, Nutmeg, Salt, and Allspice, until well combined.
- Then pour Sugar/Spice mixture over apples in large bowl, and stir until all apples have been well coated.

- Transfer apple mixture into pie crust you’ve rolled out in your pie dish, and using your hands… pack your apples down tightly into the dish.
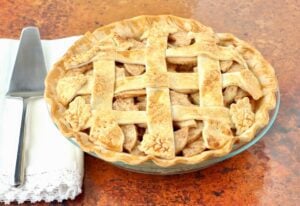
- Now it's time to work on your lattice! Designing the pie crust on top is always fun! Make sure to leave adequate holes or gaps for venting. I like to roll the top crust out on a cutting board and slice a variety of sizes of dough strips, using my pizza cutter. You can cut uniform strips that you can weave in a lattice pattern. Or you can even take 3 long and narrow slices of pie crust dough and braid it to add some additional pretty texture. Or cut out little leaves or shapes with pastry stampers to add some fun designs to the crust! It's your time to have fun and get creative… the options are limitless!

- Once you’ve laid out your top crust, it’s time for the egg wash.
- Beat 1 Large Egg well, then stir in 1 tbsp. Milk + a pinch of salt. Dip your pastry brush in the egg mixture, and brush over the entire top and outer edges of your pie crust.

- Once you’ve finished your Egg Wash, evenly sprinkle the top of the crust with Turbinado Sugar.
- Place pie on cookie sheet (it will catch any potential spills that bubble over)
- Bake at 400 degrees for 20 minutes.
- After 20 minutes, add your Pie Crust Shield to keep the edges from burning, adjust temperature to 375 degrees, and bake for 40 – 45 more minutes, or until done.

- Transfer to a wire rack and cool for a minimum of 4 hours prior to serving to allow all that apple gooey goodness plenty of time to solidify. The longer you wait, the more solid the filling will become.
- After your granny smith pie has cooled, slice and serve up with big scoops of vanilla ice cream and ENJOY!

Notes
- Storage Tip: Leftovers of your granny smith pie can be covered and stored in the refrigerator for up to 4 days.
- FAQ’s: For answers to Frequently Asked Questions or tips for common substitutions and variations, please refer to the detailed information above this recipe card.
 Like this recipe? Rate & comment below!







Wow – what a beautiful pie! That leaves + acorns stamper sets needs to be in my cabinet right now. I’m enjoying the hot days of summer right now, but I’m not gonna lie – fall apple season is my all-time favorite. This apple pie is making me excited for the cooler nights and apple baking season!
Thank you so much David, you are so sweet! And I agree, the leaves and acorns stamps really do add a fabulous festive flair to the finished pie. Plus, I love how easy they are to work with!
The recipe is very similar to my mother’s apple pie. Nevertheless, I followed your recipe exactly except, I swapped the pie crust. I used Pillsbury. Pie came out perfect even though I used so many apples. Family loves it. Thank you.
You’re very welcome, Star… I’m so happy to hear your family loved the apple pie! 🙂
Great basic apple pie recipe.
Thank you, Pamela… I’m so glad you liked it!
Can this filling be made ahead of time and frozen?
Hi Wendy ~ for an easy Make Ahead Apple Pie Filling, I would use this recipe…
https://thefrugalgirls.com/2022/09/apple-pie-filling-for-canning.html