These Easy beauty hacks on a budget and little-known natural skin care tips will help you get that glowing skin and gorgeous hair you love… all without breaking the bank!
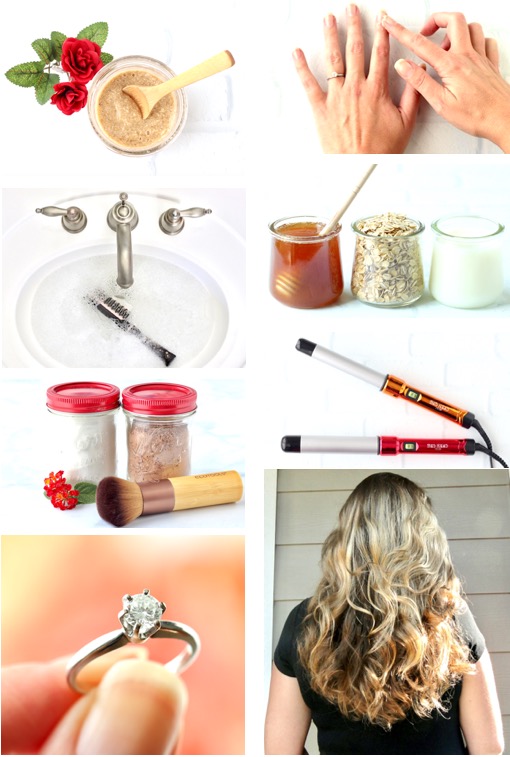

Budget Beauty Hacks Every Girl Should Know
Are you looking for some fun new Beauty Hacks and frugal beauty tips?
These simple little tricks and budget beauty products will have you feeling beautiful and pampered in just a few minutes each day. Plus, they get bonus points for not breaking the bank!
Trust me… these are the top skincare secrets and beauty hacks every girl should know!
So are you ready to learn some of my favorite beauty tips for women?
I know you’re going to LOVE these fun tips and beauty hacks to save time and money!
Here’s what you need to do…
Jewelry Hacks
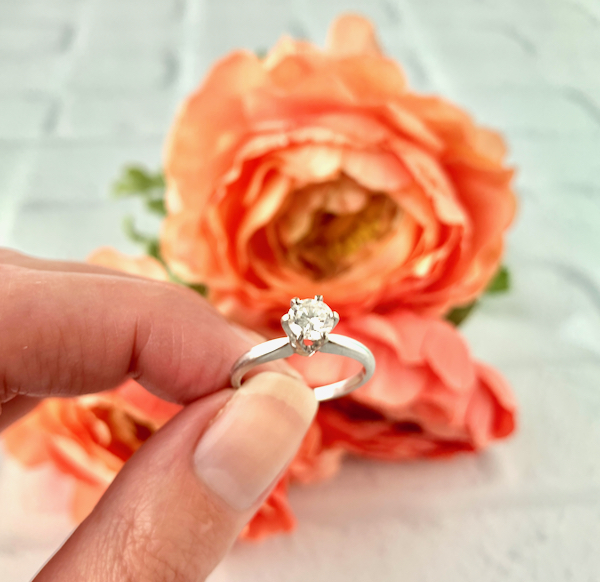
How to Clean Your Diamond Ring at Home!
You won’t believe how gorgeous your ring will look after you try this easy trick for How to Clean Your Diamond Ring at Home!
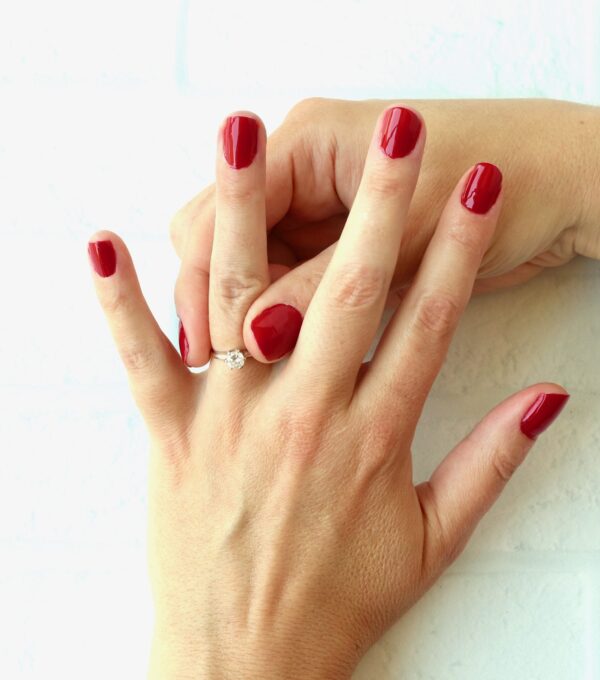
How to Get a Ring Off a Swollen Finger
Is your ring stuck? Don’t worry! These 3 easy DIY tricks will show you How to Get a Ring Off a Swollen Finger fast!
Beauty Hacks for Hair
How To Add Volume To Hair (10 Secrets For Thin Hair)
Whether you’ve always had thin or flat hair, or you’ve recently noticed your hair has been thinning… these simple little tips work like a charm!
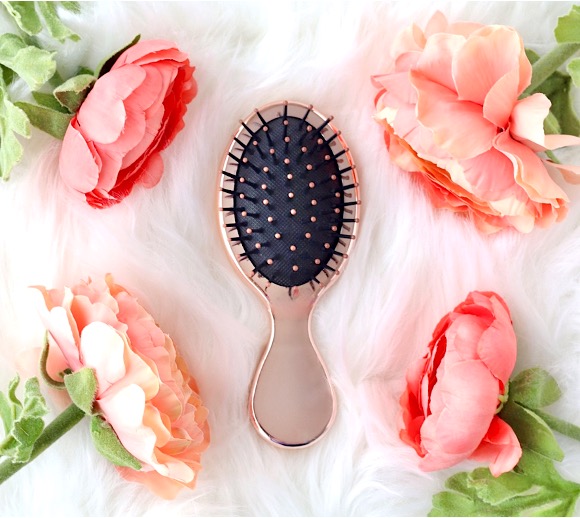
Homemade Dry Shampoo for Dark Hair or Blondes
Dry shampoo can be such a game changer, right? In between washes now you can turn any day into a great hair day!
If you want to make your own natural Dry Shampoo for Dark Hair or Blondes, I’ve got some seriously easy recipes for you!
No crazy chemicals, just products you can feel good about.
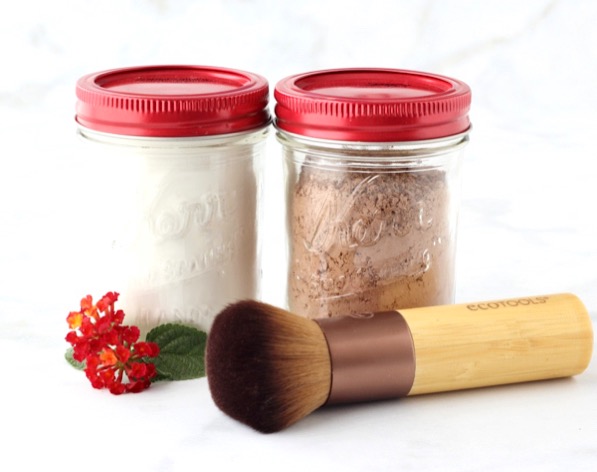
How to Clean Your Curling Iron
Not only will your curling iron or wands look SO much prettier when they’re clean, but they’ll also work better, too!
Buildup on your styling tools can really affect their performance, and even worse… it can transfer back to your clean hair! So take some time this week to get your curling irons and styling tools all sparkly clean again!
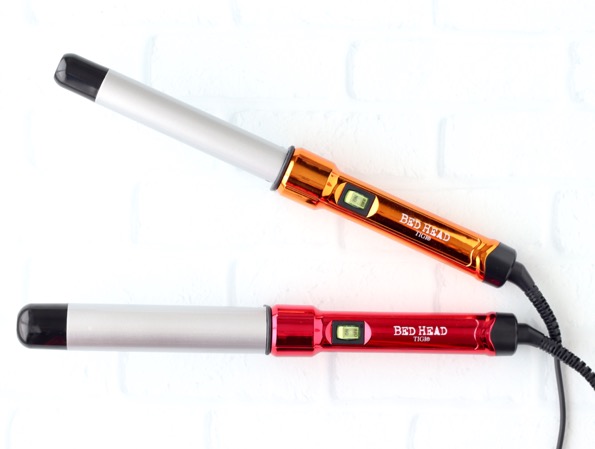
How to Clean Your Hair Brush at Home
When was the last time you washed your brush? Like really washed it?
When you don’t give your brushes a deep clean, you can actually be adding back in oils and grime to your clean hair every time you brush it. Ew, right?
Thankfully, now you can make your hair brush look like new again with this simple trick!
And guess what… it all starts with a soak in some shampoo!
DIY Coconut Oil Hair Conditioner Mask
Is your hair dry, damaged, or just in need of a little TLC?
This all-natural overnight nourishing hair mask will help moisturize your hair, smooth split ends, and add some health and volume back into your tresses!
Go on and give it a try this week… you’ll be so glad you did!
Avena writes: “I’ve used coconut oil just on the tips of my hair , all of my hair & even my roots.
All of my tries were successful.”
When it comes to this hair mask and deep conditioning treatment, I like to use it at least once per month, but sometimes up to once per week.
Sometimes I apply it on the weekend, when I have a little extra time in my schedule.
Here’s what you’ll need before you get started…
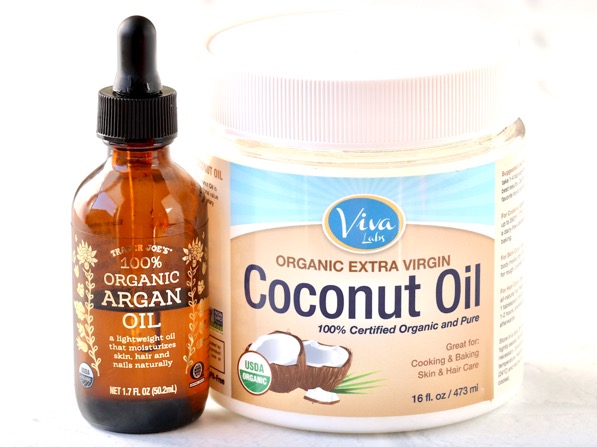
- 2 tbsp. Coconut Oil
- 10 drops Argan Oil
- Scrunchie, Hair Clips, or Hair Ties (if you’ll be doing a daytime mask)
- Soft Reusable Shower Cap (if you’ll be doing an overnight mask)
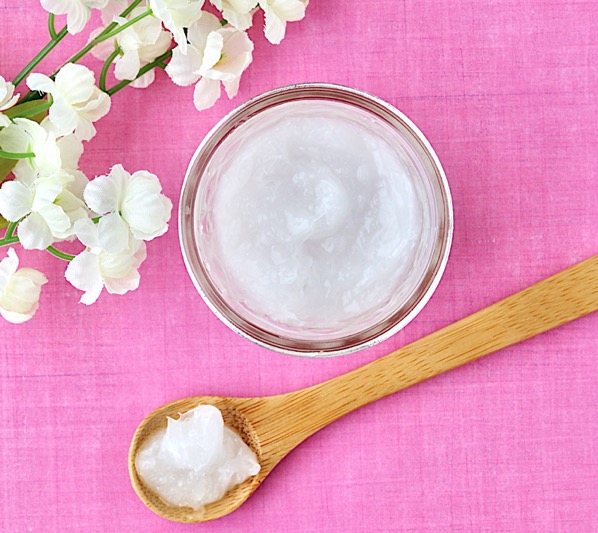
How to Make a Coconut Oil Hair Mask:
- Add coconut oil to mini mason jar or small dish.
- Then add 10 drops of argan oil into the jar, and stir well.
- For shorter hair, recipe can be cut in half.
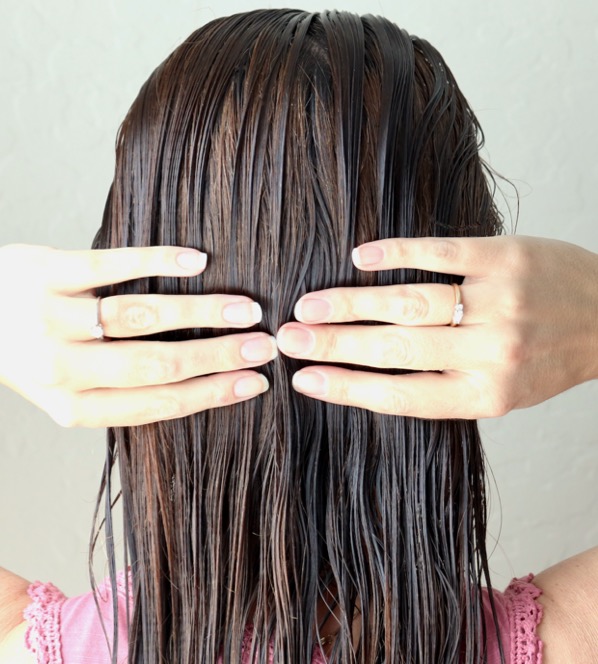
Before you head to bed… scoop or pour the coconut oil treatment into your hands, then apply to your hair, working in sections to make sure you get good all-around coverage.
I usually skip the roots to avoid a greasy look… and focus more on the rest of my hair. (Note: Coconut oil melts at around 78 degrees, so if your home is warm, it will be more of a liquid. )
If it is melted and you would like it thicker when you apply it, just pop it in the refrigerator for a bit to let it solidify again.}
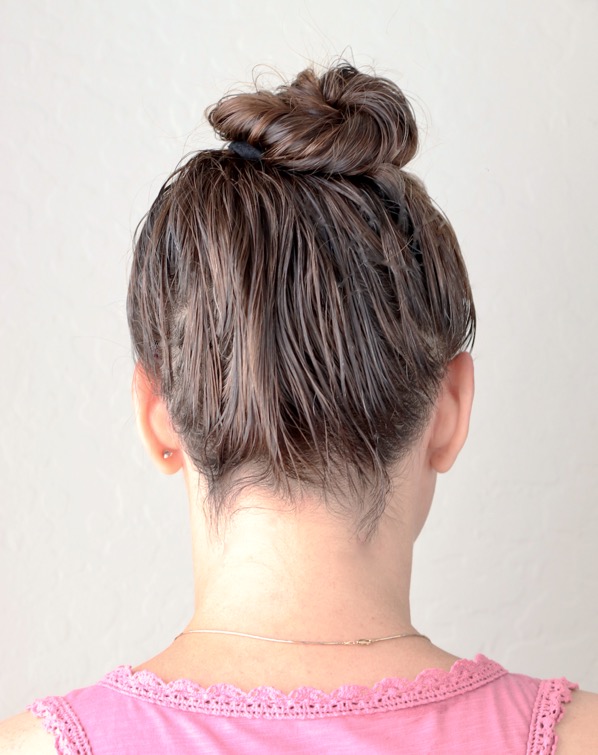
For a Daytime Treatment: After applying the mask, wrap your hair up into a bun with a scrunchie, or clip it up, then let the mask soak in for a minimum of 4 hours before washing it out. Longer is fine, too!
For an Overnight Treatment: Twist your hair up, cover it with a soft reusable shower cap, head to bed, and wash it out the next morning in the shower.
That’s right… it will do all the magic for you while you sleep!
Note: When washing your hair after this mask, you may need to shampoo twice to get it all out. Then style as normal, and get ready for a fabulous hair day!
Homemade Hair Detangler Recipe
If you’ve got curly hair, or thick hair that tangles easily… this easy little hack can be life changing!
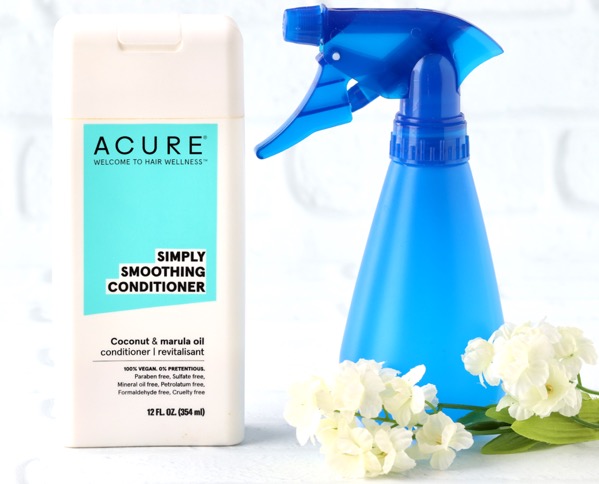
How to Cover Gray Roots At Home in 30 Seconds (7 Sneaky Tricks)
Do you have some pesky gray hairs or roots peeking out? You’ll love these EASY tricks for How to Cover Gray Roots at Home Fast!

Makeup Hacks
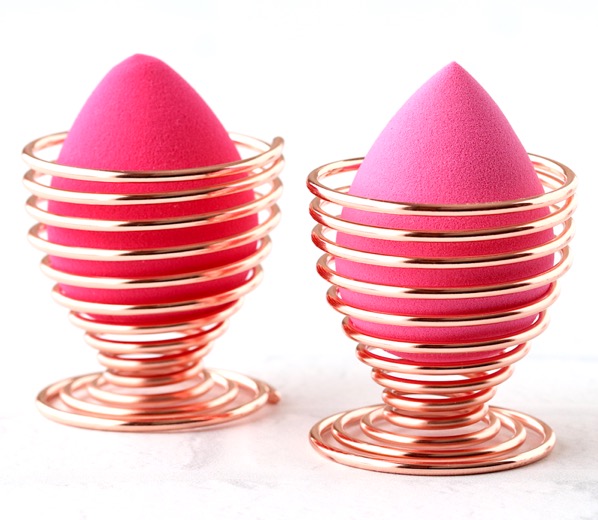
How to Clean Makeup Sponges & Beauty Blenders
Whether you’re wondering how to clean a Beauty Blender, your favorite Beauty Blender dupe, or your old faithful sponge that’s never let you down, you won’t believe how clean they’ll get with these easy little hacks!
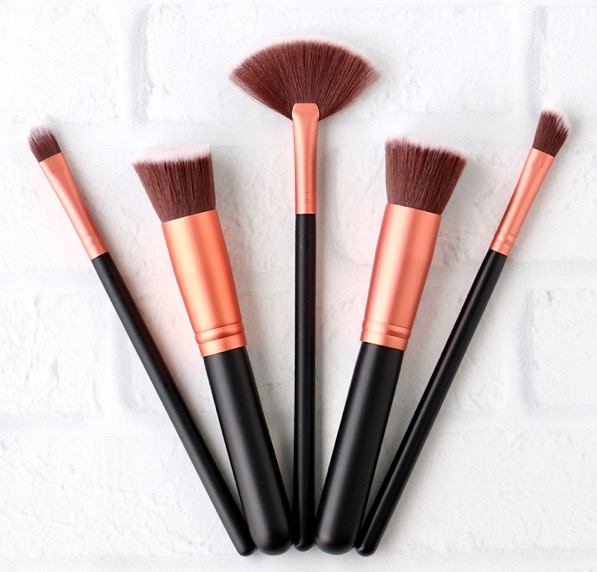
How to Clean Makeup Brushes at Home
Once you know how to deep clean makeup brushes, you’ll never put it off again. It’s so EASY!
Nail Hacks + At Home Mani / Pedi Tips
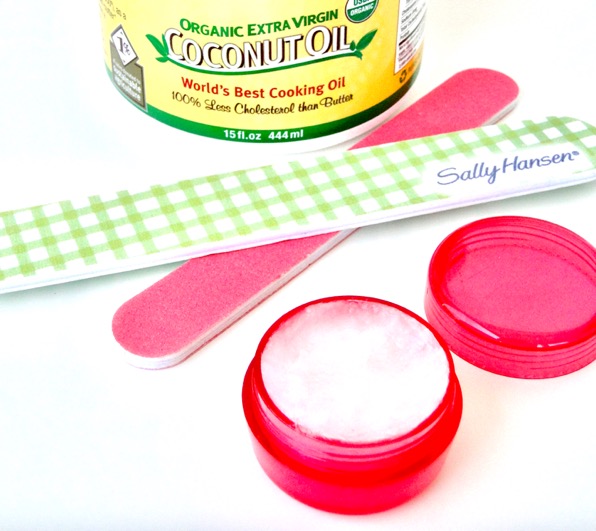
DIY Coconut Oil Cuticle Cream
Don’t neglect those cuticles! After your shower or bath, simply massage a dab of this coconut oil cuticle cream onto your cuticles to soften and moisten them.
Then gently push your cuticles back on each finger and toe. This is such a frugal trick… just a little bit goes a long way!
How to Pamper Your Feet (5 Steps to a Perfect Pedicure)
Pampering your feet can be one of the most relaxing at-home spa treatments ever! Check out these step-by-step tips to pamper, soften, and smooth your tired feet.
You’ll LOVE the results and your feet will thank you!
Plus… you’ll learn how to give yourself the ultimate pedi at home! You won’t believe how much money you’ll save!
Step 1: Scrub and Exfoliate Your Feet
The first step to pampering your feet is to give them a good scrub using a Sugar Scrub!
This will help exfoliate and slough off those old skin cells.
Step 2: Soak your Feet… and Soften Your Heels with a Pumice Stone!
Now that you’ve exfoliated your feet, it’s time for a good soak!
Grab a Foot Soak Tub and fill it with cozy warm water.
Then add 1/2 cup of Homemade Bath Salts to the water.
Optional: Add marbles to the bottom of the basin to roll your feet along as a little massage. It feels AMAZING!
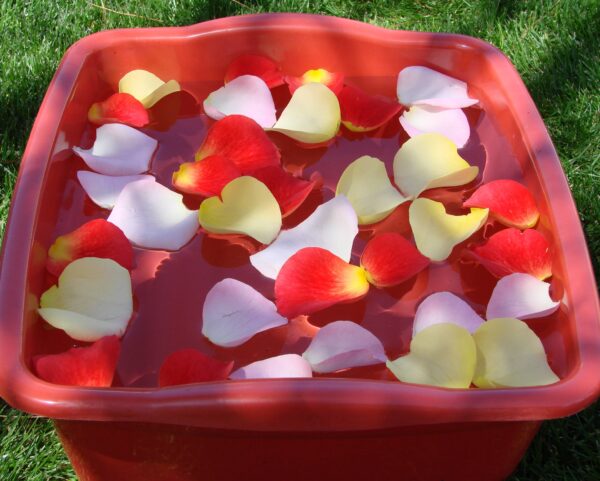
Optional: Add some pretty rose petals from your garden to float in the water!
Who wouldn’t want to soak their feet in this? This foot soak is a great stress reliever and will soften those feet up even more!
If your heels still feel rough, consider using a Pumice Stone or glass stone to soften up your heels even more. I like to use my glass stone once a week.
Maria writes: “To continue the flower petal idea frugally, I go to the florists and ask the old flowers ( mostly roses). Most of the time they just give them to me, or charge VERY little for the bunch. I either soak in the bathtub of petals or soak my feet.”
Step 3: Moisturize and Push Back Your Cuticles
After you’ve soaked your feet, towel dry them off. Now it’s time to give some love to your cuticles!
You’ll love this dreamy DIY Coconut Oil Cuticle Cream to use when caring for those cuticles! Simply apply some to each cuticle, rub in, then gently push your cuticles back.
Step 4: Paint those Nails a Pretty Color!
Now that you’ve scrubbed, soaked, and pampered those cuticles, it’s time to apply some pretty polish to those cute little toes!
- Remove Old Nail Polish
- Clip & File Nails
- Apply a Base Coat to Nails & Let Dry
- Apply 2 Coats of Polish to Nails (Letting Dry Between Coats)
- Apply a Top Coat to Nails & Let Dry
Step 5: Moisturize with Body Butter… and Trap the Moisture with Cozy Socks
- Once your polish has dried COMPLETELY, it’s time to lather up your feet with moisturizer. I love using thick and dreamy DIY Body Butter.
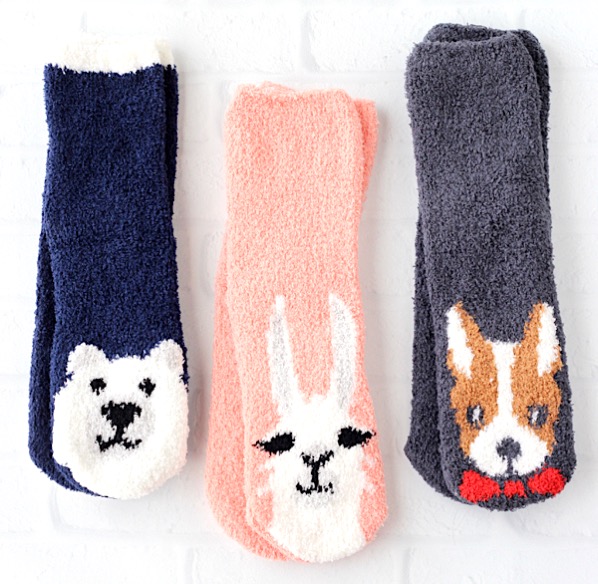
- Then, put on your favorite pair of Fluffy Socks to trap in the moisture.
- This is great to do before you head to bed! When you take your socks off in the morning… you’ll have brand new smooooooth feet! As one reader of The Frugal Girls said… “you’ll have feet that no longer need to stay on your side of the bed!” 🙂
Skincare Beauty Hacks
The average person spends hundreds of dollars on skincare products each year. We all want healthy glowing skin, but the price tags on those products sure can add up!
That’s why I’ve put together these easy hacks, dupes, and budget-friendly skincare tricks that will save you SO much money!!
How to Save Money on Beauty Treatments
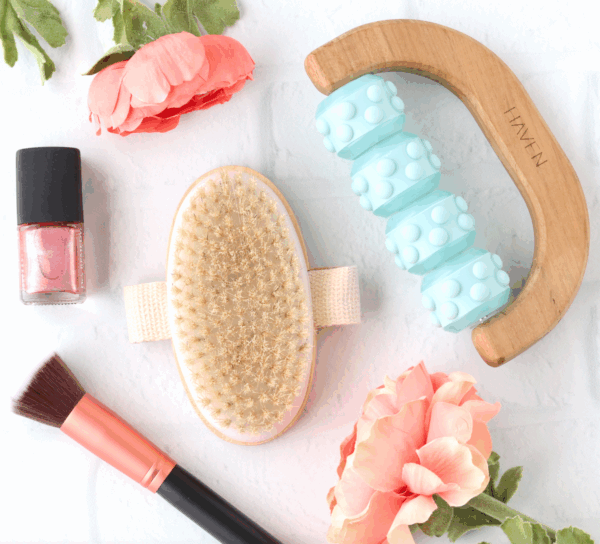
Spa treatments can be outrageously expensive, can’t they? But guess what… you can actually mimic a lot of those treatments yourself at home with these simple pampering tips and tricks!
Check out the easy step-by-step instructions to save BIG on each treatment!
Dry Brushing Skin + Scrub Exfoliating (Save up to $45)
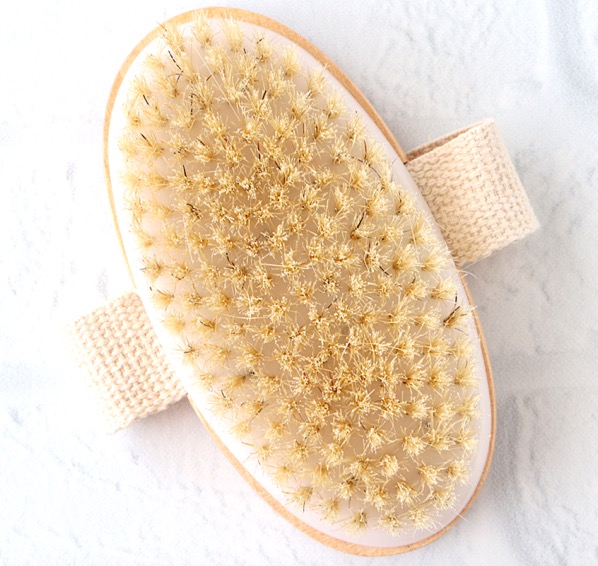
Many spas are now offering dry brushing services as well… either as solo treatments, or add-ons to massages. But once you have your own dry brush, you can easily perform this at home and save SO much money!
Dry brushing has been around for centuries, but has really made a comeback in popularity recently.
It’s relaxing and invigorating at the same time, and such a simple way to exfoliate your skin and slough off old skin cells!
It can even help to unclog pores and stimulate circulation, too!
I like to dry brush once per week before a shower. I always start with my feet and brush towards my heart using small, firm strokes upward, being careful not to press too hard to irritate my skin.
Then I do small circular motions on my tummy, and go back to small, firm strokes from my hands up my arms. Just remember: you never want to dry brush on irritated or sunburned skin.
Or try exfoliating with your favorite Sugar Scrub!
Then after my shower, I apply a moisturizer like this Whipped Body Butter when I get out of the shower. I love how exfoliated skin can soak up your moisturizer even better!
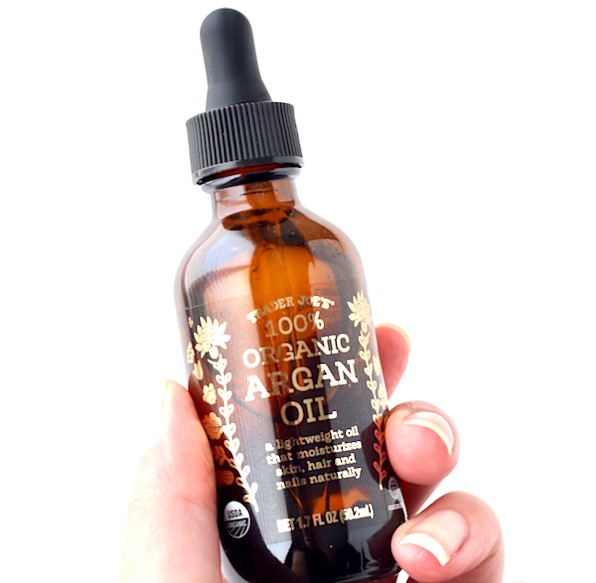
Argan Oil Face Massage
1. Tie your hair back.
2. Wash your hands.
3. Apply a few drops of Argan Oil to your fingertips.
4. With medium pressure, rub 2 fingers on each side upwards on your forehead.
5. Then rub your fingers in circles around your temples.
6. Now rub your fingers in small circles along your cheek bone.
7. Finish off by rubbing small circles along your jaw bone. Now didn’t that feel AMAZING?
DIY Blotting Sheets (Coffee Filter Blotting Paper)
If you’ve got oily or combination skin, you’ll know how quickly you can develop a shine on your skin along your t-zone. (forehead, nose, chin) That’s where blotting sheets can come in handy!
Plus, they’re perfect for blotting lips when you reapply lipstick throughout the day!
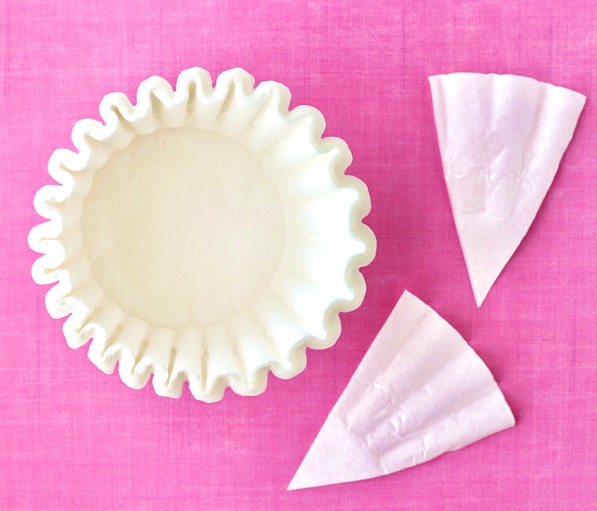
How to Make Blotting Paper >> Take a stack of 7 round coffee filters, and cut them down into 8 equal sections.
50 small sheets like this can cost up to $5.00 at the store, but when you make them from coffee filters (which work just as well), you can make 50 for about 5 cents!! Talk about a frugal beauty hack!
Whether you’re at home, or freshening up on-the-go, keep a stash of these in your bathroom drawer and your purse to have handy at all times!
When you notice some shine in the afternoon at work, in the evening before your man gets home from work, or out on date night, just reach for a blotting sheet, gently press along any oily parts of your face, and watch it whisk away the oil in a flash!
As they remove the oil, they may even help pores appear smaller. Bonus!
These even work great double duty for blotting your lips as you reapply lipstick throughout the day! I like them even better than tissues because they don’t ever leave any lint behind. 🙂
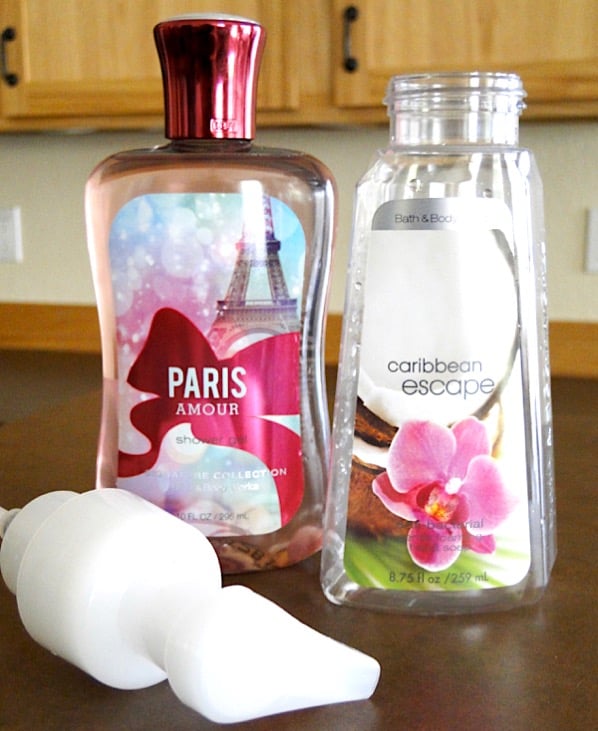
DIY Foaming Body Wash
Not only is foaming body wash so luxurious in the shower or bath, but this simple little budget-friendly trick will also make your body wash last soooo much longer!
Natural Skin Care Tips
Coconut Oil Massage Oil Recipe
This smooth and silky 3-ingredient homemade massage oil will have you dreaming of your next massage! It’s also the easiest way to add a little romance to your evening!
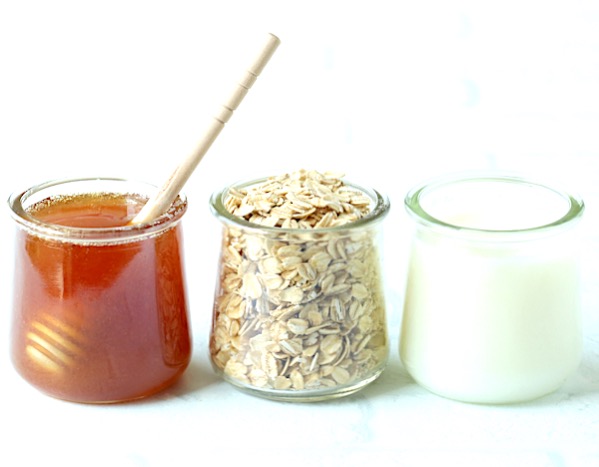
Oat Honey Face Mask Recipe
This 3-ingredient all-natural face mask is perfect for toning toning and tightening… and may even help prevent future blemishes and acne from breaking out!
Coconut Oil Lip Balm Recipe
Keep your lips soft, smooth, and kissable with this dreamy Coconut Oil Lip Balm! You can make this all-natural lip conditioner in less than 5 minutes!
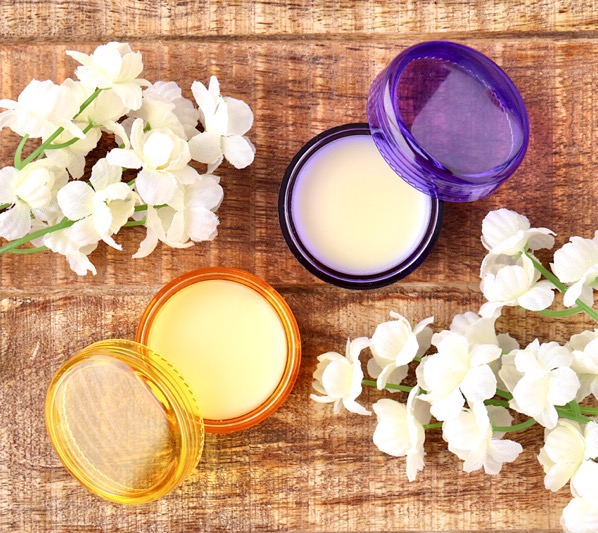
Keep your lips soft, smooth and kissable with this easy DIY Coconut Oil Lip Balm Recipe! It’s soothing, hydrating, nourishing, and the perfect way to pamper your lips each day!
Plus, you won’t believe how much money you save when you know how to make it yourself!
Christie writes: “Amazing! I love how it’s made with natural ingredients. Coconut oil is so amazing and is so versatile! Love this.”
If you’ve been wondering how to make lip balm at home with natural ingredients, it’s really SO easy!
One of the biggest benefits of making your own homemade beauty products is that you know exactly what ingredients are going into them. And this homemade lip balm is about as quick and easy as recipes go!
Seriously… you’ll be done in less than 5 minutes!
This 4-ingredient all-natural DIY lip balm also happens to make the cutest little gift, too! So make some for yourself, and save some to give as sweet little gifts later!
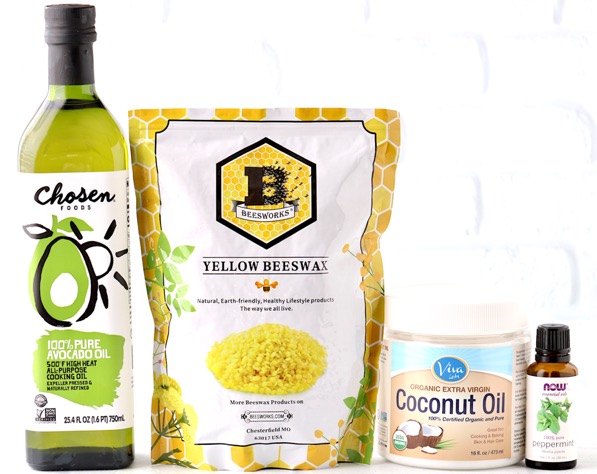
You’ll just need 4 simple ingredients to make your lip balm…
- 1 tbsp. Coconut Oil
- 1 1/2 tsp. Beeswax Pellets
- 1 1/2 tsp. Avocado Oil
- 5 drops Peppermint Essential Oil
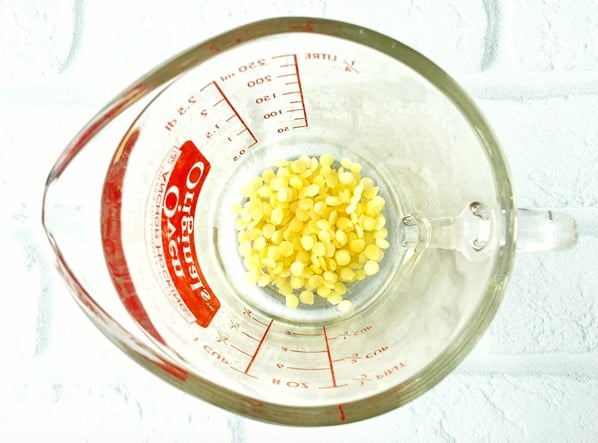
How to Make Coconut Oil Lip Balm:
Add your Beeswax Pellets to a microwave-safe glass measuring cup, and microwave for 20 seconds, stir, microwave for 20 more seconds, stir, and microwave for 20 more seconds.
If beeswax pellets have finished melting, microwave again in a 20 second burst, and stir. Make sure all pellets have melted completely.
Then add Coconut Oil to hot liquid beeswax, and stir well until coconut oil has also melted completely.
Add Avocado Oil and 5 drops Peppermint Essential Oil to mixture, and stir again until all ingredients have combined.
Now pour your mixture into small cosmetic containers, affix the lids, and place them in the refrigerator for 10 minutes to solidify.
Be sure to clean your measuring cup right away, to prevent the traces of wax from hardening on.
After lip balm has been chilling for 10 minutes, remove from the refrigerator, allow to come to room temperature (for about an hour), and then it will be ready to use!
The consistency will be somewhat firm, and that’s okay.
Just swipe your finger along the top, apply a tiny amount to your lips, rub your lips together, and let the all-natural ingredients do their magic!
Just a little bit goes a LONG way… and trust me, this will last you so much longer than store bought lip balms!
Note: Lip balm can be stored at room temperature.
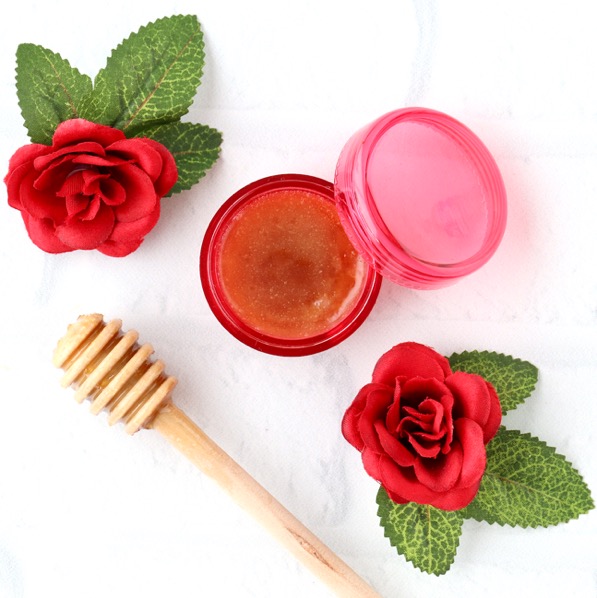
DIY Lip Scrub Recipe + How to Exfoliate Lips
This Brown Sugar Honey Coconut Oil Lip Scrub works so well on peeling, flaking, chapped, or dry lips by gently sloughing off the outer layer of rough skin on your lips.
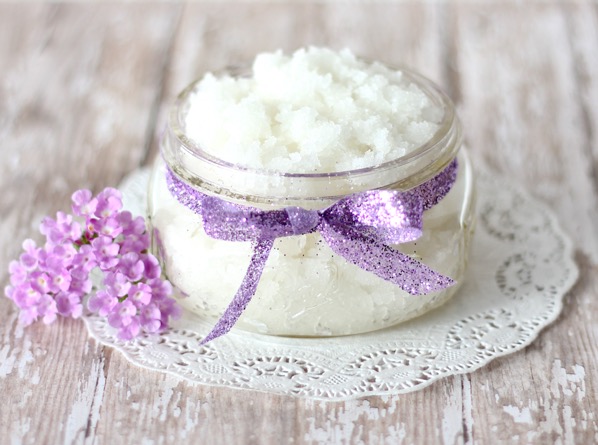
Coconut Oil Sugar Scrub Recipe
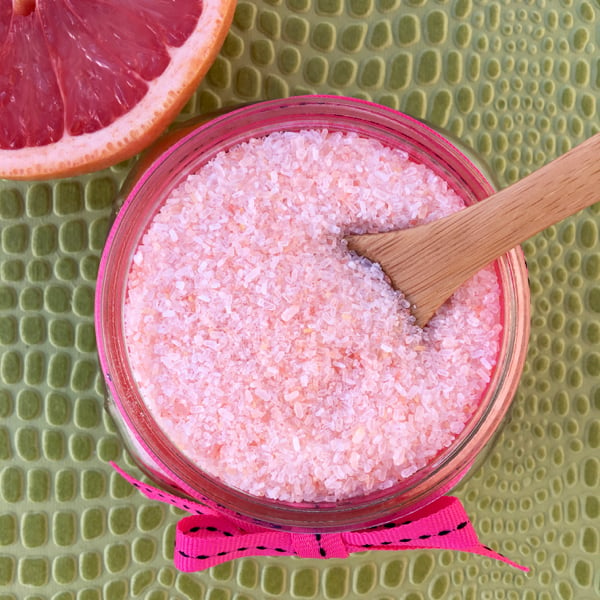
This salt scrub is absolutely luxurious and the perfect way to exfoliate your skin! Plus it makes the cutest little gift in a jar, too! Apply to wet skin once per week, then rinse off in the shower. Follow up with lotion or body butter for silky smooth skin!
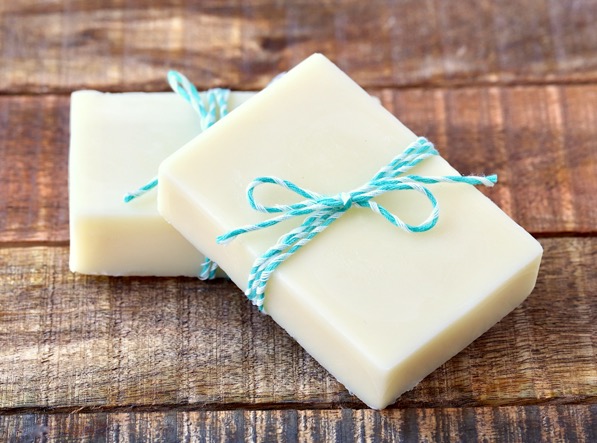
Luscious Lotion Bar Recipe
Wait… what’s a lotion bar, you ask? Lotion bars are such a luxurious treat! They’re basically pure, natural ingredients that hydrate and moisturize your skin just like lotion, but in the form of a bar.
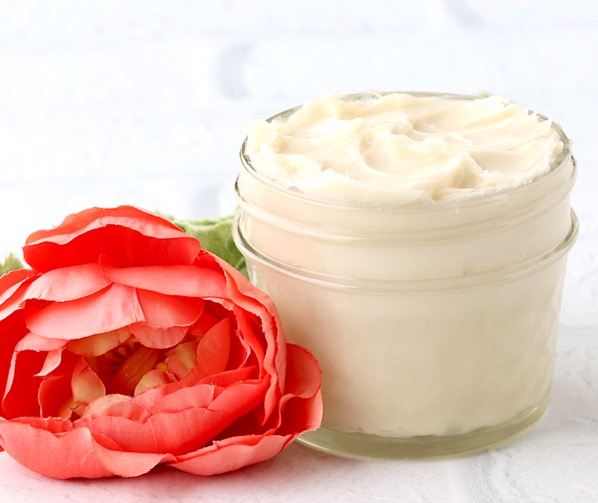
Easy Whipped Body Butter Recipe
My skin has been so much softer since I started using this body butter, and I love how EASY it is to make. Even better… I love that I know exactly what goes into it ~ simply pure, natural ingredients with major skin softening benefits. Just a little bit goes a long way, too!
How to Make Homemade Bath Salts
There’s nothing more relaxing than a luxurious soak in a warm tub, right? Well… now you can take your relaxation to the next level with these dreamy homemade scented epsom salt bath salts!
10 Shea Butter Uses For Skin and Hair
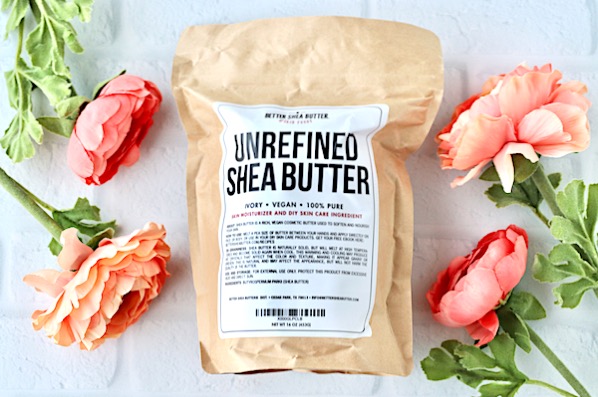
There are so many AMAZING shea butter uses for skin and hair! From taming your hair to moisturizing delicate skin, and soothing razor burn to making your lips more kissable, you’ll love these simple little tricks!
Shopping Beauty Hacks – How to Find the Best Deals
Sephora Sale Hacks You’re Missing Out On!
Use these secret Sephora Sale, Ad and Discount Hacks to save BIG every time you shop! Seriously… you won’t believe how much you’ll save!

Bath and Body Works Coupons & Sale Hacks
Stock up on your favorite lotions, candles, soaps and more with these Bath and Body Works Coupons and Sale Hacks that will save you SO much money!

TJ Maxx Shopping Tips
Are you ready to hunt around for the best bargains at TJ Maxx? When you know these genius shopping hacks, there will be no stopping you!

Marshalls HomeGoods Shopping Hacks You’ve Never Heard!
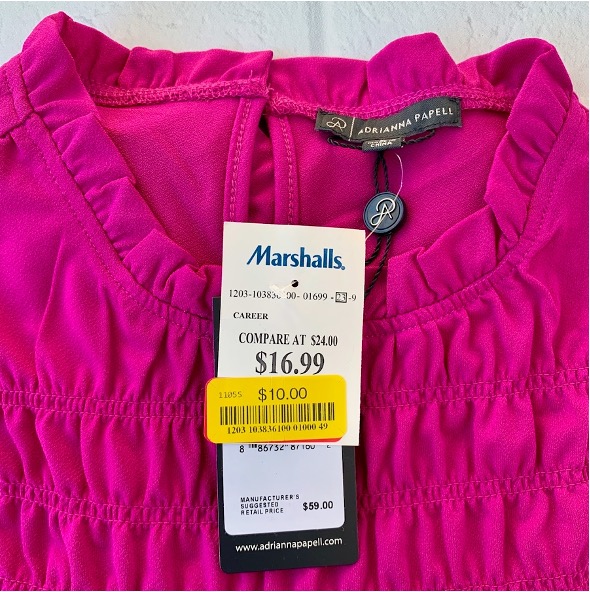
Shopping at Marshalls is such an easy way to save money on fun new beauty products! I’ve found some of the BEST deals on makeup, deodorants, hair products, and dreamy perfumes at Marshalls! Be sure to check out these savvy tips and tricks to make sure you’re getting the best deals before you head to Marshalls!
Frugal Fashionista Tips! (How to Dress Classy on a Budget)
So… what are your favorite Budget Beauty Hacks or Tips?
Leave a comment & share!


These tips are so helpful. I never even thought about cleaning my ring at home, or cleaning out my brush. I’ve always just bought new ones, but these are definitely great tips to live more frugally. Thanks for sharing.
You’re very welcome, Kimberley… I’m so glad you liked the budget beauty hacks!
This is amazing.
Thanks, Alex… I’m so glad you liked the easy beauty tips and tricks! 🙂
Wow I love all your hacks especially the one for the hair irons because I know I’ve got a lot of buildup on mine! Thanks for sharing!
Thanks, Christie… I’m so glad you’re enjoying the beauty hacks! And you won’t believe how well your curling irons will look and work after you clean them! 🙂