
Thanks to this quick and easy recipe for How To Make Snow Cone Syrup, you can treat yourself and beat the heat with a delicious Hawaiian style shaved ice! You’ll create summer’s sweetest escape with just a few simple ingredients! And the options for fun flavors and colors are endless!
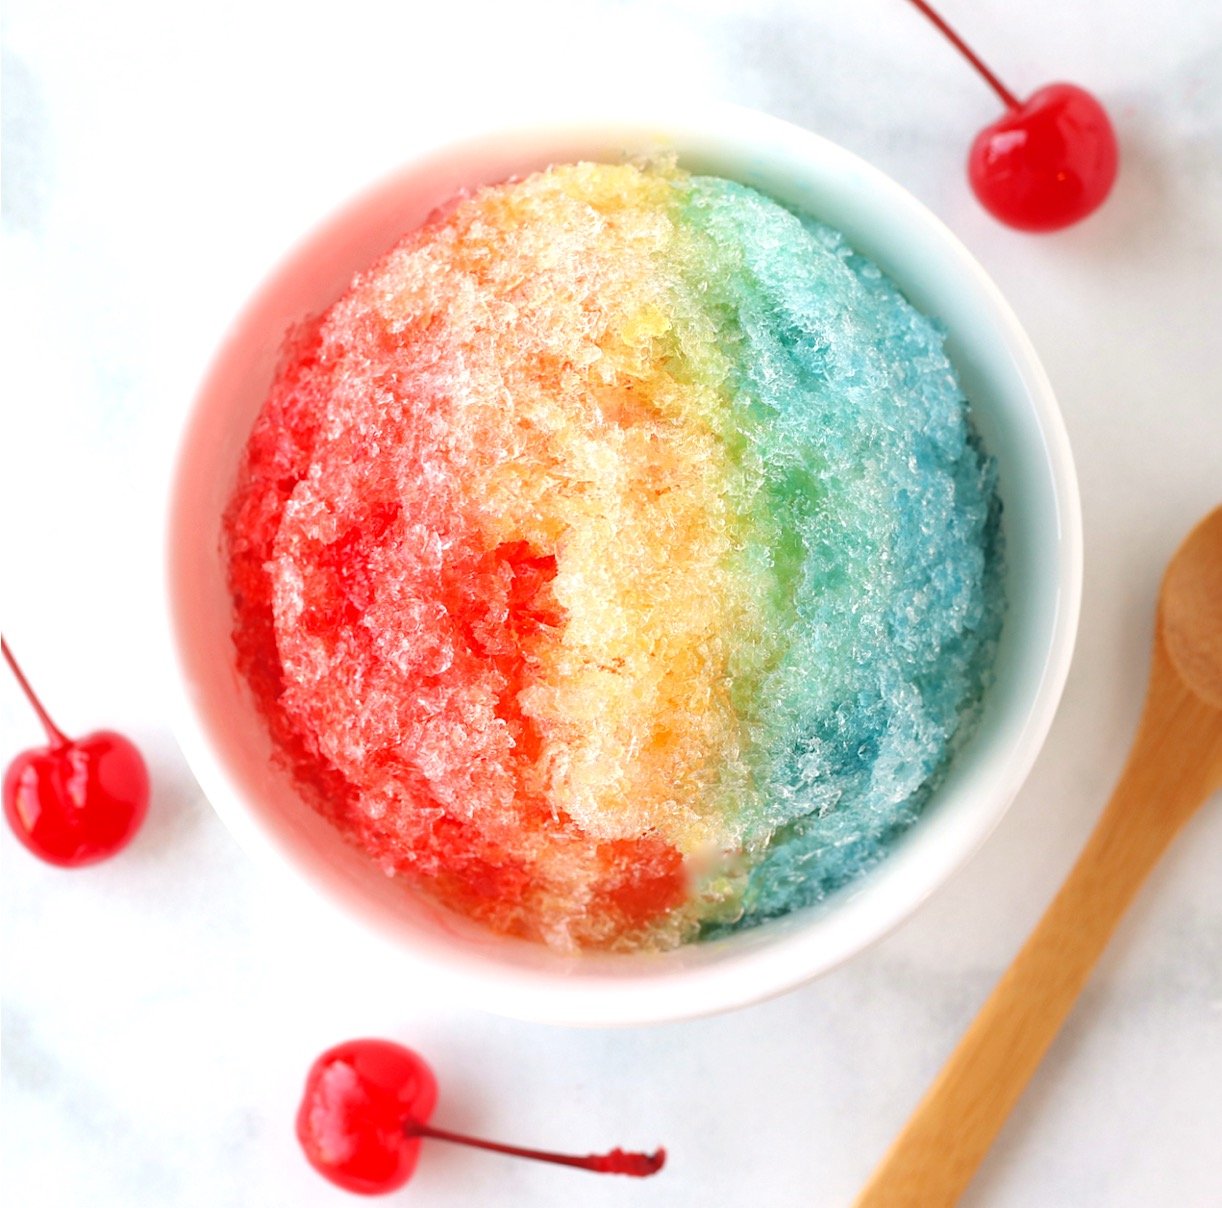

Why wait for a Hawaiian vacation to enjoy your favorite shaved ice treat? As the temperatures soar at home, knowing how to make snow cone syrup will put you on the fast track to enjoying your favorite island style treats all season long!
CoCo writes: "I think you just made me the coolest aunt on the planet!"
Do you love shave ice as much as I do? It’s what summer dreams are made of!
I honestly can’t think of a sweeter way to beat the heat than creating ice cold snow cones at home using this easy shave ice syrup recipe.
Nothing beats a refreshing, cool, icy treat on a hot summer day! My ice cold Homemade Fruit Popsicles, fresh Strawberry Popsicles, and Orange Julius copycat Orange Juice Popsicles prove that points deliciously.
And living in Arizona, where temps hover at 100+ degrees for months, snow cones are about as refreshing of a treat as you’ll get!
Now if you’ve been wondering how to make shaved ice, you’re going to LOVE how easy this is!
Seriously… you’ll just mix your ingredients and let them simmer on the stove, and you’re done! Just like I do with my decadent Homemade Chocolate Syrup.
I’ll even show you how to make wild and colorful kool-aid versions as well as dreamy, tropical fruit juice versions.
The Kool-Aid version will give you those gorgeous colors of classic snow cones, and the fruit juice versions will give you those Hawaiian style pops of tropical flavor. YUM!
So what are you waiting for?
It’s time to take a little tropical vacation to flavor town and make some Hawaiian Style shaved ice!
You’ll just need these ingredients to get started…
Ingredients
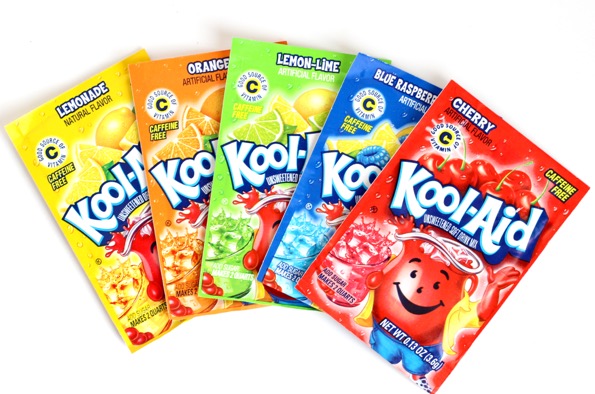
You’ll just need 3 simple ingredients to make the BEST homemade snow cone syrup recipe…
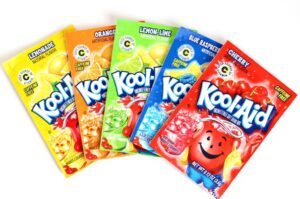
- Kool-Aid Packets or Frozen Fruit Juice Concentrate – These add the flavor to your DIY snow cone syrup.
- Sugar – Just regular white granulated sugar.
- Water – The base for your simple syrup.
Pin this now to find it later
Pin ItHow to Make Snow Cone Syrup
So how do you make a Hawaiian shave ice syrup recipe from scratch?
It’s actually so easy to make homemade Syrup Recipes like this!
It all starts with a basic simple syrup, and then you’ll add in either Kool-Aid or Fruit Juice.
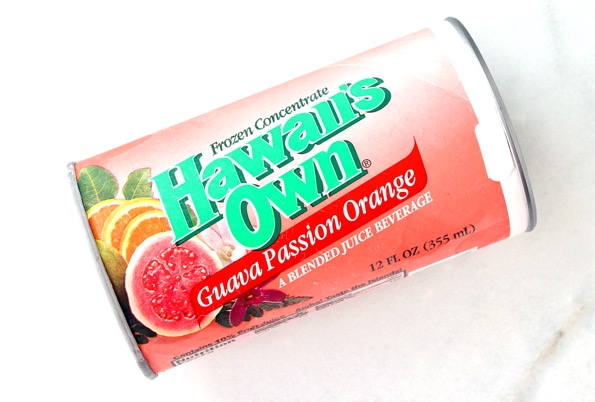
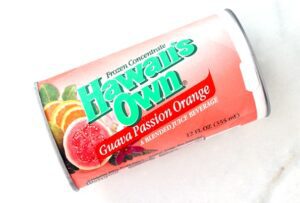
If you go the fruit juice route, the Hawaii’s Own Passion Orange Guava can’t be beat!
Here’s what you’ll do…
1. Make a simple syrup by boiling water and sugar together, just like I do with my Vanilla Simple Syrup Recipe.
2. Then add in your Kool-aid packets or frozen fruit juice concentrate to your simple syrup, and allow it to simmer on the stove, while stirring often.
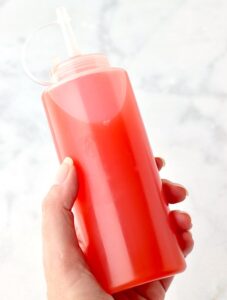
3. Turn the heat off, allow your DIY snow cone syrup to cool down, then transfer to plastic condiment bottles. They have the perfect narrow tip for squeezing the syrup onto your snow cones.
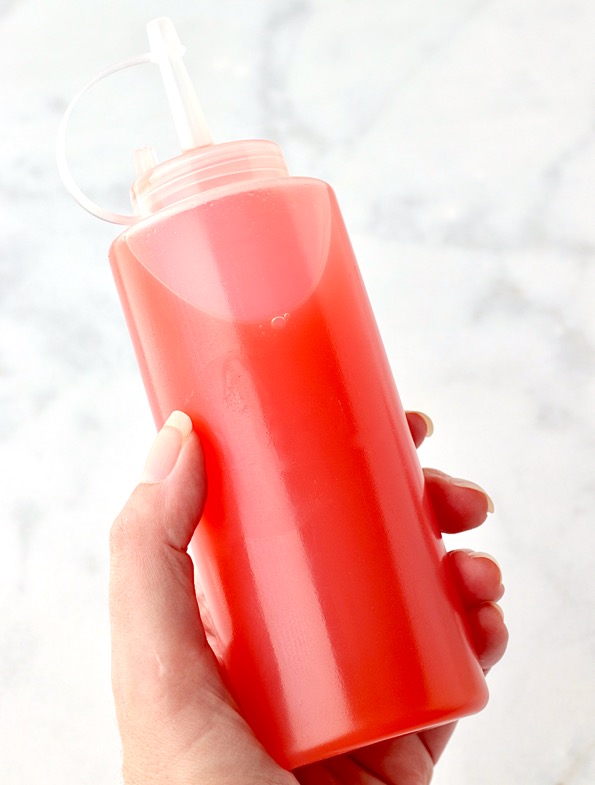
4. Take your bottle of syrup from this shave ice syrup recipe, and place in the fridge to chill until you are ready to make your snow cones.
Trust me, Easy To Make Dessert Recipes like this recipe for snow cone syrup are the only way to go on a hot summer day!
Scroll down for the printable shaved ice syrup recipe card with detailed, step-by-step instructions.
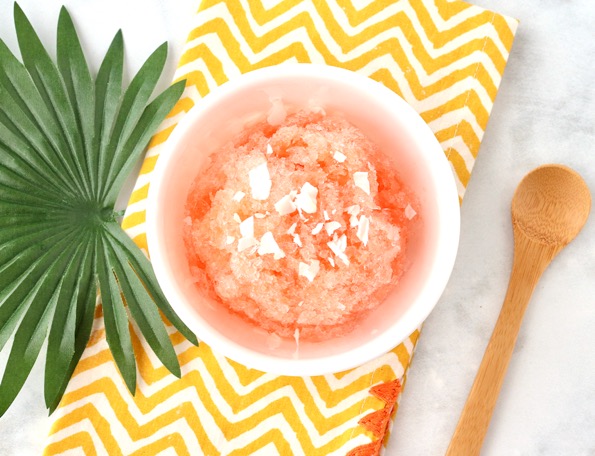
Snow Cone Syrup Flavors
The options really are endless when it comes to snow cone flavors!
Here are a few of my favorites…
- Blue Raspberry – use Blue Raspberry Kool-Aid Packets
- Cherry (or Black Cherry) – use Cherry Kool-Aid Packets
- Grape – use Grape Kool-Aid Packets
- Hawaiian Guava Passion Orange – use Hawaiian’s Own frozen Guava Passion Orange Concentrate
- Lemonade – use Lemonade Kool-Aid Packets or frozen Lemonade Concentrate
- Lemon-Lime – use Lemon-Lime Kool-Aid Packets
- Orange – use Orange Kool-Aid Packets
- Tropical Punch – use Tropical Punch Kool-Aid Packets
How To Make Shaved Ice
It’s actually crazy easy to make shaved ice!
Here’s what you’ll need…
- Snow Cone Syrup – I’ll show you how to make snow cone syrup in the recipe card below.
- Plastic Condiment Bottles – Use the bottles with a narrow tip to make pouring your syrup easier.
- Ice Cubes
- Shaved Ice Maker – You can usually find these on Amazon.
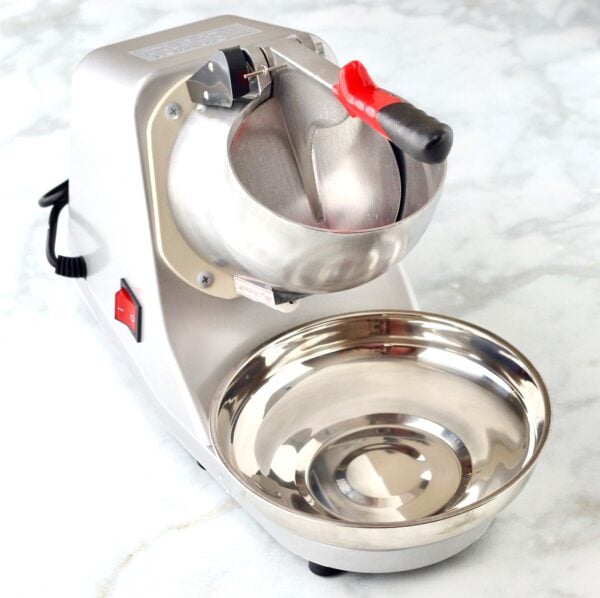
When you’re ready to make your snow cones…
1. Crush up some ice with your shaved ice machine.
2. Transfer to a small bowl or styrofoam cup.
3. Then drizzle your snow cone syrups on top… and that’s how to make shave ice. Easy Peasy!
Storage Tips
Your DIY snow cone syrup should be stored in the refrigerator, and used within 7 days.
Reviews
Here’s what your frugal friends are saying about this simple recipe for how to make snow cone syrup…
Elizabeth writes: “Yummy”
Marty writes: “The kids loved it!”
Sheree writes: “Delicious”
Rebecca writes: “Yummy. Love it.”
Molly writes: “The kids really liked them, lemonade was the favorite!”
More Easy Fun Desserts For Kids
Desserts
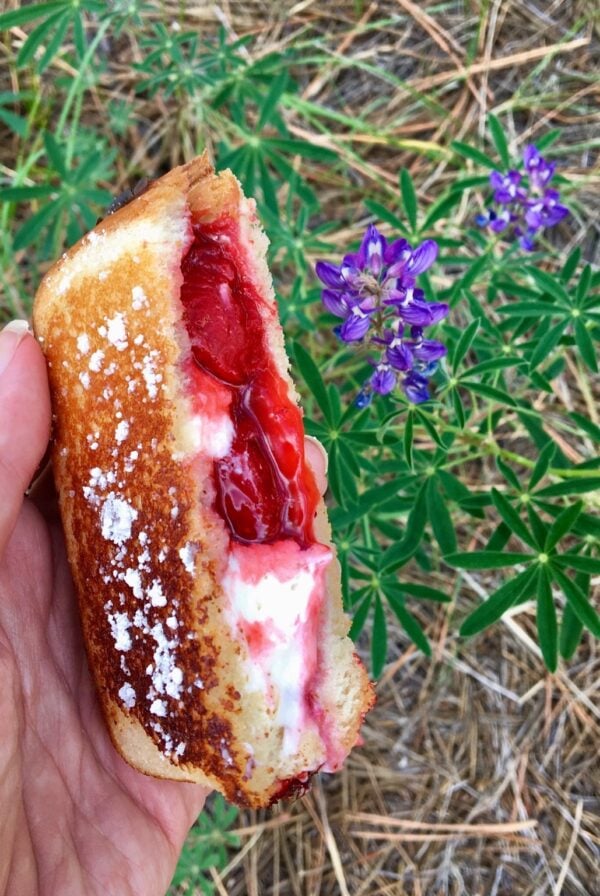
Pudgy Pie
Desserts
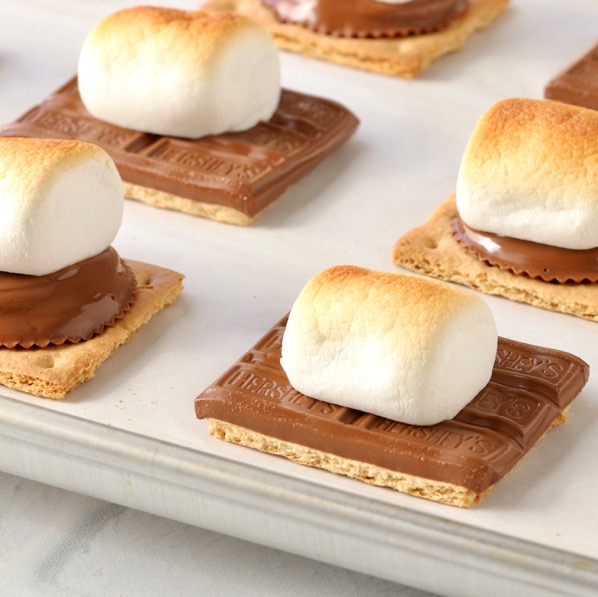
Oven S’mores
St. Patricks's Day
Lucky Charms Krispie Treats
Desserts
Chocolate Chip Brownies
Did You Enjoy This Recipe? ⭐️⭐️⭐️⭐️⭐️ Leave a comment & review below!
How To Make Snow Cone Syrup
Doubling Recipe Tip
If doubling or tripling recipe with buttons below, ingredient notes found after comma will not adjust. Increase ingredients as needed.
Ingredients
- 1 cup Water
- 1 cup Sugar
- 2 Kool-Aid Packets, (OR 12 Oz. Frozen Fruit Juice can be substituted)
Instructions
- Add water and sugar to medium saucepan, and bring to a boil over medium-high heat, stirring constantly.
- Then reduce heat to LOW, and let it simmer for 5 minutes.
- For Kool-Aid Version: Add 2 envelopes of Kool-Aid, and stir well until it has completely dissolved. Transfer to bowl, and allow syrup to cool to room temperature.

- For Fruit Juice Version: Add 12 oz. Frozen Fruit Juice (my favorite is Hawaiian’s Own Guava Passion Orange), and stir well until it has completely dissolved. Allow to simmer on low for 3 more minutes.

- Then turn heat off, allow syrup to cool to room temperature, and transfer to plastic condiment squeeze-bottles.

- I like to use 1 tbsp. of syrup for a snow cone in a cup, or 2 tbsp. of syrup for a snow cone in a small bowl.
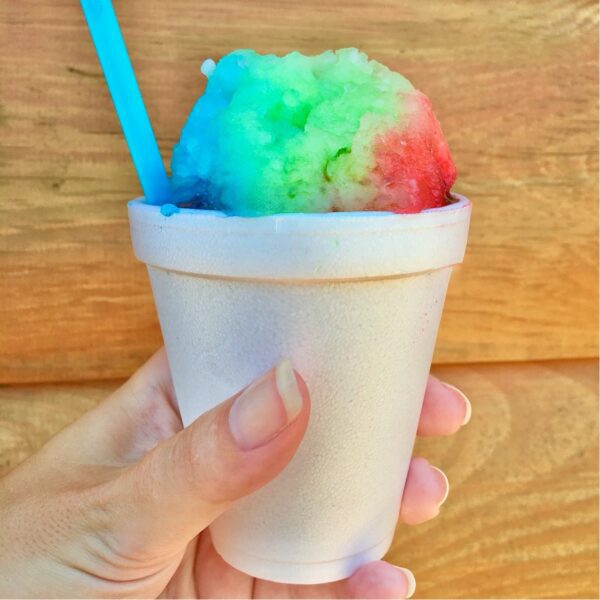
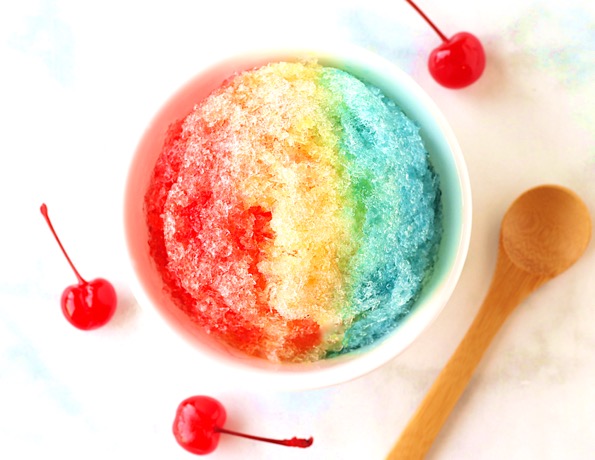
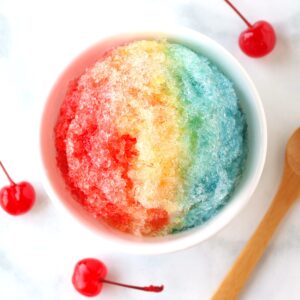
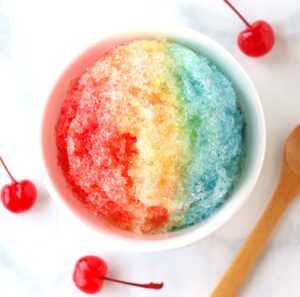
- To make the rainbow effect, make 3 different batches of syrup: red, yellow, and blue. Then when making your snow cone, pour red syrup on the left 3rd, yellow in the middle section (slightly overlapping the red), and blue syrup on the right 3rd (slightly overlapping the yellow). This will create the traditional rainbow colored snow cone you'll find in Hawaii.

- If you're feeling really gourmet, serve your snow cones over a scoop of vanilla ice cream, and top with shaved coconut. It's delicious!
Notes
- How To Store: Store your DIY snow cone syrup in the refrigerator until you’re ready to make your snow cones, and use within 7 days.
- FAQ’s: For answers to Frequently Asked Questions or tips for common substitutions and variations, please refer to the detailed information above this recipe card.
 Like this recipe? Rate & comment below!







This snow cone syrup is fantastic! The instructions are easy to follow, and the syrup is so much better than store-bought. I love that you can customize the flavors and colors to make every batch unique. This recipe is definitely a keeper for hot summer days! ~Nessa
I am so glad you like it Nessa! And yes, the ability to customize both flavors and colors is a deliciously fun added bonus!
Ohhh what a great idea! Robbie has a snow cone maker, and we have a couple flavors…but now there are so many more options! Plus, this homemade version isn’t nearly as expensive as the store-bought bottles. Love this!!
This recipe is definitely a must-have if you already have a snow cone maker. Having an almost infinite number of syrup flavors is the perfect way to add even more fun to making snow cones!
This homemade snow cone syrup recipe is exactly what I need for the summer heat. I love that it only takes 3 ingredients, and using Kool-Aid packets for those classic bright colors is such a smart idea. My kids can’t wait to grab some plastic condiment bottles and make our own DIY shaved ice at home. Thanks for sharing such an easy and fun summer dessert!
Thank you so much Betty, you are so sweet. And… I know your kids will love making their own snow cones. Mine sure did!
Oh, my word, Heidi, I think you just made me the coolest aunt on the planet! These look amazing and so much easier than I expected it would be too. The littles are going to be bananas over this I just know it. I can’t wait to surprise them – thanks, lady! Hugs, CoCo
Haha… yes, you will definitely win the coolest aunt award when you surprise those sweet little kids with these snow cones! 🙂
This looks amazing and sounds so easy! Perfect for summer x
Thanks, Sophie! They’re one of my family’s favorite Summer treats! 🙂