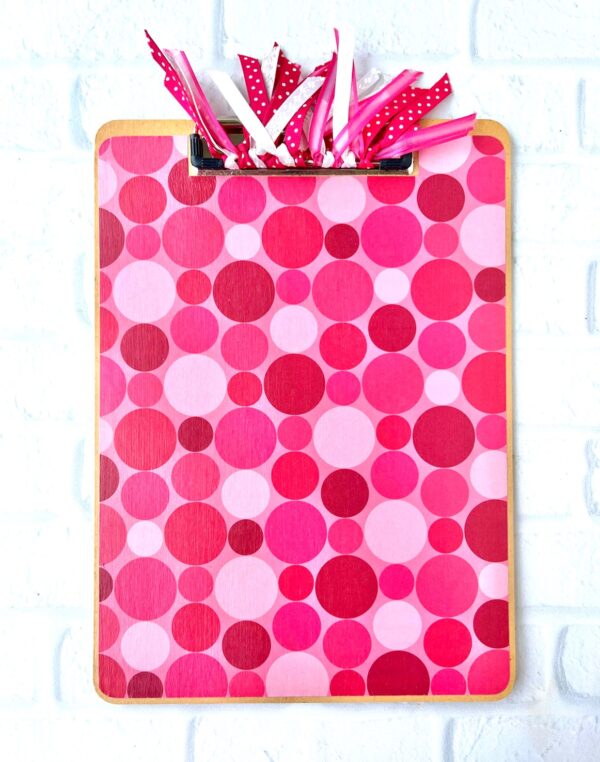
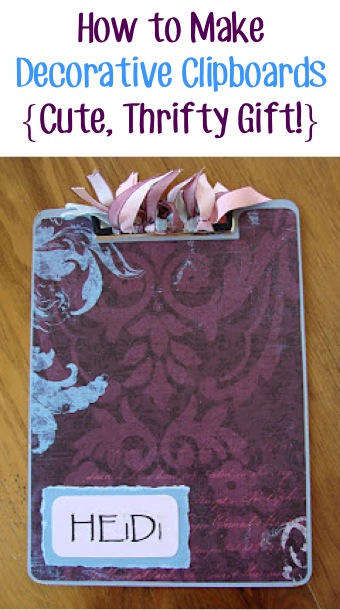
Searching for the best DIY Decorative Clipboards Craft? You’ll love learning How to Make Customized Decorative Clipboards with these easy DIY decorating ideas for clipboards!
Then… have even more fun playing with Mod Podge with these fabulous tutorial for How to Make Photo Coasters!
A few years ago, I made my first customized clipboard, and couldn’t believe how EASY they were to make!
These Decorative Clipboards are fun to use, simple to make, and are a great thrifty gift, too!!
I’ve given them to teachers, homeschooling moms, and friends that run businesses at home… and they’ve always loved them! And yes… I even made two extras for me! 🙂
They are such a fun homemade project that you can use around the home… or give to a teacher or homeschool friend. Not too hard and easy on the budget.
Would you like to make one, too?
Seriously, you can do this!! Here’s how to make a decorated clipboard…
Related: Fun Crafts to Do at Home (HUGE List)
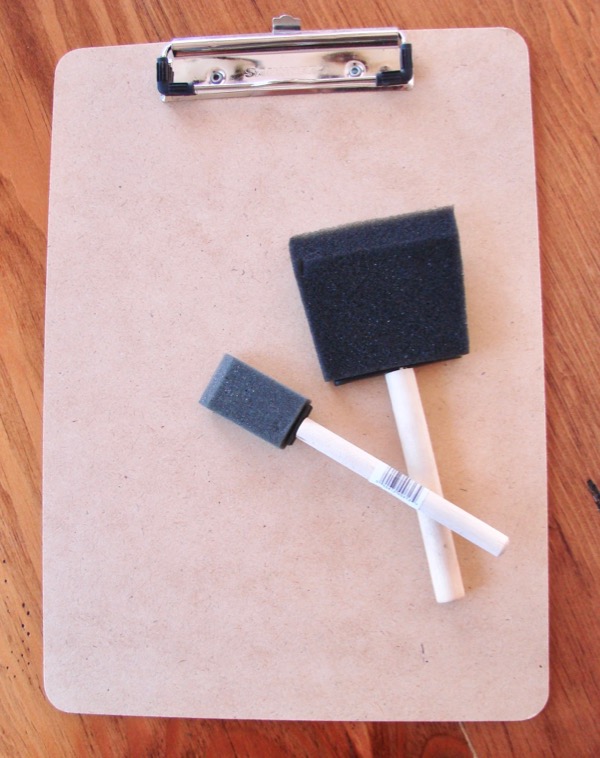
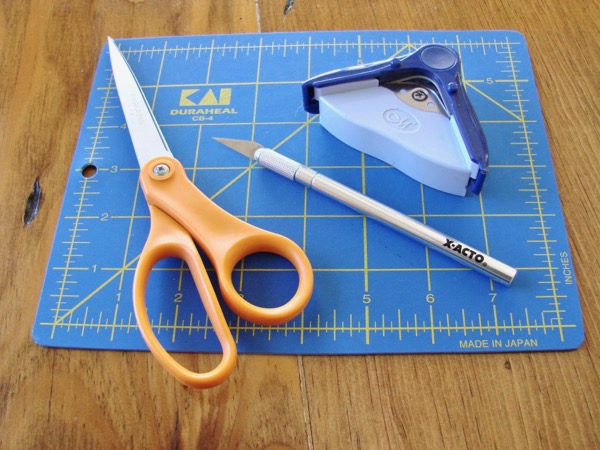
Decorative Clipboard Crafts – Supplies Needed
Here’s what you’ll need to round up to make your cute clipboards…
- Clipboard (I buy mine at Walmart for $1.00) ~ you’ll want your clipboard top to be similar to the one pictured below… it will allow you to tie on ribbons!
- Foam Brushes (small and large) ~ when you’re done, wash these out and save them to reuse again later!
- Mod Podge ~ I used the Matte variety (found at craft stores)
- 12×12 regular Scrapbook Paper (not cardstock ~ trust me!)
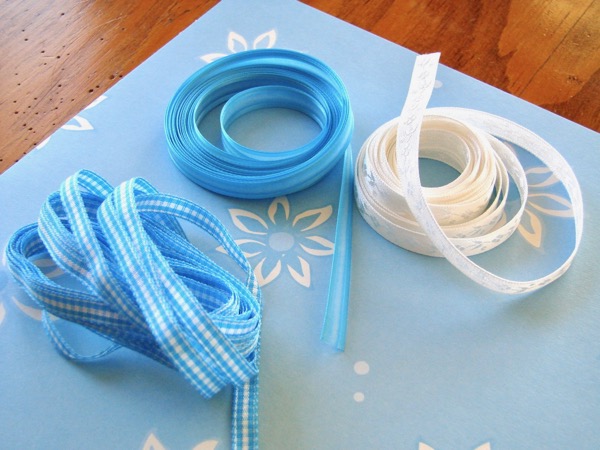
- Ribbon (thin) in a variety of colors & styles that match or coordinate with your paper. I cut pieces of ribbon between 6″ – 7″ long.
- Scissors
- Ruler
- Paper Corner Rounder Punch
- Push pin or Xacto Knife
How to Make Cute DIY Clipboards
Here’s what you’ll do…
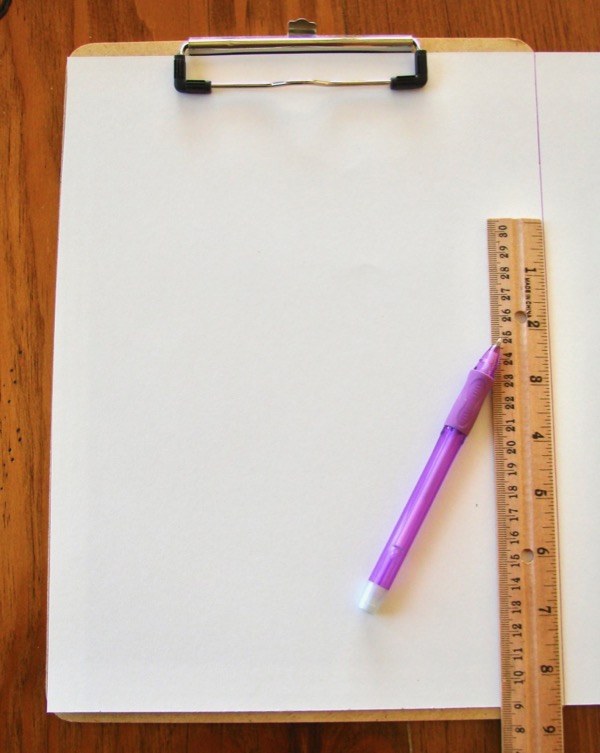
1. The first thing you’ll need to do is trim the paper down to fit the clipboard.
Turn paper over and measure with a ruler. You’ll want the paper to be approx. 1/4 inch in from the edges of the clipboard.
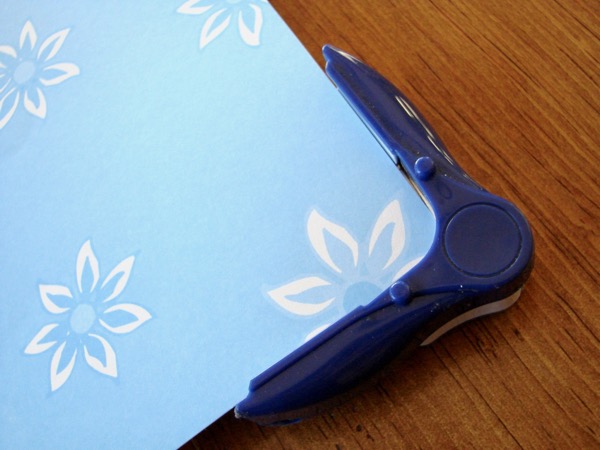
2. Once the paper has been trimmed down to fit the clipboard, use a corner rounder (or scissors) to gently round the corners of the paper.
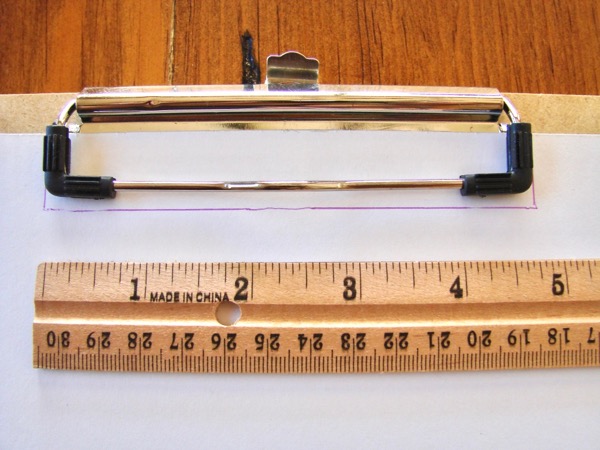
3. Now you’ll need to flip your page over again, and get ready to carefully make a cut out around the clip at the top. Now set your paper aside.
4. Lay down newspapers ~ it’s time for some fun with the Mod Podge!
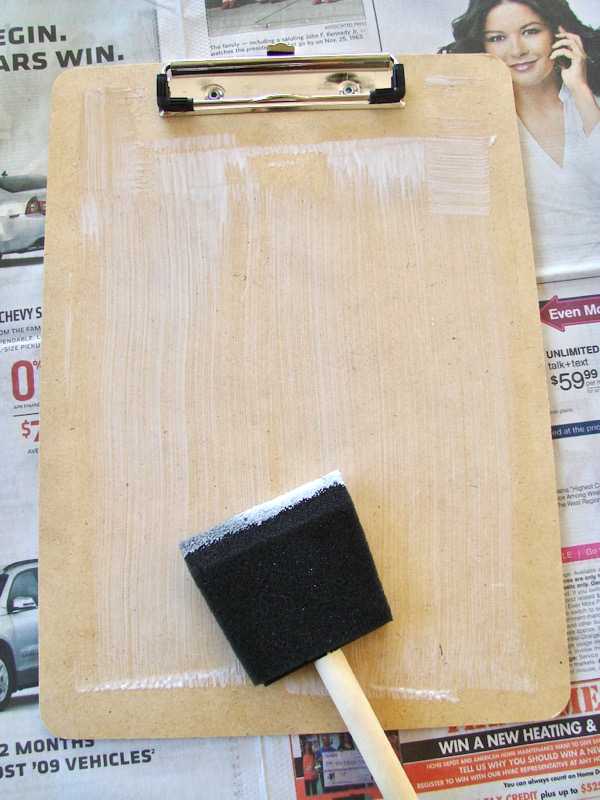
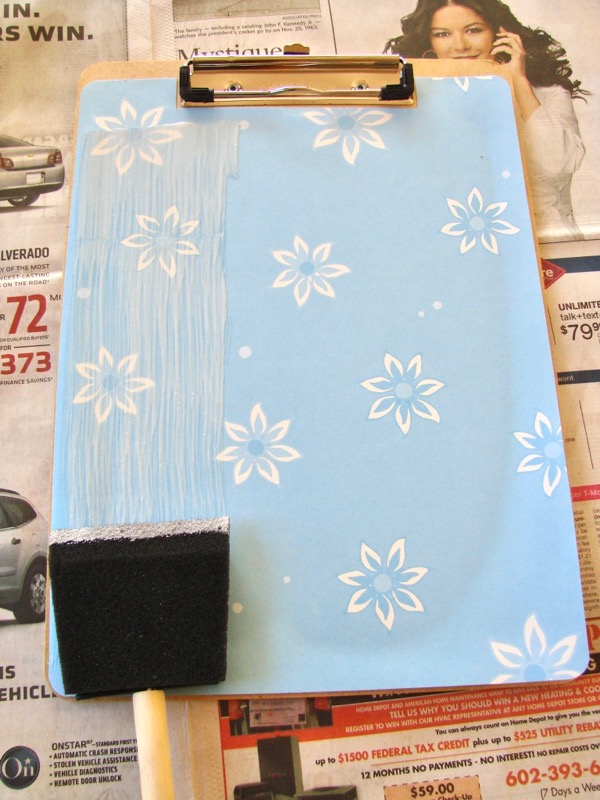
5. Use the large sponge brush to make long strokes from top to bottom, of a thin layer of Mod Podge on the clipboard.
Be careful now ~ Catherine Zeta-Jones is watching you in the upper right hand corner… do you see here on the newspaper there?
She thought I did a good job… she’s smiling! She’s calling Michael Douglas to let him know.
6. Now carefully lay your paper that you’ve prepared on the clipboard (color side up). Gently smooth it down with your hands to avoid bubbling.
7. As it begins to dry, if you see bubbles, you can… carefully poke them with a pin needle, push pin or Xacto knife tip.
(Card stock will really bubble, so promise me you didn’t use it.)
8. Let glue completely dry. (30 min. – 1 hr)
9. After it has dried, it’s time to do a layer of Mod Podge on the top! Use long strokes from the top to the bottom again.
(You can use the smaller brush to get around the clip at the top.)
10. After you’ve applied the Mod Podge, allow it to dry completely.
Just like before, you can watch for any little bubbles, and either poke them or gently smooth them out with your hand as it dries.
11. Once it has dried completely, just for fun… it’s time to add one more coat of Mod Podge.
12. After applying that last coat, allow it to dry completely.
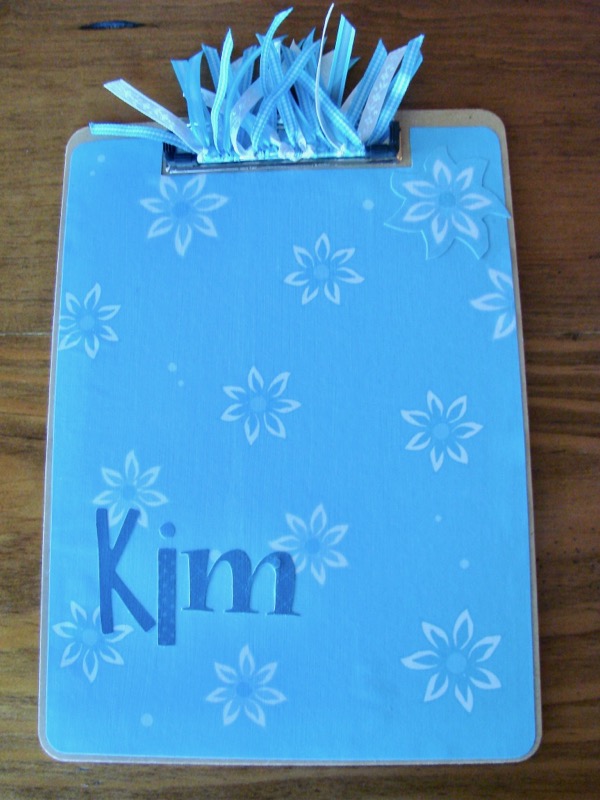
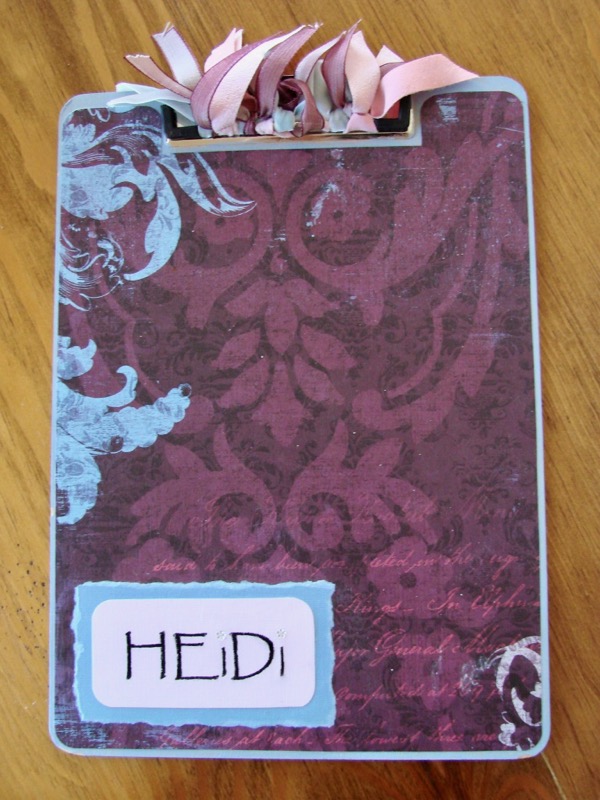
13. Now if you want to add anything else (a photograph, letters cut out to spell a name, etc.) you can add them after the final coat has dried.
Just put a dab of Mod Podge on the back, then add Mod Podge over the entire top. Allow to completely dry… and then on to the ribbons!
14. Once the clipboard is dry, begin adding the ribbons and knotting them up at the top on the clip.
15. Once you’ve tied on all the ribbon, trim them down if they’re too long, then trim the ends slightly diagonally in alternating directions.
(I usually start with ribbon pieces that are 6″ – 7″ long)
Have fun with the colors… the options are endless.
Make one for yourself, or give some as thrifty gifts!
DIY Clipboard Craft Reviews
What Your Frugal Friends Are Saying About This Mod Podge Clipboard Craft…
Carolyn writes: “I just made some decorative clipboards for some girls that are in college..they are so cute. Teachers always need clipboards, you could decorative them with teacher paper (paper with apples, pencils etc.) I got the clipboards from Office Depot 3 in a pack for $3.99. Got paper from hobby lobby as well as embellishments.”
More Budget Friendly Crafts and Homemade Gifts
Would you love even more fun and creative gifts you can give anyone?
I know you’ll love these fun ideas…
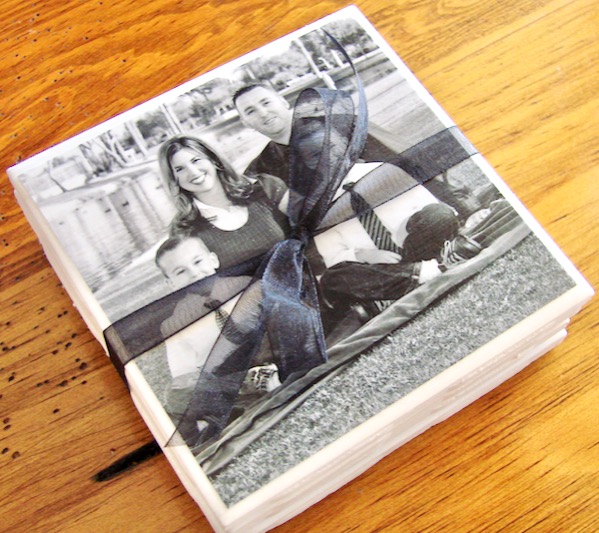
How to Make Photo Coasters
These easy DIY Photo Coasters start with a simple tile, and transform into sweet keepsakes that make great thrifty gifts!
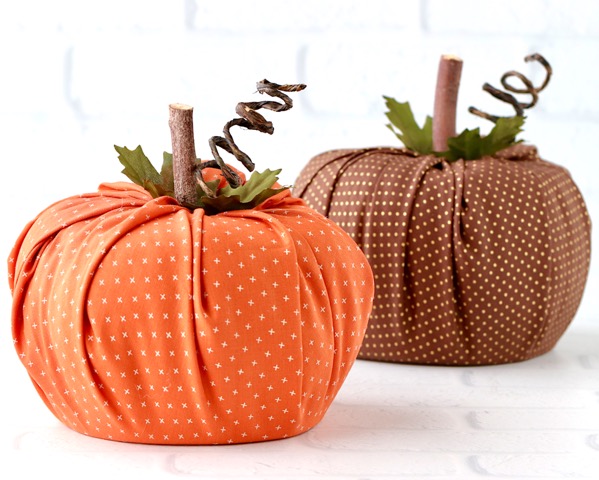
No Sew Toilet Paper Pumpkin Craft
These no sew toilet paper pumpkins are about as simple as can be to make, and will honestly take you less than 5 minutes to put together!
Needle Minder Magnets DIY (How to Make Your Own in 5 Minutes)
Keep your needle handy when you’re sewing, cross stitching and embroidering with DIY Needle Minder Magnets! They’re SO quick and easy to make!

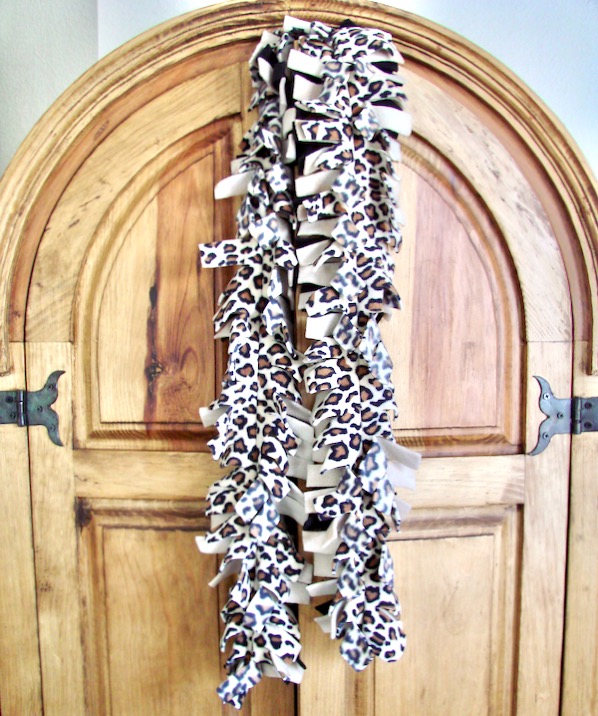
How to Make a Fleece Scarf with Fringes
When you know how to make a fleece scarf, you can afford as many scarves as you want!
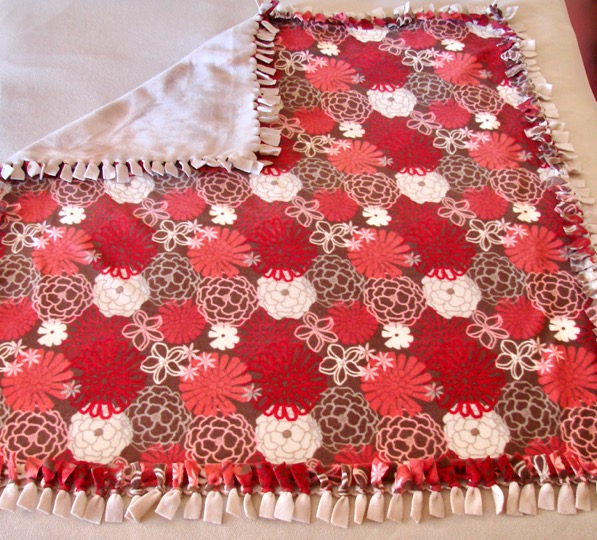
No Sew Fleece Blanket Tutorial
Create the perfect cozy blanket for a chilly day or make some extra special gifts with this easy No Sew Fleece Blanket Tutorial!
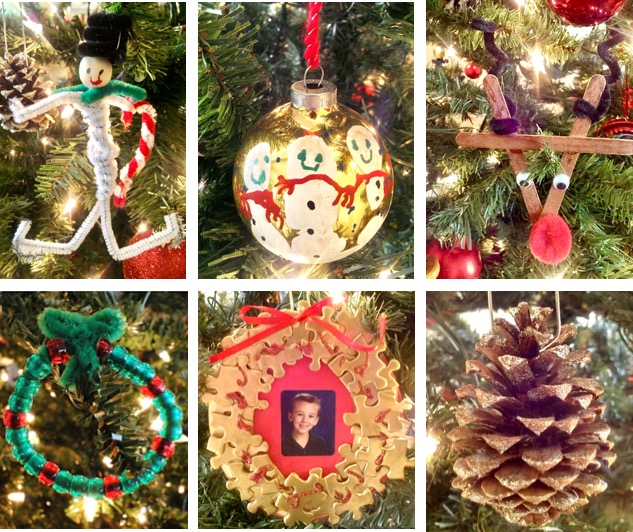
10 Easy Christmas Ornament Crafts for Kids
Nothing beats homemade ornaments by the kids. These are my favorite ornaments that I’ll treasure forever!
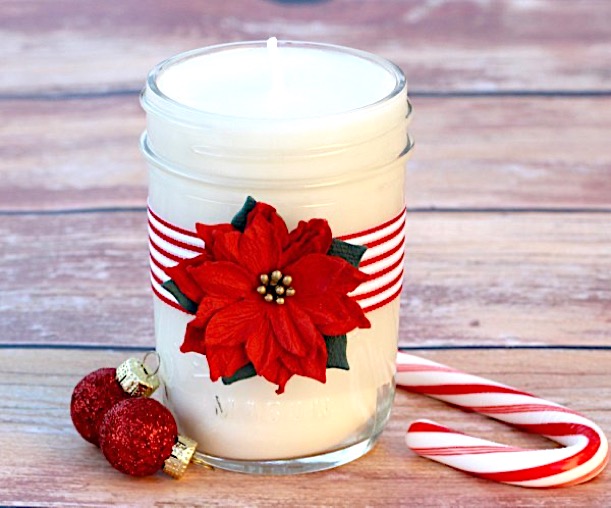
Homemade Soy Candles
Have you been thinking about making your own candles? I’ve got to tell you… Homemade Soy Candles are so easy to make!
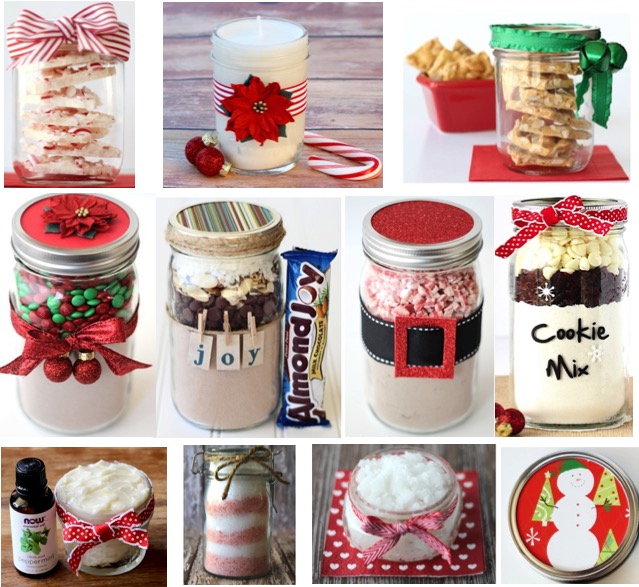
101 Gifts in a Jar Recipes
Get ready for one humongous gigantic list of homemade gift giving inspiration!
Frugal Gift Ideas for Everyone on your List!
Score frugal gift ideas for the Kiddos, Teens, Mom, Dad, Grandma, Grandpa, Co Workers, Your Dogs, Your Cats, and more!
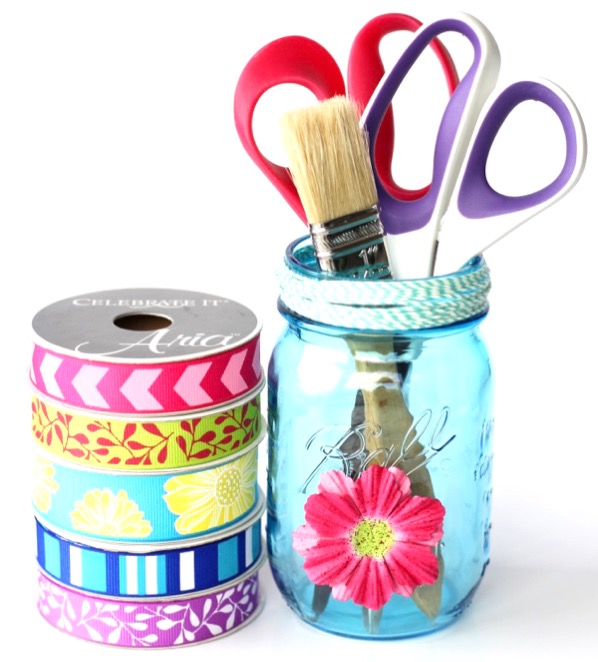
Photography Crafts and Tips
These creative photo craft ideas make the perfect birthday presents or Christmas gifts for photographers!

HUGE List of Fun Crafts To Do at Home
There are Crafts for every season, holiday, and occasion ~ perfect for both kids and adults! So many of these ideas make great homemade gifts, too!
40 Teacher Discounts and Home School Educator Discounts
If you’re a Teacher or Home School Educator, save a little more with these Teacher Discounts + Educational Freebies! Everything is more fun when you get a deal!
So have you tried making these DIY Decorative Clipboards yet?
Leave a comment and share…


I am going to try this for Teacher Week. But my question when i get to the part of adding their name can i use stick on letters and do i still put the stuff on the back an all over the front again? im stuck at this point.
tks
Diane
Hi Diane ~ if using stick on letters, you can stick them right on. If they don’t seem to want to stick, you could add extra mod podge to the back of the letters if necessary. After the letters are in place, just add a layer of mod podge over the letters to create a smooth protected finish. Hope that helps! 🙂
I have a very dear friend that I have know for over 51 years and I have a lot of pictures of the 2 of us and our children so I plan to make her a clip board of all of us to use in her key shop and include some of the keys on the top on the clip portion. This would be such a
terrific way to share our memories with each other and our special friendship.
Thanks for sharing this idea and giving me this opportunity to have something so special to share with my friend of 51 years.
Phyllis Smith
You’re very welcome, Phyllis… I’m sure your friend will love receiving a clipboard from you! Have fun making your special gift!