Becoming an AMAZING photographer is easier than you think, thanks to these little-known Photography Tips and Tricks for your phone and DSLR!
![]()
Are you ready to take your photos to the next level? These Photography Tips and Tricks will show you everything you need to know!
Whether you take photos on your phone, are a beginner with your DSLR, or are a seasoned photographer… these simple tips will supercharge your photography skills right away!
Plus… I’ve even included some fun photo gift ideas for you, too! So are you ready to get creative with your photos? Here’s what you need to do…
Photography Tips and Tricks :
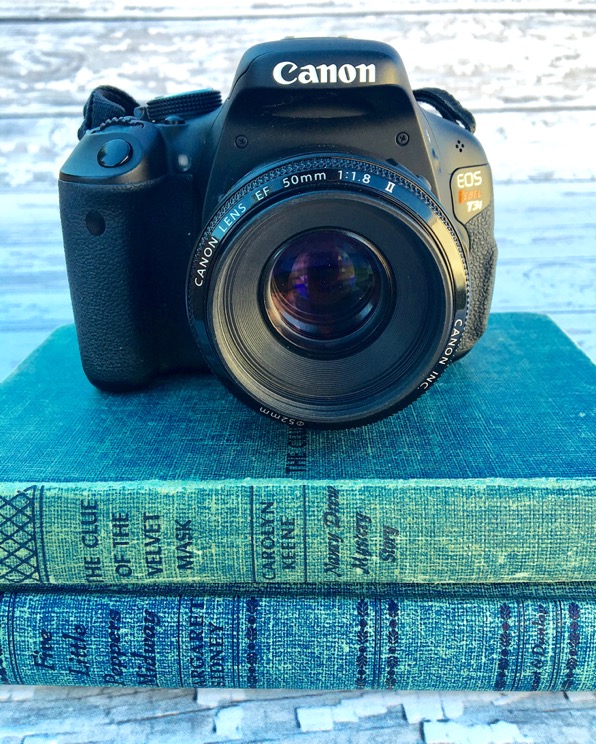
My Top Pick for a DSLR: Canon Rebel!
This is the camera I use for ALL of my blog’s photography, and I LOVE, LOVE, LOVE it! Seriously… I’m obsessed!
My Favorite Lenses:
Almost all Canon Rebels will come with a 18-55mm lens, also referred to as the kit lens. This is an essential lens, so if you don’t have one for some reason… you’ll definitely want to pick one up. It will be a great go-to lens for so many different situations, especially travel and scenery shots.
Canon EF 50mm f/1.8 STM Lens
To go along with your Canon Rebel, you’ll want a 50mm f/1.8 lens as well. These lenses don’t come with the kits, so it will be an add on. It’s the most affordable option for adding a ton of functionality to your camera. You’ll use this a lot when creating those gorgeous crisp images with blurred backgrounds. It’s great for portraits, and also close-ups of food when you want to blur something out a bit in the back for a fun effect. It’s so small and lightweight to tote around, too!
This is the lens I use for sharp, crisp images and a blurred background. It’s also the lens you’ll want to create those gorgeous bokeh pictures {with the blurred lights in the background}
Bokeh photography example that I used this lens to shoot…

Canon EF 100mm f/2.8L IS USM Macro Lens
After I had owned my rebel for a few years, I wanted to take my photography to the next level. I realized I needed a lens that could capture every itty bitty detail in a picture. I’m talking… little grains of salt or sugar on a food item, drops of dew on a flower… that kind of detail. I did so much research, and found this macro lens… my absolute go-to detail lens that I use ALL the time now. It does such an incredible job of picking up even the tiniest specs and details, and you’ll end up with gorgeous, crisp, clear images! It’s absolutely worth the investment… I love it!
Camera Tripod:
Why a tripod? For clearer pictures. A tripod and remote will take your pictures to the next level right away! I know, I know… it may seem like it’s not a necessity, but one of my biggest regrets is not using a tripod and remote sooner. The first day I did, I was AMAZED at how crystal clear my photos were. Goodbye, camera blur!
Tripods are easy to work with, and will keep your camera stable.
Wireless Remote Control:
In addition to the tripod, after selecting a quality camera and lens combination + getting a tripod, the next most important step to ensuring picture clarity is using a wireless remote control for your camera.
This is the exact remote I have and use… it’s inexpensive and a total game changer for clear photos. LOVE it!
Using the Wireless Remote Control is simple. After mounting your Canon to the Amazon Basics Tripod, select the “Self-timer: 10sec/Remote control” setting on your Canon. This will enable use of the highly affordable Amazon Basics Wireless Remote Control.
Just imagine your camera mounted on a tripod and this remote control in your hands. You have just successfully reduced camera movement, allowing for optimal picture clarity. Score!
My Favorite Accessories:
Portable Photography Reflector
Portable Photography Reflectors are a must-have, and they’re super cheap! Every photographer needs at least one good set of reflectors. This set comes with white, silver, gold, black, and sheer! I use my sheer all the time to reduce glare and filter bright sunny light coming in through the window in the afternoon. Then I use the white to bounce back light on my subject, or the gold or silver to add gorgeous tones to the hues of the object.
Indoor Photography Natural Light Kit
Natural light is always my first choice, but on rainy days or evenings, I’ve used this Natural Light Kit to duplicate natural light in a dark indoor setting, and it’s been a lifesaver!
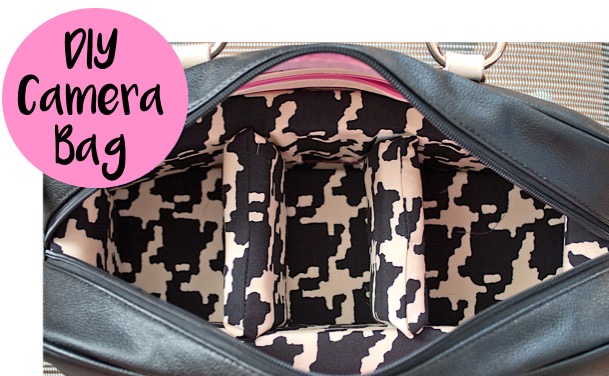
DIY Camera Bag Purse Insert
There’s no need to carry around a clunky camera bag when you learn how to turn your favorite purse into a camera bag! I have two and I LOVE them! It’s time to tote around your camera and lenses in style! Check out this tutorial for How to Make a DIY Camera Bag from a Purse!
More Photography Tips and Tricks:
Practice, Practice, Practice!
The first step to taking better pictures is simply to practice! Like… every day! If you’re intimidated or overwhelmed by your camera, just make a point to start playing around with the different settings and experimenting each and every day. Try new angles, try new locations, just try something! You’ll improve and become more and more confident each day!
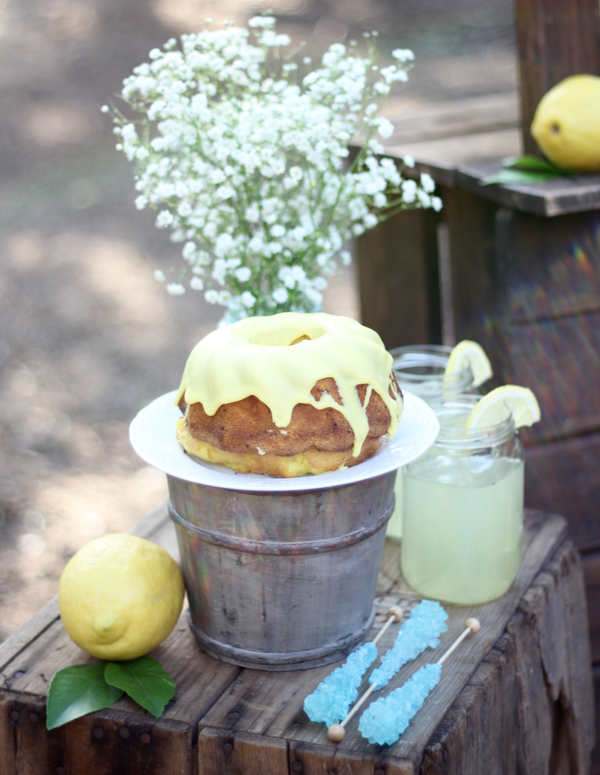
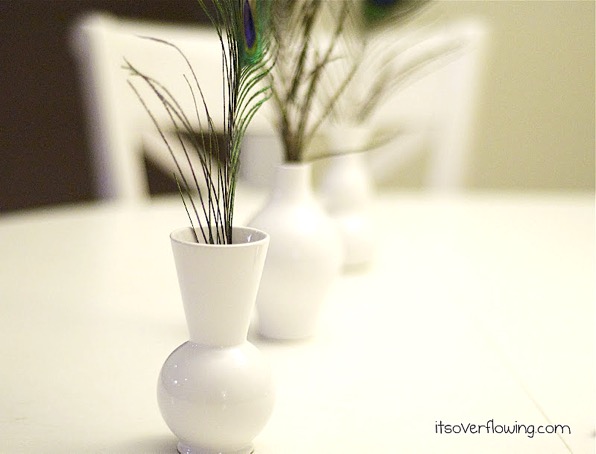
Lighting is Key!
There’s no substitute for good lighting, and it can make or break a photo. If you’re taking pictures of food, wait to take them until the natural lighting is optimal during the day. They’ll turn out so much prettier than when taking inside at night. If possible, move whatever it is you’re photographing outside. If the weather doesn’t permit, take your photos as close to a window or sliding glass door as possible to soak up as much gorgeous natural light as you can! Example: the following picture was taken indoors next to the window…

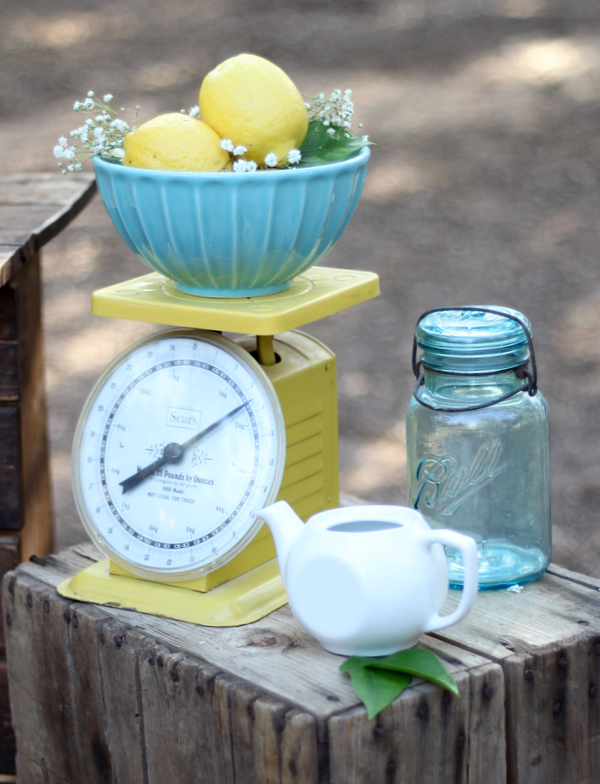
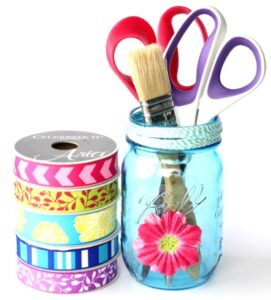
Props are Pretty!
When setting up the star of your photo shoot, don’t forget to include some pretty props underneath, on the side, and in the background. They’ll add color, depth, texture, and make for some pretty pictures!
1-2-3-Hold-Your-Breath!
Another simple tip that I put into practice each days is holding my breath. Right before I’m ready to snap the shot, I just hold my breath to stabilize myself and keep the shot as crisp as can be. It’s such a simple way to cut down on blur.
Another option is to take in a deep breath, then exhale halfway and hold your breath before taking the shot.

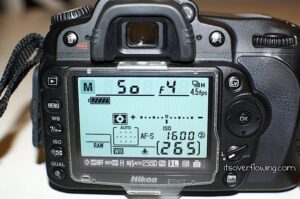
How to Take Better Pictures – Learning all about Aperture!
Does aperture have you stumped? Learn all about aperture with practical illustrations and tips here…
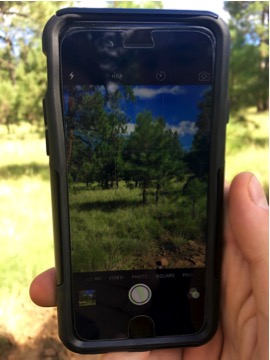
Phone Camera Photography Tricks
Did you leave home without your camera? These little-known tips and tricks will help you make the most of the pictures you take from your phone!
How to Capture the Glow of Christmas Lights
If you love Christmas lights, but have trouble capturing what you love to see with your camera, then you love these tips for!

How to Take Better Pictures! {Learning All About Aperture}
Photography Tips for Beginners
Begin improving your photography skills today with these 20 Photography Tips for Beginners!

Photographing Babies and Kids:
Shutter Huggers
If you’ll be photographing babies or kids, Shutter Huggers are an absolute must-have! Basically, they’re cute little stuffed animals that can slip right around your lens! So while you’re walking around snapping those adorable photos, the kids will see the cutest little animal flopping around and smiling back at them! This is seriously my favorite trick to get kids to Smile!
28 Kid Photo Taking Tips for Taking Cute Kid Photos
Are you ready to take your photography of babies and kids to the next level? These tried and true tips from professional photographers and photo-crazed moms will have you snapping the CUTEST photos in no time!

How to Shoot and Create 3-D Photo Cards
Do you want your cards to really stand out? Take a minute to go check out this crazy-cool photography trick for making 3-D Photo Cards!

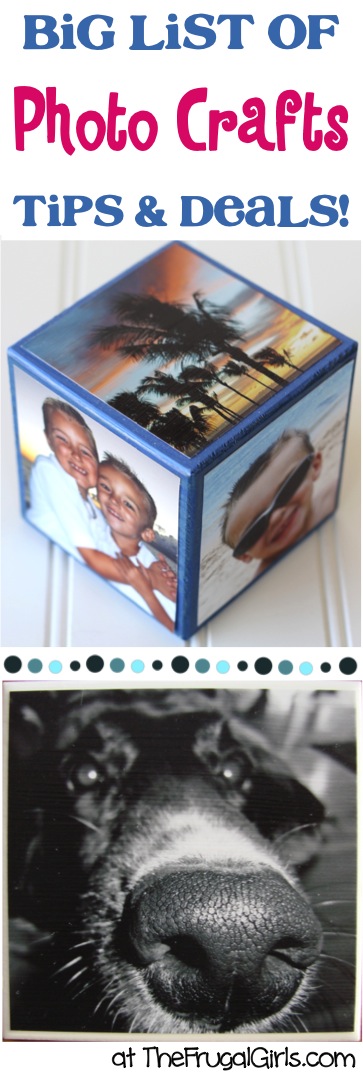
Fun Photo Gift Ideas + Photo Crafts:
Got a photographer or picture-lover on your gift list? These creative ideas make the perfect birthday presents or Christmas gifts for photographers!
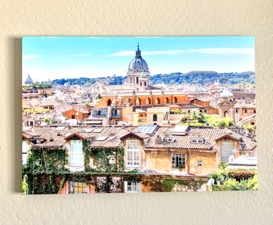
Photowall Wall Murals

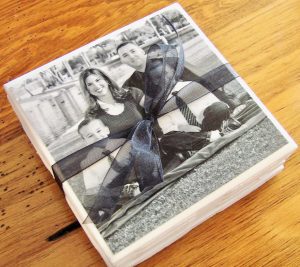
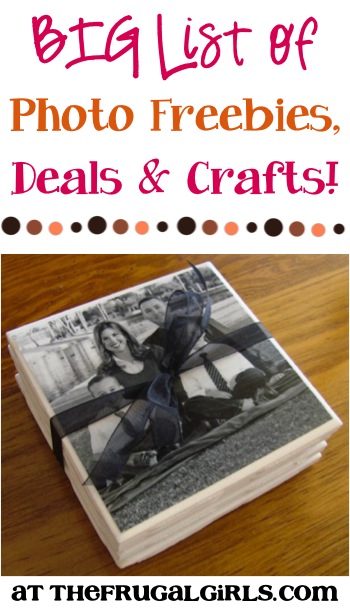
How to Make Photo Coasters
These easy DIY Photo Coasters start with a simple tile, and transform into sweet keepsakes that make great thrifty gifts!
Mixbook Photo Books
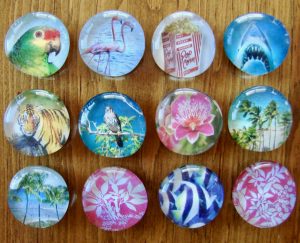
DIY Marble Magnets Tutorial
These Marble Magnets are such a cinch to create, and make the cutest statement on any fridge or file cabinet. Or give some as fun little gifts!
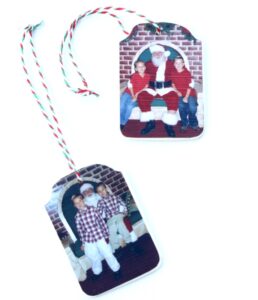
Easy DIY Photo Ornaments
These Photo Ornaments make such a statement on your Christmas tree, and also make super-cute gifts for grandparents!
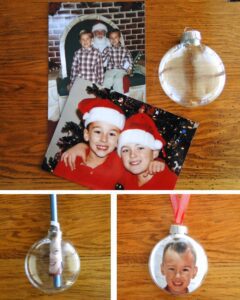
Easy Christmas Photo Ornaments
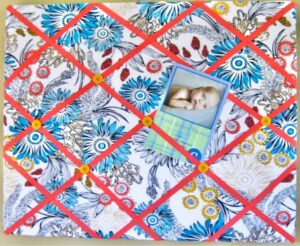
DIY Memo Board
Mpix Photo Prints, Books & Canvases

More Creative Crafting Inspiration:
Fun Crafts To Do at Home
There are Crafts for every season, holiday, and occasion ~ perfect for both kids and adults! So many of these ideas make great homemade gifts, too!
How to Save Money on Craft Supplies! {10 Easy Tricks}
Are you ready to tackle your next crafting project? Before you do, check out these EASY tricks and learn How to Save Money on Craft Supplies!
More Creative Gift Giving Inspiration:
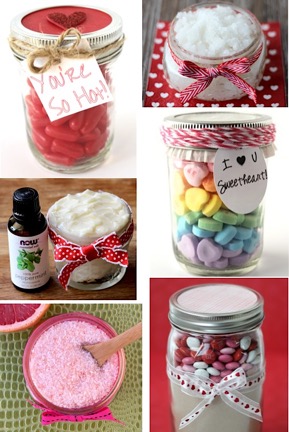
The Ultimate List of Gifts in a Jar {101 ideas}
Spoil your friends, family, and teachers this year with some sweet Homemade gifts… made with love!
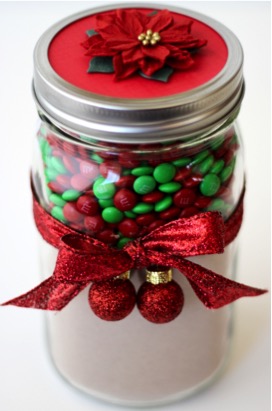
101 Homemade Christmas Gift Ideas
With these easy homemade Christmas gift ideas, you’ll always have enough time to give that perfect homemade gift!
More Frugal Gift Ideas
From unique birthday gifts to hilarious stocking stuffers, and sweet keepsakes to romantic surprise gifts, there’s something fun for everyone! Finding the perfect gift has never been so fun!
I’ve included creative ideas for Dad, Boyfriends, Kids, Teen Girls, Teen Boys, Grandpa, Grandma, Teachers, Coworkers, Foodies, Coffee Lovers, Dogs and more!

So do you have any favorite Photography Tips or Tricks… or fun Photo Gift Ideas?
Leave a comment & share!
Leave a Reply