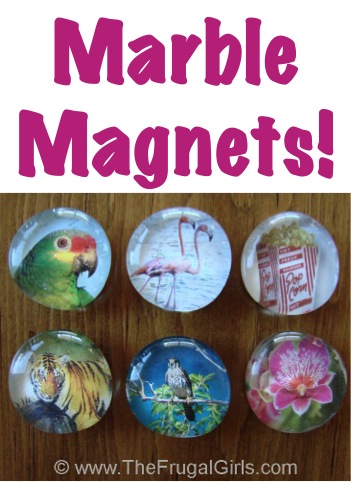
Get ready to get crafting with this fun and easy DIY Marble Magnets Tutorial!
I’ve been seeing the cutest marble picture magnets at the stores, but I haven’t been able to bring myself to pay full price for them!
But then I thought… why not just make some? 🙂
These cute magnets are SO fast and easy to make… and instantly transform any magnetic surface from drab to fab!
I started playing around with my Mod Podge one day {just like we used in the Cute & Crafty Clipboards} , and came up with this DIY Marble Magnets Tutorial.
You won’t believe how easy it is to make a Marble Magnet!
Here’s what you’ll do…
Marble Magnets Tutorial
Related: Fun Crafts To Do that Anyone Can Enjoy! {huge list}
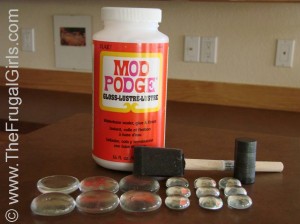
Marble Magnets Supplies Needed:
You’ll just need a few simple craft supplies to make your own marble magnets…
- Mod Podge {I used Glossy}
- Small, Strong Round Magnets
- Flat Glass Marbles {I found small ones at Hobby Lobby & larger ones at JoAnn’s ~ near the silk flowers}
- Foam Brush
- Hot Glue Gun
- Small Pictures {cut out from magazines or scrapbook paper}
How to Make Marble Magnets:
Find small pictures that you would like to use for your magnets.
Bright pictures with vivid colors work great!
I used pictures cut out from free and cheap magazines and from scrapbook paper scraps. {tip: photos printed on photo paper and stickers don’t work well for this project ~ just trust me} 😉
Place marble over picture to visualize what it will look like. Trace around marble, then cut out picture… just a smidge inside the traced line.
Apply a small amount of Mod Podge to the back {flat} side of the marble piece.
Place marble piece on top of the picture, and press down. Don’t worry ~ the Mod Podge will dry clear.
Set aside, and allow to dry.
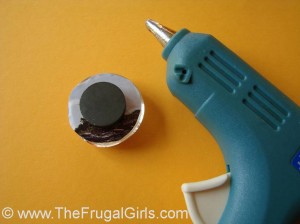
Once the picture has dried, attach magnet to the back using hot glue {make sure to use the hot setting on your glue gun}.
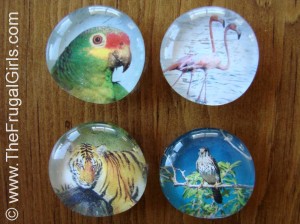
There you have it ~ wasn’t that so easy??
Have fun choosing pictures, styles, sizes, and designs!
Then save some for yourself, and give some as thrifty gifts!!
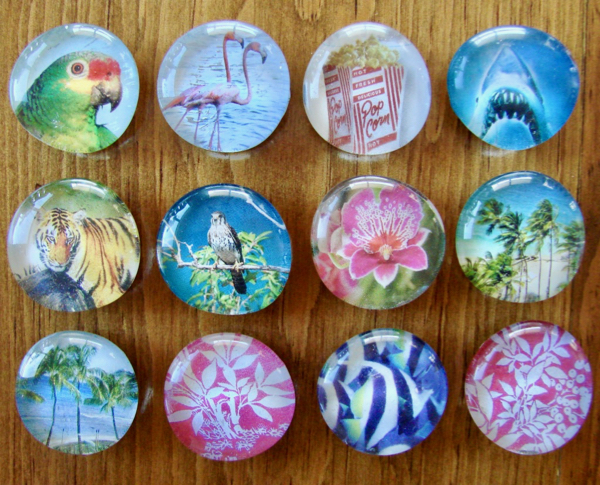
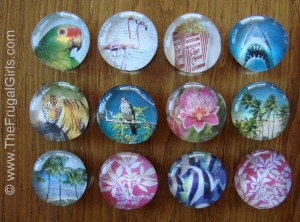
These Marble Magnets were so simple and fun to make, I actually made a bunch! And yes… that is ‘Jaws’ in the corner there!
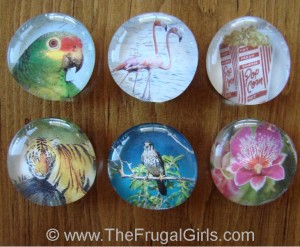
Here are some that I made with large marbles…
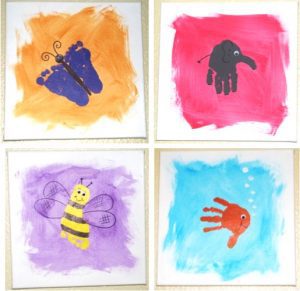
8 Fun Handprint and Footprint Canvas Art Ideas
Make some artwork you’ll cherish forever with these sweet Handprint Canvas Art ideas!
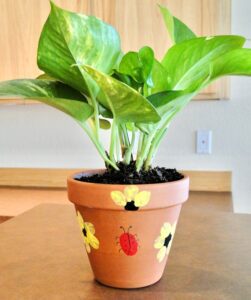
Fingerprint Flower Pot Craft for Kids
Turn any terra cotta pot into a work of art when you make this fun Fingerprint Flower Pot Craft with the kids!
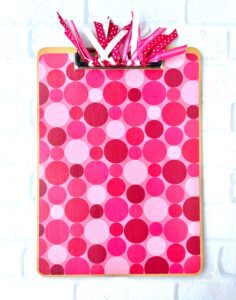
Clipboard Crafts {DIY Decorating Clipboards Ideas}
You’ll love learning How to Make Customized Decorative Clipboards with these easy DIY decorating ideas for clipboards!
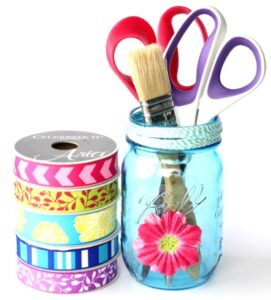
Fun Crafts To Do that Anyone Can Enjoy! {huge list}
Feeling crafty?? It’s time to get your Craft on and get inspired to do some fun crafts!
So have you tried making these DIY Marble Magnets yet?
Leave a comment & share!
Discover more from The Frugal Girls
Subscribe to get the latest posts to your email.
Anna says
amaze.ingly awesome
MomHomeGuide says
Cute! My kids would love these.
Stacey says
I absolutely love these. The kids and I found a way to re-purpose all of our Orlando/Walt Disney World brochures from over the years with this project. It was a really fun and easy.
Heidi says
Oh what a great idea, Stacey! I bet those make adorable magnets!! 🙂
~ Heidi
dela callahan says
You can use pictures of family members the photos can be copied on an ink jet printer and not ruin your photos. The small school pictures are great as you only need the headshots. Use the larger glass marbles and stong magnets. These would make great Christmas presents. I am making these for my aunts and uncles using their family picture I have.
Sierra says
I haven’t read all the dozens of comments above, but I would strongly recommend using a better glue to attach the magnet. My choice would be E-6000; you can get a small tube for about $3 or a much larger tube for about $5. It’s stinky but it is SOOO strong (and honestly, it only smells if you’re sniffing it anyway, not after it’s dried!).
Melissa says
I am making these for wedding favors, just tight budget = all DIY 😉 Our theme is peacock and I found tons of great images online but cannot figure out how to size them down. I wanted to print them on cardstock so the magnet didn’t show through the image and since cardstock isn’t cheap I want to do an entire page at a time. I am at a loss here… I thought I had it ok but they just turn out too small every time I try. HELP! 😛
Denise Warner says
Copy and paste image into a Word document. Then click on it and you should be able to resize it using the little corner circles.
Lori says
I love this craft. So cute & useful! We used this as a little take home gift at the mother/daughter brunch our teens girls hosted at church. Cheap too!
Lauren says
What an amazing craft idea! Thank you so much for posting this up Heidi! This truly is a unique and creative way to show your personalitly, your passion, and of course your creativity! Would make great gifts for any occasion, thanks again! =)
Heidi says
You’re very welcome, Lauren! I’m so glad you like the project… have fun making your Marble Magnets! 😉
~ Heidi
Cindy R says
My daughter recently became engaged. I made a set of four magnets as “Save The Date” reminders. I printed a small 1″x1″ picture of the couple; another 1″x1″ picture of her hand with ring held in his hand; a 1″x1″ borderless text box with the words Save The Date in a fancy font; and, a 1″x1″ borderless text box with the wedding date in a different fancy font. I printed each of the images on bright white, 20 lb paper. After printing, I followed the original instructions. I made three proto-type sets–one for my daughter, one for her fiance, and one for his parents. My husband and son really liked the finished product. I just mailed them to my daughter and future son-in-law so I am anxiously awaiting their responses.
Heidi says
What a cute twist on the magnet idea Cindy… I love it!! 😉
~ Heidi
Cicely says
Thank you so much for the tutoria!! I’m making these as christmas gifts and using scrap book paper to do different monogram magnets for my family. As a case I have seen people use altoid tins (which are expensive and say altoids on the top) but I am using tuna cans and removing the lids with a canopener that allows you to replace and seal the top. Its way cheap and allows you to personalize the top with a picture and a little mod podge! Can’t wait to see how much people love them!! Thanks again!
Mike Wynne says
I would love to shrink down some of child’s artwork on a copy machine but not sure if it would work. What a great way to display all their work on the fridge!
Cara says
Scan in your child’s artwork, then use photo editing software to shrink it down and print out– the quality will be MUCH better and probably cheaper to print!
Amanda says
I just finished making a set of these for a birthday present and they turned out AMAZING. My friend is in love with London, so i hopped online grabbed a few pictures and printed them out on regular paper. I got the flat marbles at the dollar store (about 30 in the bag). I had the mod podge already so that was no extra cost, and the magnets were FREE, many businesses and schools use magnets for business cards or calendars, the left overs get thrown out when the calendar is no longer current, so I scooped them up at the end of the year and I just cut them to fit my rocks.
Overall each magnet ended up costing about 3 cents! (I will probably spend more to wrap them HAHA)
THANK YOU FOR SUCH AN AWESOME IDEA!!!
Heidi says
You’re very welcome, Amanda… I’m so glad you had fun making these! The London theme sounds adorable, too!! 😉
~ Heidi
Jennifer says
I got a few of these as a gift from a student a couple of years ago! She drew designs and pictures on paper and used that instead of a magazine pictures or photos. I love them and they are still on the fridge!
Heidi says
What a fun idea ~ I love that!
~ Heidi
Mary Beth says
Love this my 3 1/2 loves this THANKS SO MUCH FOR A GREAT TIP 🙂
Susan says
This is great, I don’t know how I missed it earlier, but I’ll be trying this out to use and give as gifts through the year!
Kristina says
What a great, thrifty craft idea…thanks so much!
Jilly says
My 5 year old son and I made these last weekend. He loved helping to find just the right pictures. These will make cute gifts for Christmas. Thanks so much!
Rhoda says
What a great idea for a baby announcement too! Put the baby’s picture on the magnet (as suggested, printed on regular paper) and give with the announcement and your family has a handy “framed” picture of the new arrival.
Marisa Fedelin- Lopez says
I am so making these for a cool, CHEAP, family Christmas exchange gift! I’ll do one with a picture of each grandchild….. sentimental gifts are a HOT commodity in my family!!! THANK you once again for such and awesome yet simple idea! YOU ROCK!!!!
Sheri L. says
I made these awhile back and decorated an old Altoid’s container to hold the magnets – just by using mod podge and some leftover scraps. Once it was dry, I placed a small piece of tissue paper in the bottom of the tin and put the magnets on top and folded the sides of the tissue over the magnets like a present. Its a great way to recycle those old tins and show off the magnets at the same time!
Heidi says
Hi Sarah ~ just test them to see how they’ll look by holding up a picture to the back. Some may be more clear than others. 😉
~ Heidi
Melissa says
I made some last weekend with sales flyers I found in the newspaper. I got a smaller bottle of Mod Podge for like $3. They are sooooo cute! With the Halloween ads I got all sorts of good pics like skeletons, spiders, Batman and Spiderman!
Anita says
I make these using diamond glaze (http://www.diamondglaze.com/) and add a silver or gold Aanraku bail to the back. They can be worn as jewelry if they are sealed properly. They are not waterproof, but hold up very well with regular wear.
Sarah says
I picked up a bunch of supplies today at Hobby Lobby, $6.99 for 50 magnets, and $2.99 for 2lbs (aprox 60) of 1 inch flat marbles, but… I started freaking out, even though they are clear, they are a little bit irridescent, just a twinge of rainbow color in the light…. will the pictures still show well through them or did I just waste my money on those marbles?!?! They were the only ones they had. This is super cute, can’t wait til DH finds my hot glue gun he “borrowed”
tanja says
I buy my marbles at dollar tree a bag of approx 30 for a $1
Tina says
at JoAnn’s-Marble Accents (by the floral dept)were 2.49 for a bag of 22, magnets were 2.49 for 8 of them, Mod Podge 8oz was 4.99 (and you only use just a swipe of it). If you watch for sales and use coupons these are so inexpensive! My 7 & 9 year olds made some this weekend, piece of cake! You could do food pictures on them for a good teacher gift to accent any kitchen.
Dana says
I got a 1 inch hole punch (the exact size of those flat marbles) and punched scrapbook paper. It was much easier than cutting those little circles and much quicker.
cindy says
Thanks so much for this project! Its so kewl! You ROCK!!
Kyla May says
We’ve made these before and they’re so much fun.
Hobby Center in Nampa has double sided sticky type paper and it is so easy then you don’t have to use the Mod Podge or brushes 🙂
Wichita says
This is a fantastic craft idea! Those would be great for miniature, real life FB “Flair.” 😀
Thanks for the idea and the instructions. Can you tell me what these cost in the store? I haven’t seen them before. (Whatever the price, a bottle of ModPodge and a bag of flat marbles is probably pretty cheap in comparison.)
Sahsha's Mummy says
Beautiful!! Thank you so much for the instructions!! These are going to be a HIT for Christmas!!!!
Misty says
You can make these with your regular photos and just use some hot glue instead of Mod Podge. I made a bunch with my daughter’s face a few years back for her grandparent’s x-mas gifts; they loved them!
Heidi says
Hi Jenn ~ you can find the magnets at most craft stores or home improvement stores. {I’ve purchased them from Lowe’s and Hobby Lobby} 😉
~ Heidi
jenn says
Where do you get the magnets?
Terry says
You can also make thumbtacks for your kid’s bulletin board. Glue the back of an ordinary thumbtack on the back instead of a magnet. We saw this in American Girl magazine many years ago.
stefanie lujan says
You can get a bag of the flat marbles at the dollar store. 🙂
Melinda says
I just got home from the dollar store and Hobby Lobby. I bought the flat marbles from the dollar store and regret it now. At least 5 were broken or chipped so I had to throw those out but most of the rest have flaws. They are not perfectly smooth on the backside like the ones pictured.
I got my magnets from HL with 3 as the strength rating. I hope they will be strong enough!
Dana says
My son and I were looking for something unique for his teacher at Christmas. Like she needs another mug or candy item LOL! Thanks a bunch.
Vicki Chinn says
We used rocks and the half marbles to make Father’s Day gifts in my Children’s Church class. I put a coat of the Mod Podge on the rocks and marbles and let the children pick the one they wanted to use then they chose a picture or saying they wanted to put on them and we put the pics on and Mod Podged them about 3 or 4 times. They turned out great. We will have to use them in our Christmas gifts. I also took a clear saucer and printed a picture of my grandson and used the Mod Podge to put it on the bottom of the inter circle of the saucer, I displayed it on a small plate stand. Thanks for the reminders and for ALL you do.
Sharon in Cali says
Very cute!! Thanks 🙂
Angie says
This project is soooo stinkin cute!!! Already know who’s getting these for Christmas! 🙂 Thank you so much!!!!
Sandra says
Thank you for these instructions! I love these magnets!
Michele says
If you want to use an actual photo, I would suggest maybe printing a copy of the photo onto plain paper. That may work better than a real photo on photo paper.