This DIY Memo Board is quick and simple to make, and makes such a lovely addition to any home office or bedroom! You won’t believe how EASY it is to make one for yourself!
Following is a fun French Memo Board Tutorial and guest post by
Amy at Crafts, Cakes, and Cats ~ enjoy!!
Whether you’re wanting to add a pretty padded memo board to your home or office, or would love to give one as a sweet homemade gift, these simple step-by-step instructions will help you through the entire process!
Just pick your favorite material, ribbon, and buttons… and you’ll be on your way to making a gorgeous quilted French Memo Board!
Shannon writes: I just made this for my mother and she adored it! I also took a picture in the store and emailed her to choose the fabric. It’s beautiful. Thanks!!"
DIY Memo Board
Related: More Creative Photography Tips and Crafts
For my best friend’s birthday, I really wanted to make her something special! For the longest time, I have wanted to make a French Memo Board.
I have one I purchased on clearance at some point, but you look at them and think “I can make that!” so why not try since they are so darn expensive in the store!
The best part is, you can make them with any color/fabric combination that your heart desires.
I wanted my friend’s gift to be a surprise (of course), but I also wanted her to like the fabric!
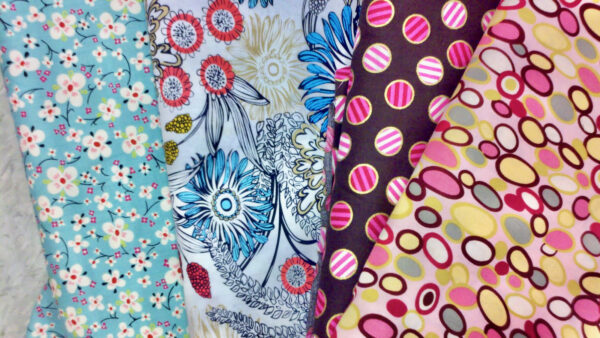
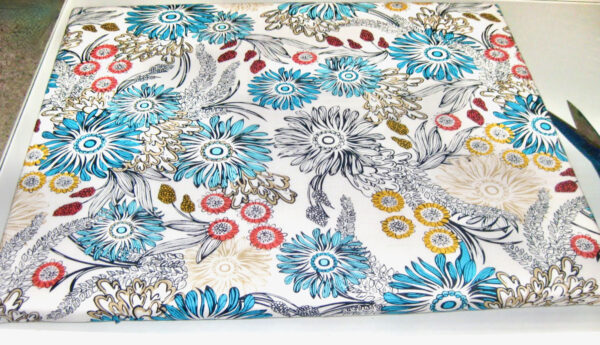
So… I sent the following picture to her so she could pick a fabric, but still have no idea what it was for.
My friend chose the second one in from the left! Isn’t it so cute?!?
What Do You Put on a Memo Board?
There are so many fun ways to use a French Memo Board! Here are a few of my favorite things to put on memo boards…
- Inspirational Quotes
- Photos
- Postcards
- Reminders {party invitations, etc.}
- Sweet Memories {movie ticket stubs, travel memories, etc.}
- Vision Board Pictures {things you’re aspiring to, things you’re saving for, etc.}
How Do You Make a Padded Memo Board?
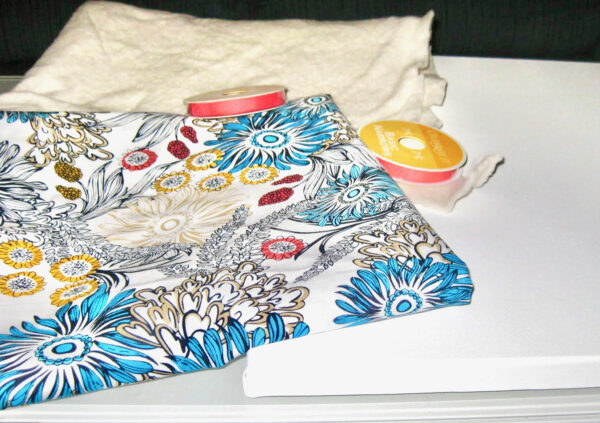
To make a Memo Board of your own, all you’ll need is…
- Canvas with wooden frame {I used a 16×20, but you can use any size}
- 1 yard of Fabric
- Matching ribbon {I roll was enough this project}
- Quilting Batting
- Buttons {or any decoration of your choosing}
- Stapler + Staples
- Hot Glue Gun
- Needle and Thread {to sew on buttons}
How to Make a Fabric Memo Board:
Now that you’ve collected your supplies, it’s time to move on to the fun part! Grab your canvas and batting, and let’s get started with this easy step-by-step tutorial!
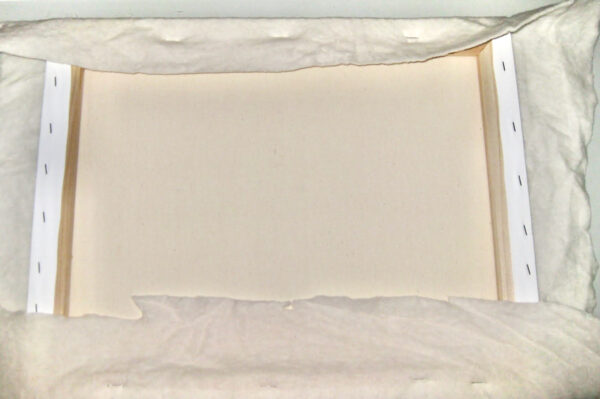
Step 1: Cover Your Canvas with Batting
Cut and lay out the batting so there is about one inch extra all the way around the canvas (you will do the same with the fabric)…
Pull batting tight and staple into the wooden frame of the canvas!
Step 2: Cover the Batting with Fabric
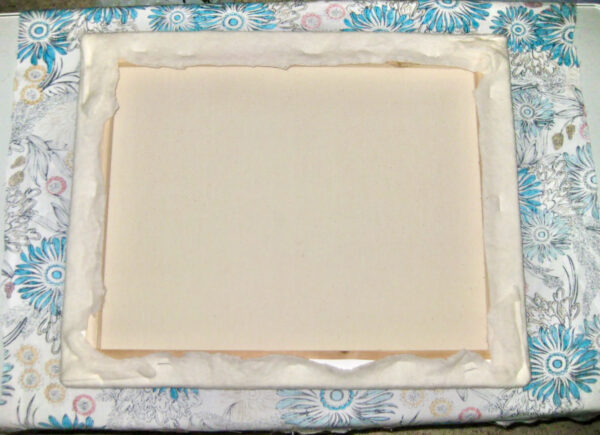
Now that you’ve affixed your batting, repeat Step 1 with your fabric. Make sure the ‘right side’ of your fabric is facing out.
Just like you did with the batting, now pull your fabric tightly over the batting, and affix on the back with staples.
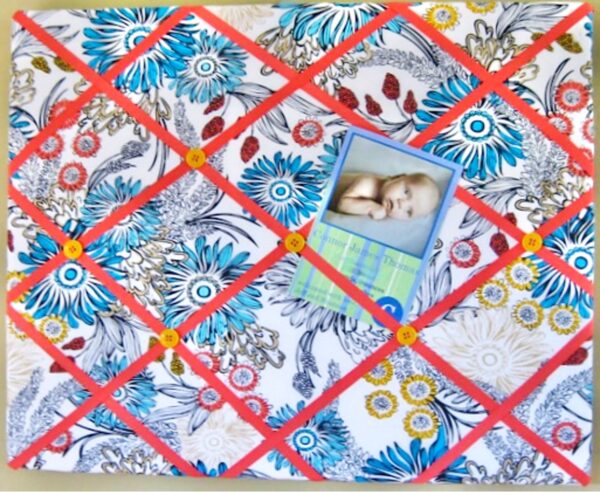
When you’re done, it should look like this…
Step 3: Add Your Ribbon
Then… criss cross your ribbon stating at one corner and going to the opposite corner. Example: lower left to upper right. Start with corners and then do as many other diagonal sets in both directions. Be sure to keep ribbon tight and just staple them into the back 🙂
Step 4: Sew on the Buttons
I don’t have a picture of the button step but basically where ever my ribbon crossed, I sewed on a button. {see above}
The button is an added decoration, but will also make the ribbon even tighter for holding pictures.
On the back of the canvas I also used the hot glue on my sewing knots to make sure everything would stay in place!
Step 5: Hang Your DIY Ribbon Memo Board!
There are a few different ways you can hang your memo board. Depending on the size of the canvas you used, consider these options…
- Command Hooks
- Sawtooth Hanger + Nail
- Wire Picture Hanger + Nail
My name is Amy, I have a blog called Crafts, Cakes, and Cats. I love to bake and be creative in both my personal life and my job. My job as a Nanny gives me a great creative outlet. I grew up with a home cooked meal almost every night and I try to do the same now as an adult!
Now that you’re ready to make your own DIY Memo Board, check out more Fun Crafts below…
How to Make Photo Coasters
These easy DIY Photo Coasters start with a simple tile, and transform into sweet keepsakes that make great thrifty gifts!
DIY Photo Tile Magnets
These easy DIY Photo Tile Magnets are such a fun way to spruce up your fridge! They also make great gifts!
DIY Photo Cube
This is such an easy way to make a personalized homemade gift for someone you love!
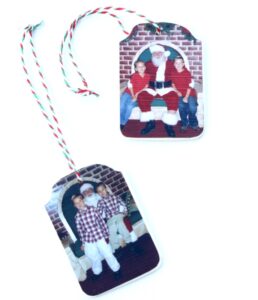
Easy Christmas Photo Ornaments
Capture your favorite memories, and make some cute gifts with these Easy Christmas Photo Ornaments!
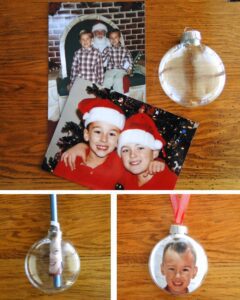
Easy DIY Photo Ornaments
Deck the halls and trim the trees this Christmas with more fun photo ornaments!
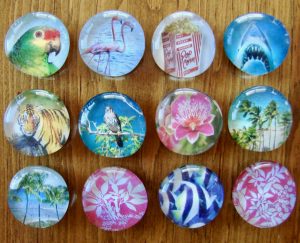
DIY Marble Magnets Tutorial
These Marble Magnets are such a cinch to create, and make the cutest statement on any fridge or file cabinet. Or give some as fun little gifts!
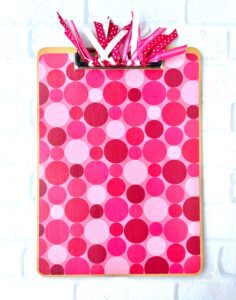
Clipboard Crafts {DIY Decorating Clipboards Ideas}
These Decorative Clipboards are fun to use, simple to make, and are a great thrifty gift, too!!
How to Make Painted Mason Jar Pencil Holders
Once you learn How to Make Painted Mason Jar Pencil Holders, you’ll never look at that boring #2 Pencil the same way again!
Photography Tips and Tricks + Fun Photo Gift Ideas
Becoming an AMAZING photographer is easier than you think, thanks to these little-known Photography Tips and Tricks for your phone and DSLR!
Fun Crafts To Do that Anyone Can Enjoy! {huge list}
Feeling crafty?? It’s time to get your Craft on and get inspired to do some fun crafts!
75 Creative Teacher Gift Ideas
Use this BIG List of Creative Teacher Gift Ideas to load up on some truly inspired teacher gift tips!
So have you tried making this DIY Memo Board for yourself?
Leave a comment and share…

Abbie says
What width ribbon did you use/would you suggest?
I’m making 3 of these (matching) for my partner and I to use for 1) collected postcards when we travel, 2) collected foreign currency, and 3) pictures. The canvases I bought are 24×36 (ambitious, I know).
Thanks!
Linda Posivio says
This is awesome! I can hardly wait to get started! Thank you so easy directions! I’ve seen these and thought I’d like to do that, but didn’t know where to start!!!
Lauren says
Thank you for posting this tutorial! My only question is how would you mount the board?
ARHUEE says
I have a friend who did this and used an old cork board. Much cheaper! But cant sew buttons on. 🙁
Shannon says
I just made this for my mother and she adored it! I also took a picture in the store and emailed her to choose the fabric. Between picking a yard of on-sale material, only buying one roll of ribbon (which is all I needed) and a coupon, I paid about $20 for mine. It’s beautiful. Thanks!!
Anne says
I am thinking you sew the buttins on the ribbon first.
Amy says
I sewed the buttons on after it was put together. I did them by hand and since its just a little padding and canvas it wasn’t hard.
Shannon Thomas says
That baby is awful Cute in the picture on the Board…though I may be prejudiced since he is mine!!! Though he is almost 4 now. I know this has nothing to do with the craft. Other than my sister is awesoem who made it 🙂
Amy Kahler says
There is no wood on the back of the canvas just the frame. So I just used a sewing needle and did it by hand 🙂
Carol says
Thanks so much for your answer ~
Carol says
Great idea! My question is this ~ How do you sew the buttons on where the ribbons cross? If the ribbon has been stapled tightly to the back of the canvas frame, there doesn’t seem as if there would be enough room to use a needle and thread to sew anything on the ribbon. Just askin’ ~ ’cause I’m a noodle head when it comes to crafts!
Crysta says
You would sew the button through the ribbon and then through the canvas. Once you have a few stitches (basically the way you would sew a button through a shirt) you would just dab the back with a little hot glue to keep everything from unraveling.
Jenni says
I’ve been looking and looking for a tutorial on this and haven’t found one as good as this. Thank you for sharing. I just made one using two layers of poster board, batting, and some upholstery tacks, but there were a lot of problems with it! Time for a redo with your instructions! 🙂