
Are you ready to take your sliders to the next level? Tiny but mighty, these mini Slider Buns are SO simple to make, the ultimate party pleaser, and perfect for bite-sized burgers! Perfectly soft and fluffy, and infused with honey for outrageous flavor, you’ll never go back to store bought slider buns again!

Without a doubt, these golden slider buns are the snack-sized sensation you’ve been looking for.
They serve up an avalanche of buttery sweet flavor that quite simply puts their store-bought counterparts to shame!
Heather writes: "Soooo many ways to use these tasty lil buns!!"
Oh sure, they may be dainty in stature, but don’t let that fool you! These little beauties are about to make you weak in the knees with delight!
Believe me, with just one pillowy soft bite… you’ll know you’re entering into a magical new world of heavenly snacking perfection!
These mini slider buns truly are the perfect way to nourish every last one of your slider cravings.
They’ll effortlessly upgrade your Instant Pot Buffalo Chicken Sliders, shredded BBQ Chicken Sliders, and these sweet and savory Grape Jelly Meatballs sliders, too! I’ve even included tips for how to make cheeseburgers sliders below.
These little buns also get major bonus points for being ridiculous easy to make!
You’ll simply use your stand mixer to create the dough, before allowing it to rise. Then you’ll just bake up your buns like we do with my Soft Hamburger Buns Recipe.
Easy peasy!
When it comes to All American Finger Foods, it’s hard to beat fresh baked slider buns loaded to the sky and teetering with your favorite toppings!
Now let’s get baking!
Here’s what you’ll need to get started…
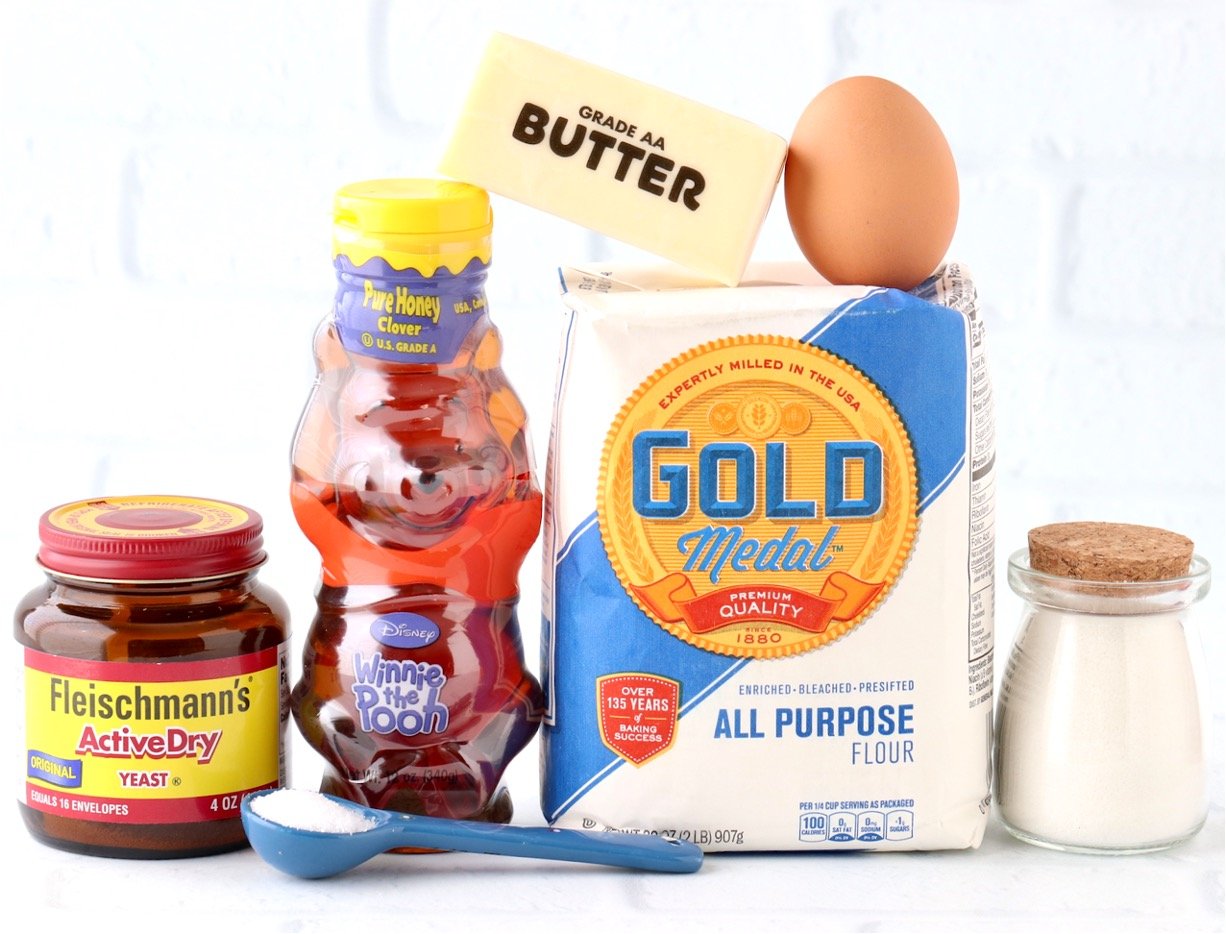
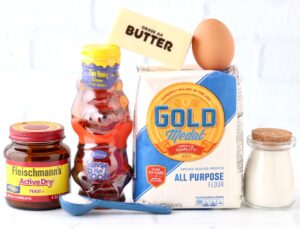
Ingredients
Here’s what you’ll need to make the BEST small buns for sliders…
- All Purpose Flour – Unbleached Organic All Purpose Flour can be substituted.
- Active Dry Yeast – To help your dough rise into pillowy perfection!
- Honey – To add the perfect kiss of sweetness.
- Granulated Sugar – Just your ordinary white sugar.
- Unsalted Butter – To add that rich, buttery flavor.
- Salt – To bring out the flavors.
- Avocado Oil – Olive oil can be substituted.
- Eggs – One for the dough, and one to make the pretty egg wash on top of your buns,
- Milk – For the egg wash.
- Optional: Sesame Seeds, Everything Bagel Seasoning, or dried Minced Onion for topping.
That’s it. So simple. Homemade Bread Recipes don’t get much easier or tastier than this!
Pin this now to find it later
Pin ItHow to Make Slider Buns
So how do you make hamburger slider buns from scratch?
Well, it’s actually really easy to make mini burger slider buns, and the hands on time is fairly minimal!
Here’s what you’ll do…
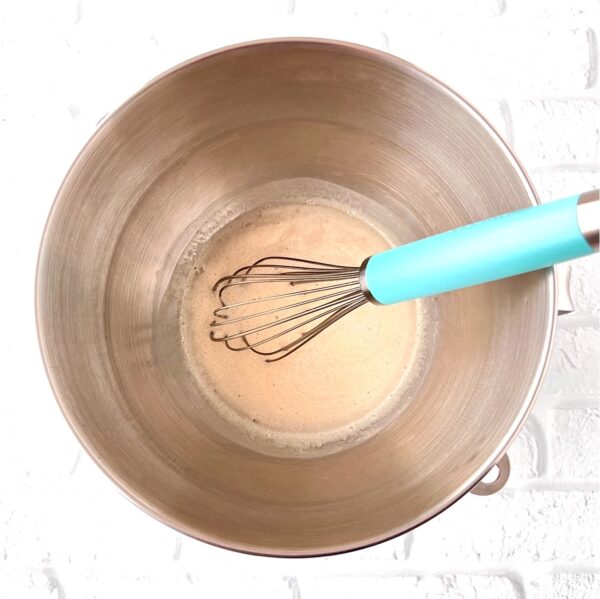
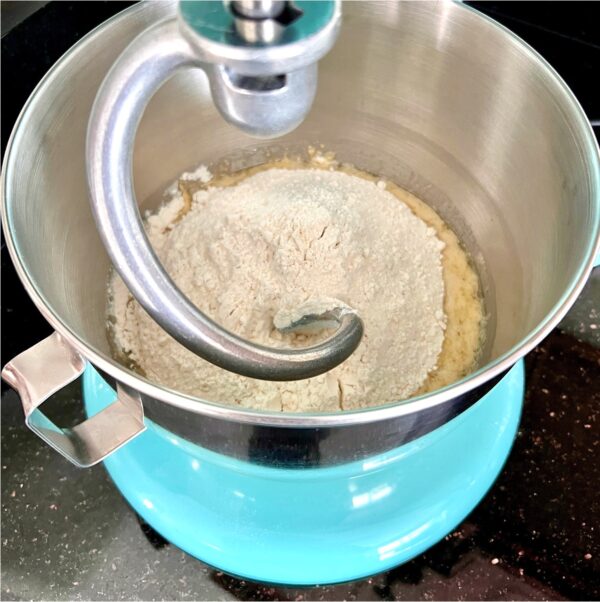
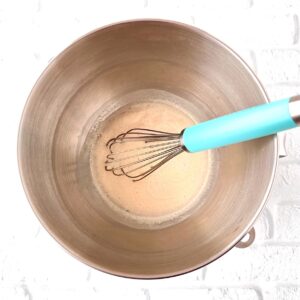
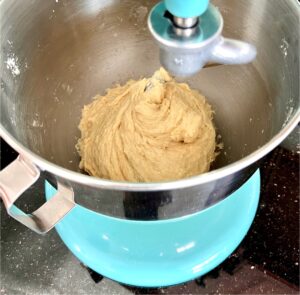
1. Activate yeast, then add additional ingredients and whisk. Carefully measure your flour, add to stand mixer with dough hook attachment, and mix until dough ball forms.

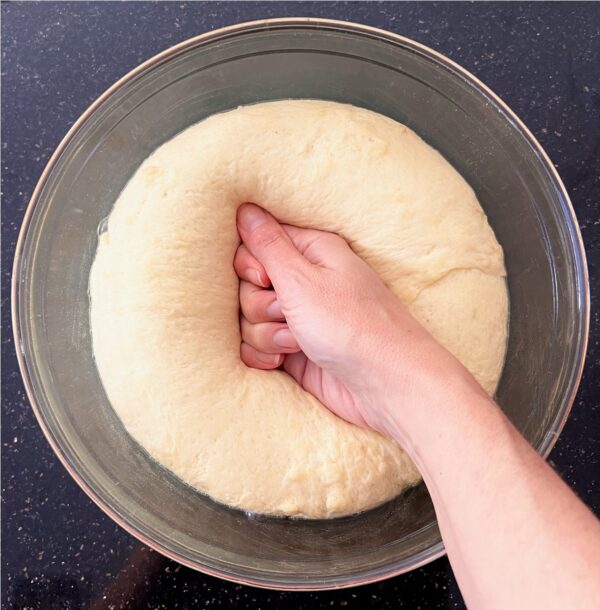
2. Allow dough to rise, then gently punch down dough to deflate.

3. Transfer to floured surface, and cut into 18 equal portions.

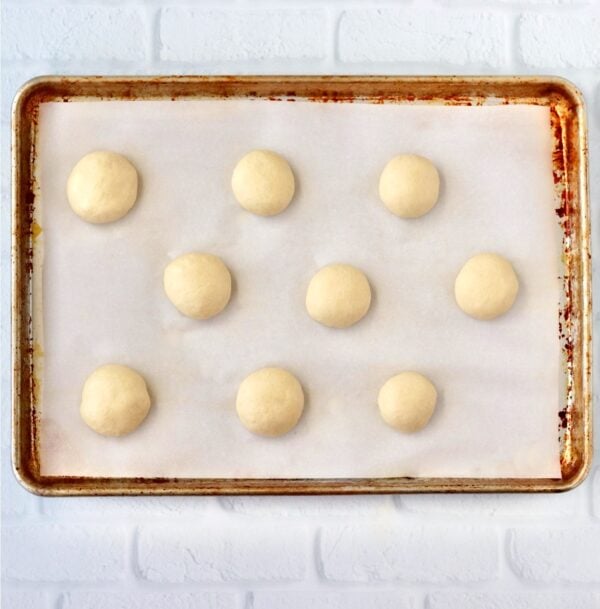
4. Shape dough by stretching and folding, pinching the seams closed, and rolling on a non-floured surface to tighten up dough into a golf ball sized ball. Transfer to parchment lined cookie sheet (two sheets, with 9 on each), then cover and allow to rise again in a warm, cozy spot.


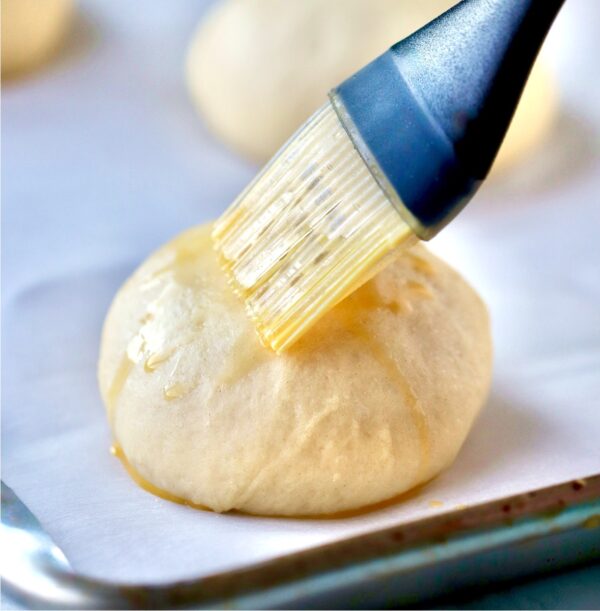
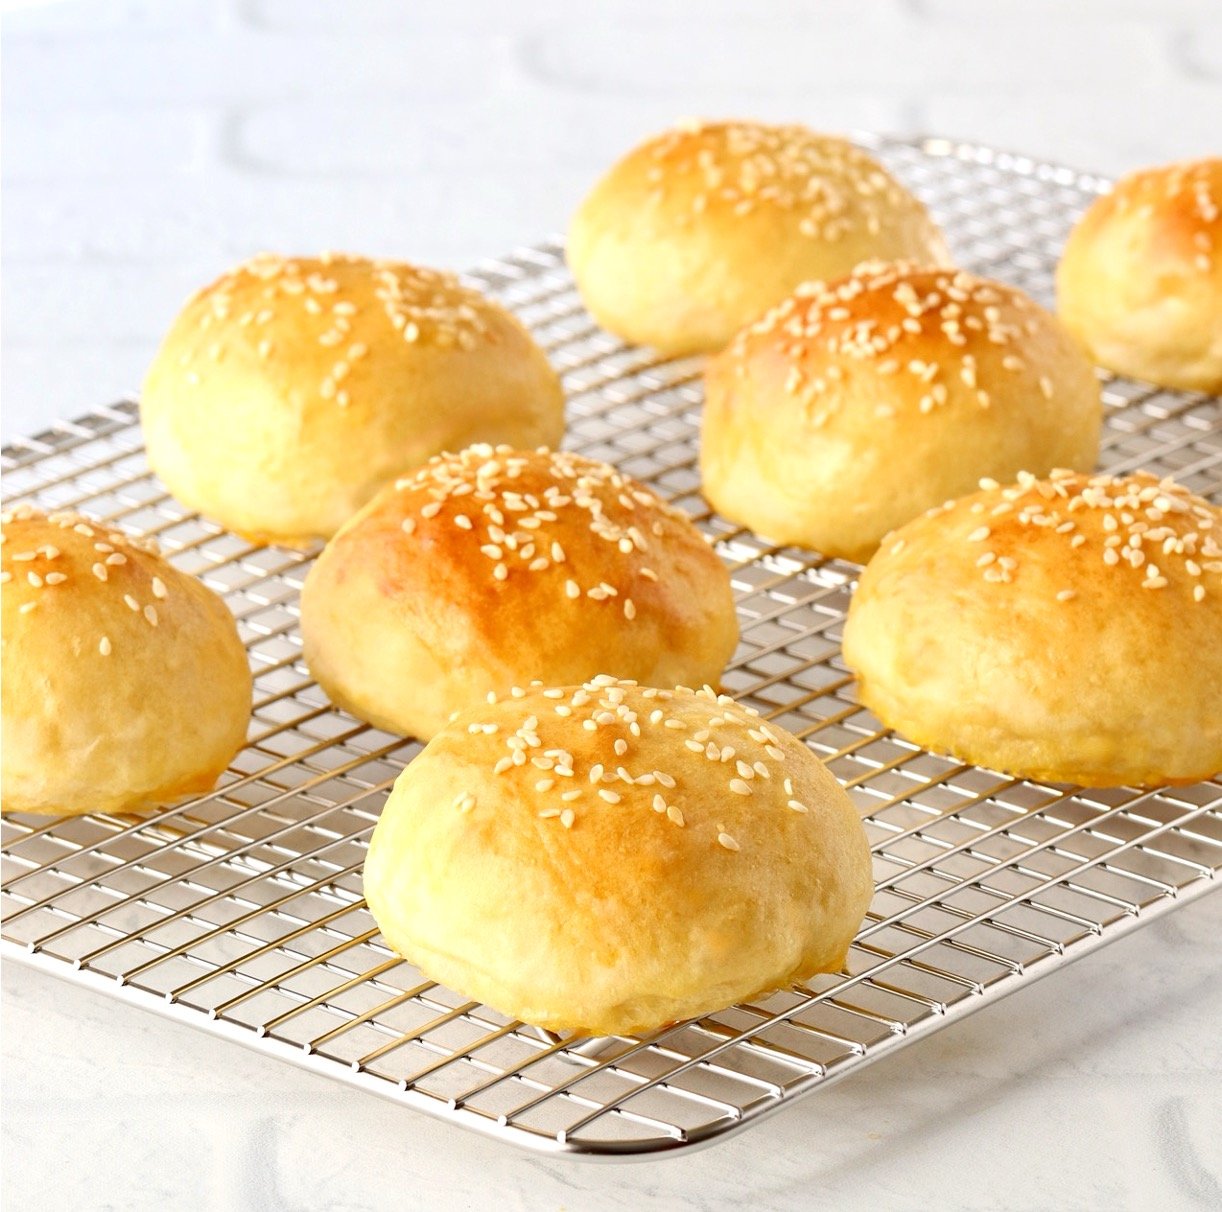
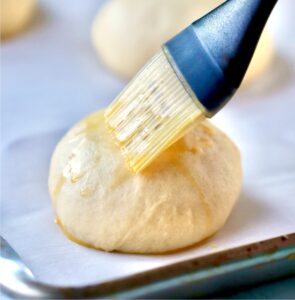
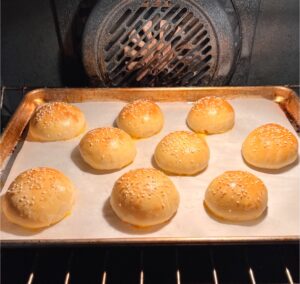
5. When ready to bake, brush each dough ball with egg wash, bake your mini buns one tray at a time, and allow to cool on wire racks.


See… I told you this was going to be simple! Aren’t they pretty little buns for sliders?
And there you have it!
You just made the perfect tiny bun for tiny burgers… and tiny hands!
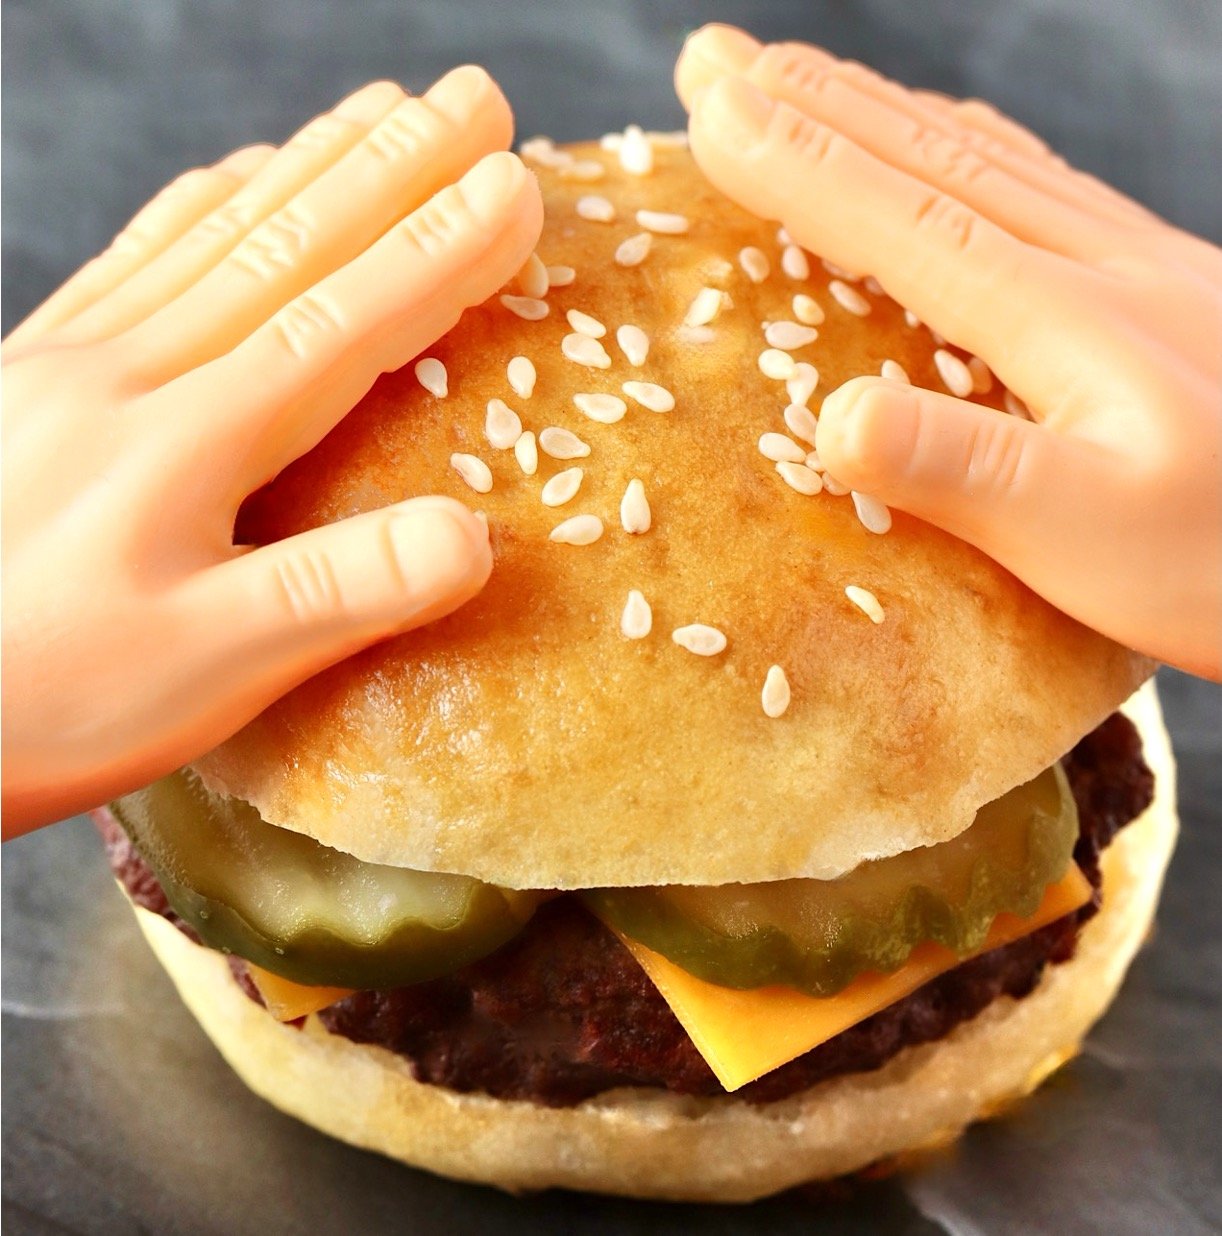
Talk about pocket-sized perfection!

Believe me, easy appetizer recipes don’t get any more rewarding than these mini slider buns!
Scroll down for the printable recipe card with detailed, step-by-step instructions.
How To Use Slider Buns
There are so many delicious ways to put these to use! Here’s one of my favorites…
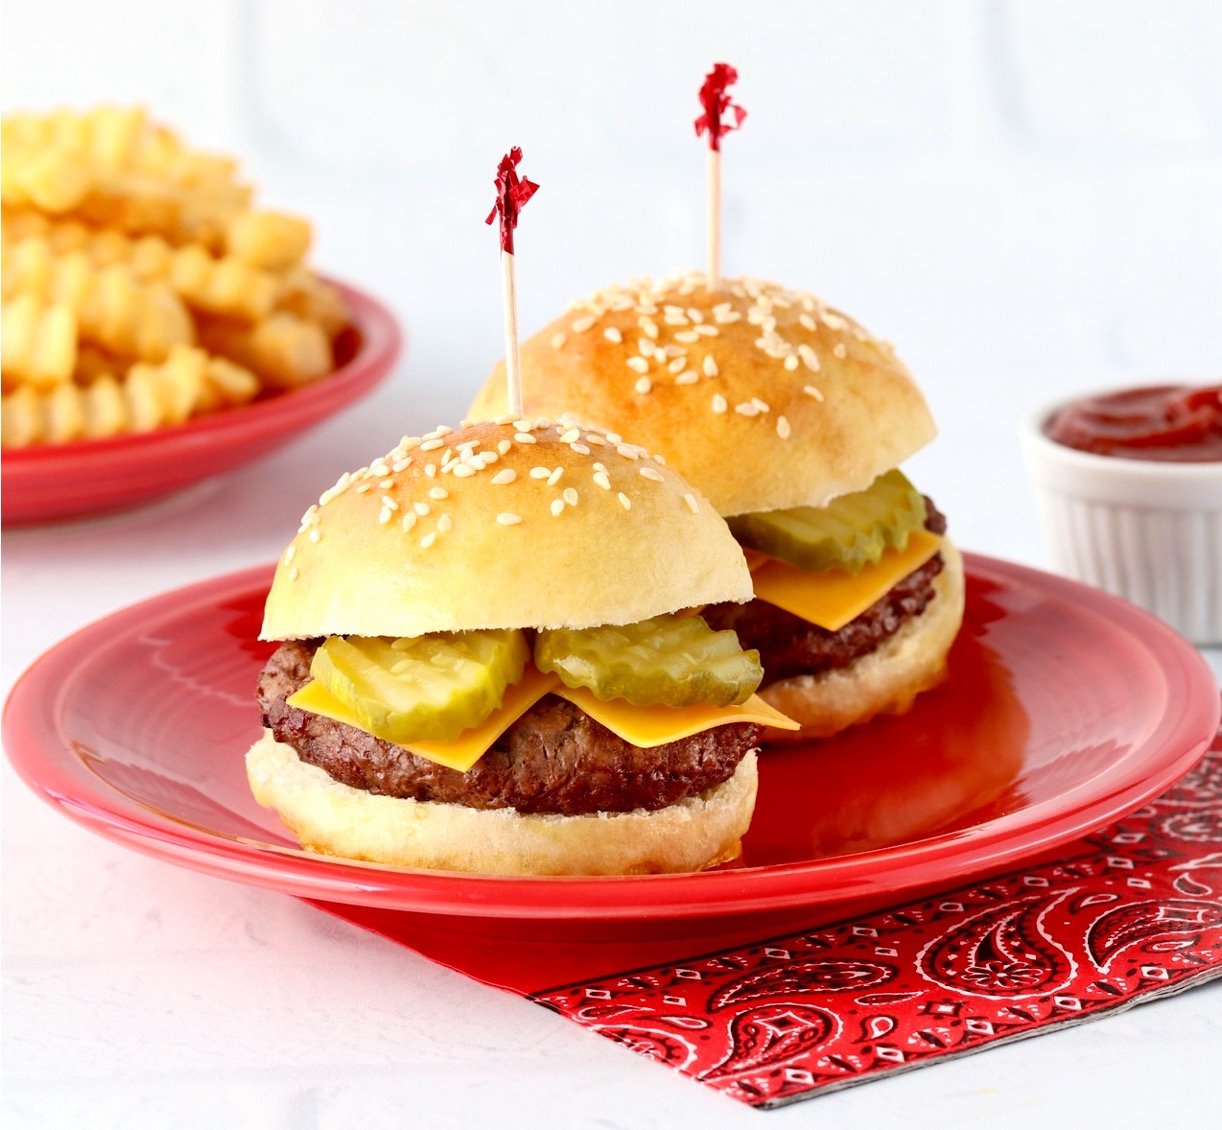
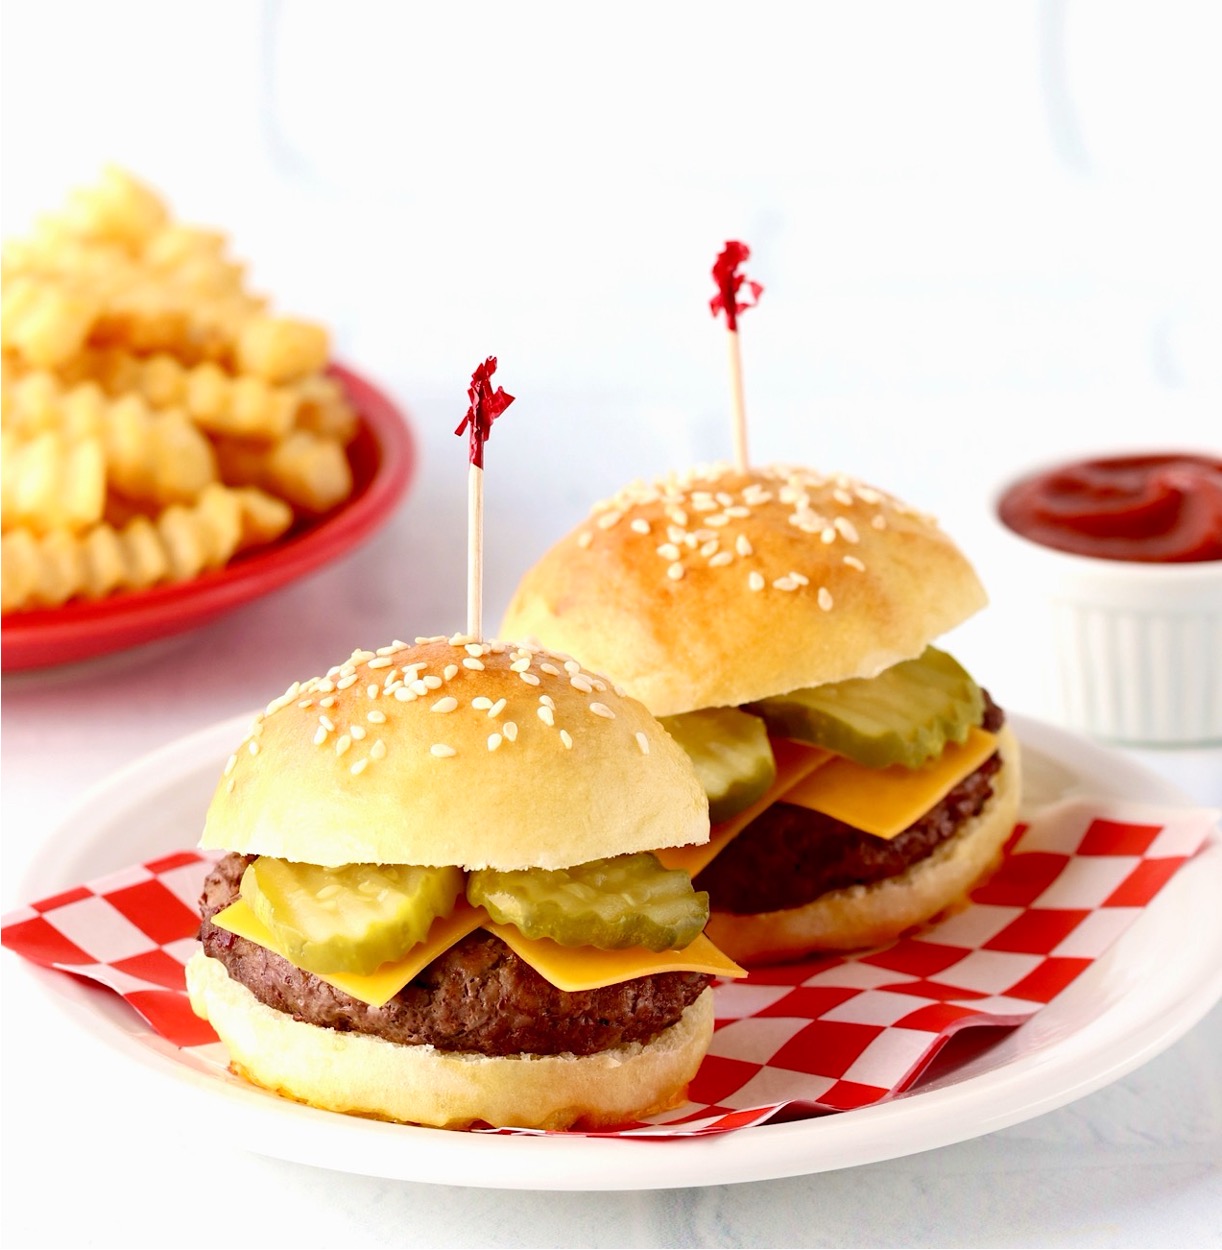
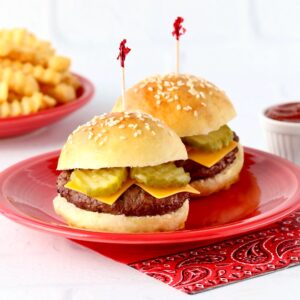
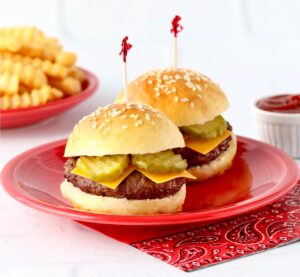
Cheeseburger Sliders
One of my favorite ways to use these fresh baked buns for sliders, is for cheeseburger sliders!
Of course you can always make this cheeseburger sliders recipe using Hawaiian rolls, like I did with these Arby’s style Roast Beef Sliders and morning Breakfast Sliders. But if you really want the ultimate crowd-pleasing showstopper… nothing beats crafting your sliders with these heavenly fresh burger slider buns!
- Divide 1 pound Ground Beef into 6 equal portions and form into small burger patties. (I like to use a 3″ round biscuit / cookie cutter)
- Grill mini burger patties on the grill outside at 400 degrees, or on a grill pan inside on medium high heat.
- Cook for 4 minutes on each side, lightly salting on each side.
- For the last 1 minute of cooking, add a slice of cheese to each burger to allow it to melt. Then build your mini burger sliders on your freshly baked slider buns and ENJOY!
- If you want to make bacon cheeseburger sliders, be sure to use my tips for How To Cook Perfect Bacon!
Toasted Slider Buns
These slider buns are perfectly soft just as they are, but if you’d like little mini toasted burger buns, here’s what you can do…
Before building your slider, slice bun, butter inside of each side, and grill face down over medium heat for about 30 seconds – 2 minutes on a skillet on the stove. They’re done once golden brown and toasty on the inside. YUM!
Storage Tips
For the best texture and flavor, store unsliced buns in an airtight container at room temperature for up to 2 days.
I like to wrap each bun individually in plastic wrap, then place in a gallon ziplock bag to keep them nice and soft.
When ready to use, slice and enjoy!
Freezer Instructions
Hamburger slider buns freeze beautifully! In fact I have 3 bags stocked in my freezer right now!
After they’ve cooled completely, wrap each unsliced slider bun in plastic wrap, then place in gallon ziplock bags. Or for longer term freezing, you can wrap first in plastic wrap, then in aluminum foil for an extra layer of protection.
Freeze up to 2 months.
Reviews
Here’s what your frugal friends are saying about this easy recipe…
Heather writes: “Soooo many ways to use these tasty lil buns!!”
Vanessa writes: “Great for the Super Bowl”
More Easy Recipes For Bread

Did You Enjoy This Recipe? ⭐️⭐️⭐️⭐️⭐️ Leave a comment & review below!
Slider Buns
Doubling Recipe Tip
If doubling or tripling recipe with buttons below, ingredient notes found after comma will not adjust. Increase ingredients as needed.
Ingredients
- 2 1/4 teaspoons Active Dry Yeast
- 1 cup Warm Water
- 1 tablespoon + 2 teaspoons Granulated Sugar
- 4 tablespoons Unsalted Butter, (melted)
- 2 tablespoons Honey
- 1 Large Egg, (lightly beaten)
- 1 1/2 teaspoon Salt
- 3 1/2 cups All Purpose Flour
- 2 teaspoons Avocado Oil or Olive Oil
- 1 Egg + 1 tbsp. Milk or Water + a Pinch of Salt, (for egg wash)
- Optional: 1 1/2 teaspoons Sesame Seeds, Everything Bagel Seasoning, or Minced Onion, (for topping)
Instructions
- Gather your ingredients.

- Add warm water, yeast, and 2. teaspoons sugar into your stand mixer's bowl. Whisk to combine and let stand for 10 minutes. It should be frothy when done.

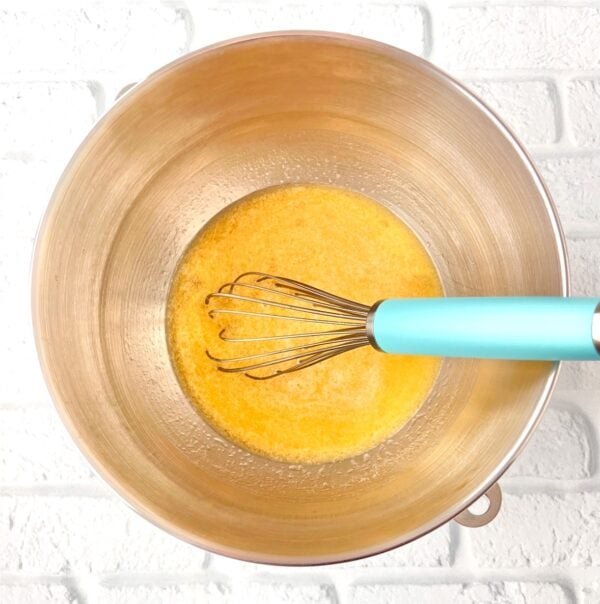
- After 10 minutes, add melted Butter, Honey, beaten Egg, Salt, and 1 tablespoon Sugar into bowl. Whisk again to combine well.

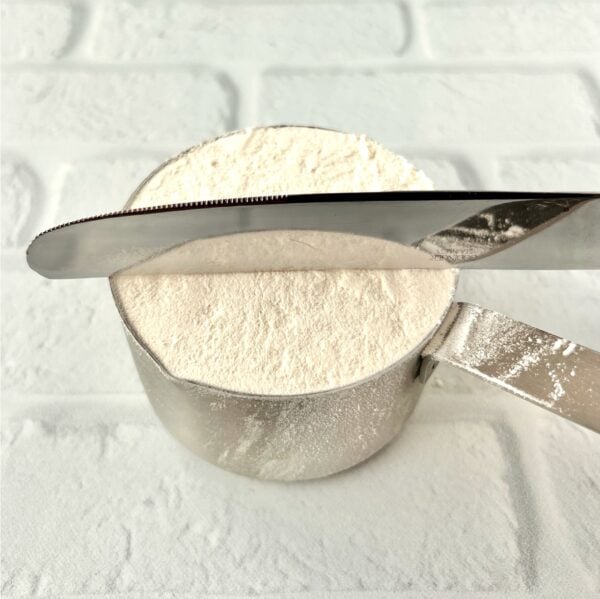
- Careful measure your flour by spooning into measuring cups and leveling off with the back of a knife.
- Add Flour into bowl.
- Using the dough hook for your stand mixer, knead dough on Low Speed (Level 2) for about 5 minutes, or until a dough ball forms. Scrape sides down as needed to make sure flour is incorporated in. Do NOT overmix.

- Brush 1 tsp. Avocado Oil or Olive Oil on sides and bottom of large glass or ceramic bowl. (these types of bowls work great for dough proofing, as they retain heat and keep dough warm)
- Remove dough from stand mixer's bowl, shape into ball with hands… tucking sides underneath, and place into your oiled bowl.
- Brush additional 1 teaspoon of oil onto top and sides of dough ball.
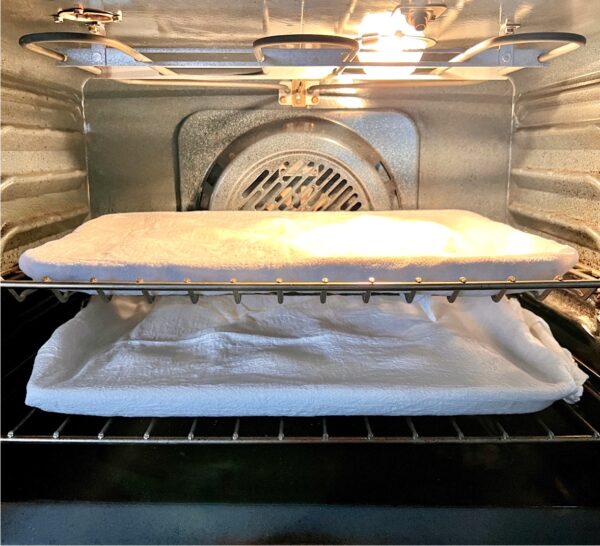
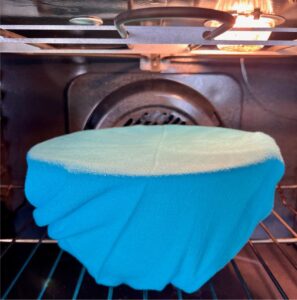
- Cover bowl with light tea towel or flour sack cloth, and let dough rise in a warm spot of your home. (Dough loves temperatures around 75°F – 80°F. If your home is feeling cool, place your bowl on top of the refrigerator or inside your 'turned off' oven with only the oven light on.)

- After 1 – 2 hours, once dough has doubled in size, it's time to make some slider buns!
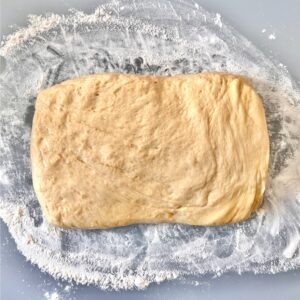
- Gently punch down dough ball to deflate, then transfer to a floured surface like a large cutting board, countertop, or pastry mat.

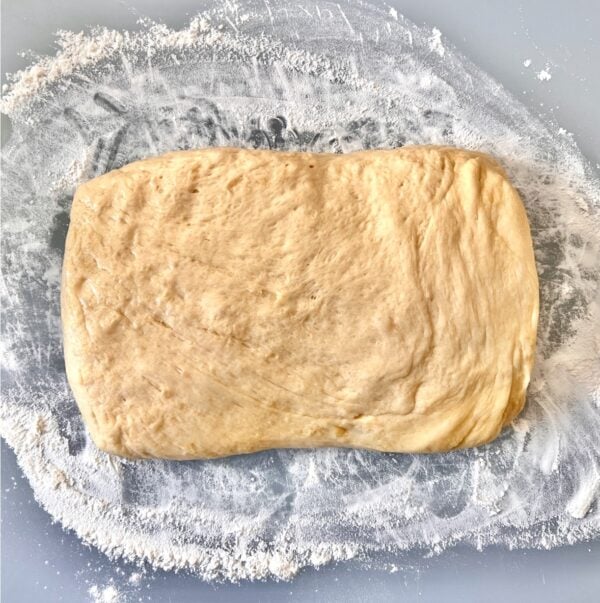
- Shape dough into a rectangle with your hands, dust the top with a little Flour.
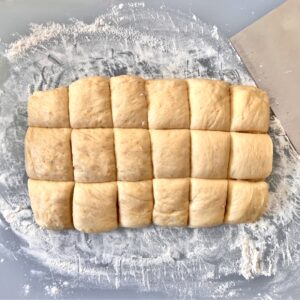
- Then cut into 18 equal portions. (I like to use a bench scraper to cut and section the dough.)
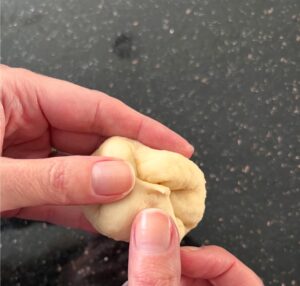
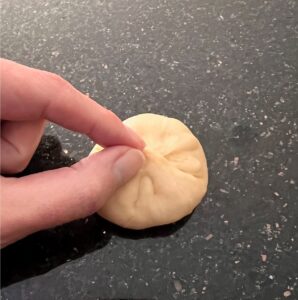
- Pick up one portion with well-flour hands, and begin to 'stretch and fold' dough into center to form a round shape.

- To create a tight ball, pinch seams together tightly at one central point. This will help give them a beautiful rise when baking.
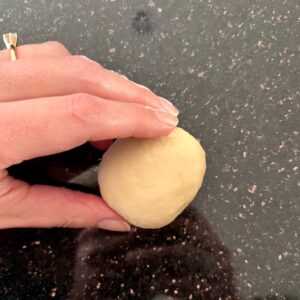
- Then roll on a non-floured surface to help dough tighten up into a golf ball sized ball. Rolling on a work surface without flour provides that extra bit of resistance needed to make those dough balls taut.
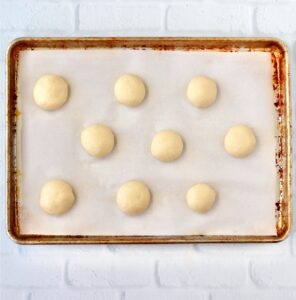
- Transfer dough balls to two parchment lined baking sheets (9 per each sheet), leaving plenty of space between each dough ball.

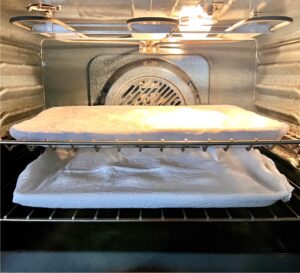
- Dust lightly again with flour, and cover gently with light tea towel or flour sack cloth. Allow dough to rise again for 1 more hour in a warm, cozy spot like your 'turned off' oven with the light on.

- After 1 hour, preheat oven to 375 degrees. (If dough has been rising in oven, remove from oven before preheating) 🙂
- Now let's Egg Wash! Beat 1 egg, stir in 1 tbsp. milk (or water) and add a pinch of salt. Stir well, then dip your pastry brush in the egg mixture and brush over the entire top and outer edges of each slider bun.
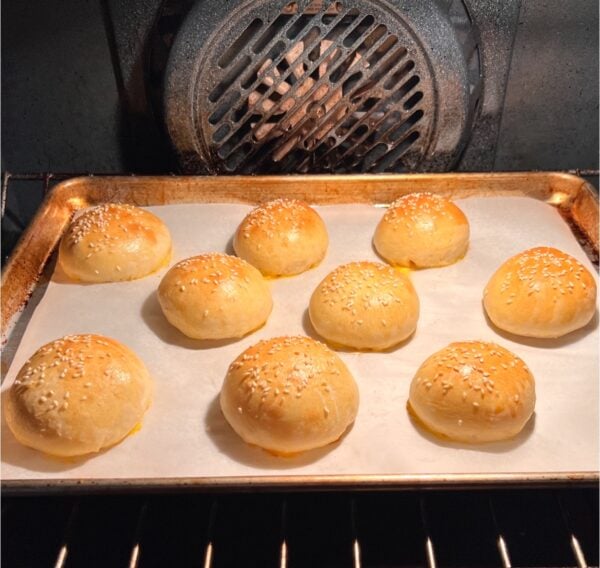
- For plain slider buns, leave as is. Or if you want a topping, you'll add it now. Sprinkle the top of each slider bun with Sesame Seeds, Everything Bagel Seasoning, or dried Minced Onions.
- Bake for 10 – 12 minutes on center oven rack, or until done and golden brown on top.

- Once done, remove from oven, and transfer to a wire rack to finish cooling.

- Now build your delicious sliders and ENJOY!


Notes
- Storage Tip: Unsliced buns can be stored in an airtight container at room temperature for up to 2 days
- Freezing Tip: After buns have cooled completely, and before slicing, wrap each bun individually in plastic wrap. Then transfer wrapped buns to gallon freezer storage bag, removing as much air as possible from the bag. Store up to 2 months in the freezer.
- Reheating Tip: If reheating frozen buns, allow to come to room temperature on the counter, then slice and toast in the toaster or even better yet… slice buns, butter inside of each side, and grill face down over medium heat on a skillet on the stove. Grill for about 30 seconds – 2 minutes, until golden brown.
- FAQ’s: For answers to Frequently Asked Questions or tips for common substitutions and variations, please refer to the detailed information above this recipe card.
 Like this recipe? Rate & comment below!


These are almost too cute to eat, Heidi! I love that they’re easy to make for the weekends and for the weeknights too. Plus, the littles are going to go crazy for the honey butter combo. I can’t wait to try these with Nashville Hot Chicken too. Hugs, CoCo
Mmm… these would be so perfect with Nashville Hot Chicken!