Feeling crafty?? Get inspired with these easy and fun crafts to do at home!
![]()
Feeling Crafty? Get inspired with this HUGE collection of Fun Crafts To Do that Anyone Can Enjoy!
I have always loved crafts… there’s something so fun about the challenge of making something new, the outlet of creativity during the process, and of course the fun finished result, right?
Girls, Boys, and Adults of all ages will love getting to work on with these easy, adorable projects!
There are Crafts for every season, holiday, and occasion ~ perfect for both kids and adults!
So many of these ideas make great homemade gifts, too! So are you ready to get crafting??
It’s time to get creative and get inspired with these Easy Crafts from The Frugal Girls…
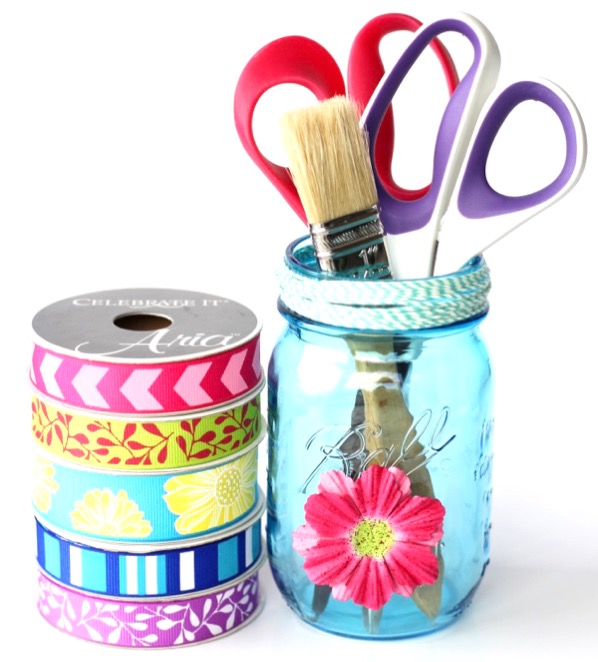
Fun Crafts To Do at Home
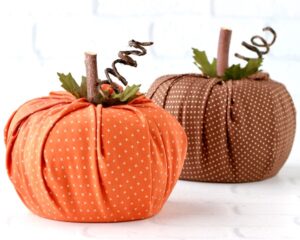
Fall Crafts
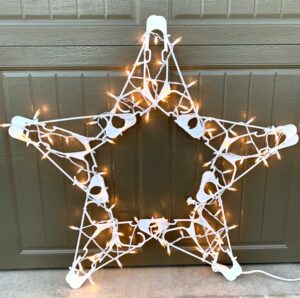
Christmas Crafts
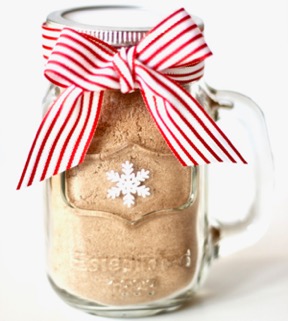
Gifts in a Jar
Wood Crafts

Wreaths

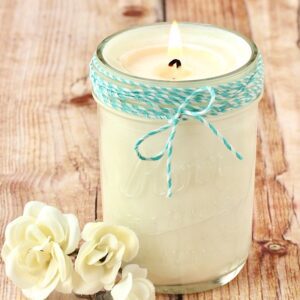
Candle Making
Floral Crafts

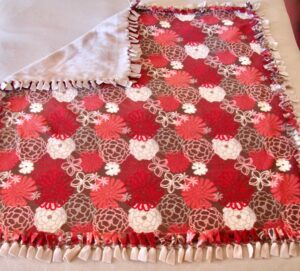
No Sew Projects
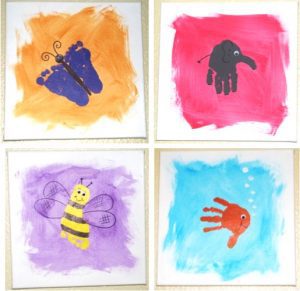
Painting
Paper Crafts

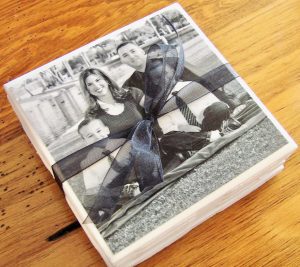
Photo Crafts
Crochet Patterns

Hair Clips & Bows

Kid Crafts
Valentine’s Day Crafts