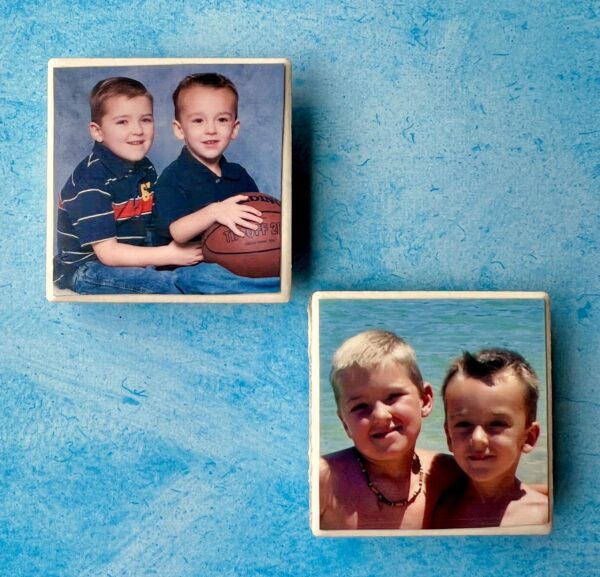
These easy DIY Photo Tile Magnets are such a fun way to spruce up your fridge! They also make great gifts!
There’s nothing more fun than going to the fridge and seeing your favorite faces smiling back at you! 😉
These DIY Photo Tile Magnets are such a cinch to make and will cheer up any refrigerator, file cabinet, or other magnetic surface.
They also make great Personalized Photo Gifts for Friends, Grandparents and Teachers!!
DIY Photo Tile Magnets
Related: Frugal Gift Ideas for Everyone on Your List
DIY Photo Tile Magnets – Supplies Needed:
- Small Tiles {approx. 2″ x 2″} – I found a sheet at Home Depot with 24 per sheet for $2.57, so you can make a LOT of magnets for a great price!
- Mod Podge
- Box Knife
- Foam Brush for Painting
- Strong Round Magnets
- Gorilla Glue
- Optional: White Acrylic Paint {to paint unfinished edges}
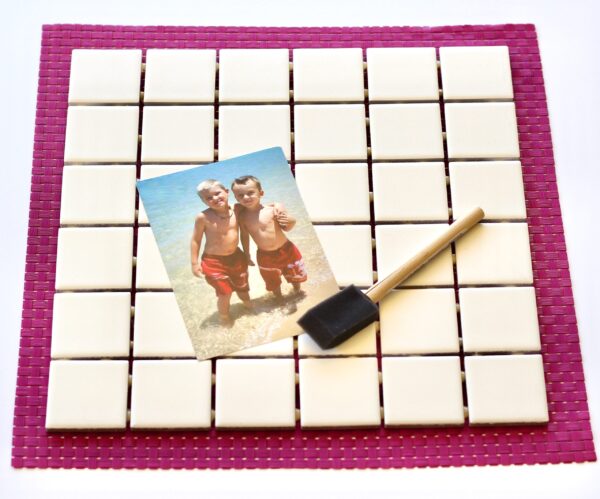
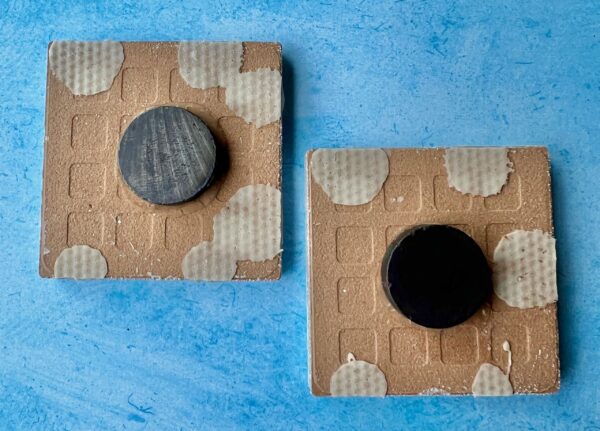
DIY Photo Tile Magnets – Instructions:
Carefully cut tiles off of sheet using a box knife. {they are held together by little dabs of moldable glue}
Cut down photos to fit on your tiles.
Using a small foam brush, brush on Mod Podge to back of photo, then carefully place down on center of tile. Allow to completely dry {approx. 15 minutes}.
Once dry, carefully brush a layer of Mod Podge on top of the photo {using strokes from left to right, to keep the lines going in the same direction}. Allow to dry completely. {approx 15 minutes}
Once dry, brush one final coat on top of photo, using strokes from left to right again. Allow to dry completely.
Optional: Paint the unfinished edges of your tile with white acrylic paint and a foam brush for a more finished look.
Then glue a strong round magnet onto the back of the tile. {I like to use Gorilla Glue to make sure it will stick} 😉
Once it’s dry… you’re done!
Pop your magnets on your Fridge, File Cabinet, or any other magnetic surfaces… or give some as fun personalized Photo Gifts!
On the hunt for more fun Photo DIY Projects? Check out these creative ideas…
How to Make Photo Coasters
These easy DIY Photo Coasters start with a simple tile, and transform into sweet keepsakes that make great thrifty gifts!
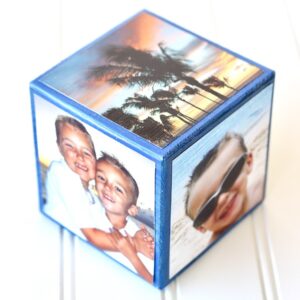
DIY Photo Cubes
Give this adorable DIY Photo Cube as a thrifty gift that everyone will love!
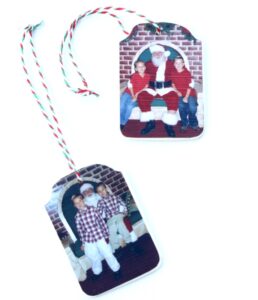
Easy Christmas Photo Ornaments
Capture your favorite memories, and make some cute gifts with these Easy Christmas Photo Ornaments!
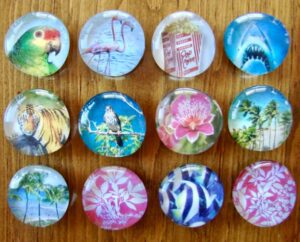
DIY Marble Magnets Tutorial
These Marble Magnets are such a cinch to create, and make the cutest statement on any fridge or file cabinet. Or give some as fun little gifts!
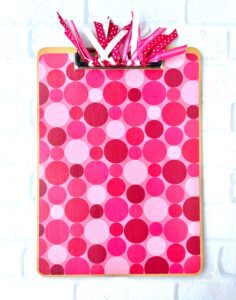
Clipboard Crafts {DIY Decorating Clipboards Ideas}
You’ll love learning How to Make Customized Decorative Clipboards with these easy DIY decorating ideas for clipboards!
28 Kid Photo Taking Tips {Sure Fire Ways to Snap Great Shots}
Get some help taking adorable photos of your kiddos with these Kid Photo Taking Tips!
Photography Tips and Tricks For Your BEST Photos Ever!
Becoming an AMAZING photographer is easier than you think, thanks to these little-known Photography Tips and Tricks for your phone and DSLR!
Fun Crafts To Do that Anyone Can Enjoy! {huge list}
Feeling crafty?? It’s time to get your Craft on and get inspired to do some fun crafts!
60+ Homemade Christmas Gift Ideas
With these easy Homemade Christmas Gift Ideas, you’ll always have enough time to give that perfect homemade gift!
75 Creative Teacher Gift Ideas! {Budget Friendly Gifts}
Use this BIG List of Creative Teacher Gift Ideas to load up on some truly inspired teacher gift tips.
Frugal Gift Ideas for Everyone on your List!
Score frugal gift ideas for the Kiddos, Teens, Dad, Grandma, Grandpa, Co Workers and more!
So have you tried making these DIY Photo Tile Magnets for yourself?
Leave a comment and share…
Discover more from The Frugal Girls
Subscribe to get the latest posts to your email.


Cindy Stinson says
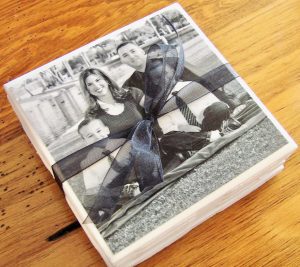
Are these the same kind of tiles that you used when making the coasters with the wonderful pics of your family? I want to thank u for all the great ideas you share with everyone. Mine & my family’s lives are a lot healthier because of information I got from your blog. We made the change to using mostly all homemade household cleaners (which work just as good and a lot of times even better than storebought cleaners). That change ended up spreading from just DIY cleaners to most of our hygiene products and my bath & body items such as DIY make up, fragrances, lotions, skin care items etc. I’ve learned differant ways to save a lil money here & there while trying to provide a healthier way of life for my little boy. That’s turned out being a lot easier thanks to your blog & all your wonderful readers that are always willing to share all kinds of great ideas. This is just a long overdue “Thank You” from a disabled single mother who is so grateful for everything you share especially when all I get is a $700 check to provide for my son & myself.
Heidi says
Hi Cindy ~ these tiles are similar to the photo coaster tiles, but just smaller. {approx. 2″ x 2″}
Thank you so much for the sweet comment, too! I’m so glad to hear you’re enjoying the recipes and DIY tips! 🙂
Liz Moore says
Has anyone printed photos onto regular copy paper? I’m wondering if that would work too.
karin mcanerney says
Good morning I am going to be making these for Christmas gifts this year. What finish did you use on the photo’s? Does it make a difference what finish when it comes to apply the modge podge? Thanks for this very creative inexpensive idea as well as your input. Have a wonderful day
Best,
Karin
Heidi says
Hi Karin ~ I used photos printed on Matte photo paper. Hope that helps!
Stephanie says
Hi Heidi! I am making some of these. Do you use original photos on photo paper, or printed photos on regular copy paper?
Heidi says
Hi Stephanie ~ I just used regular photos printed on photo paper. Have fun making your magnets! 🙂