Knowing What to Put in a Compost Bin is the first step to creating your own amazing compost for your home garden!
Then… put your fabulous organic compost to good use with these genius Gardening Tips and Tricks!

What to Put in a Compost Bin at Home
So are you thinking about finally starting to make your own compost at home? Well… you’re in luck.
You’ve just stumbled upon the ultimate guide for how to start composting!
Creating your own compost for organic gardening is a must. So I’m going to show you everything you need to know about creating your own compost and exactly what to put in a compost bin.
I’m all for Easy Gardening Tips, and making compost at home is easier than you might think! Plus, you’re going to love the end result.
It’s like creating black gold for your plants and garden.
You can start composting today with this quick crash-course in Composting 101 …
Related: 55 Easy Gardening Tips for Beginners
There are 4 main components to a great compost.
The key is to have a mix and balance of both Nitrogen and Carbon, as well as Air and Moisture.
How Wet Should Compost Be?
When it comes to moisture, you’ll want to aim for contents that feel as wet as a moist sponge.
If you’re not sure how wet it is, just reach in, grab some, and assess it by holding it in your hand.
If your compost is too dry, you can simply sprinkle in some water with the hose until you achieve your desired consistency.
Air Holes in Compost Bin
Air is another key component to any good compost bin. My favorites are the compost tumblers which I personally use.
They come with pre-made air holes for venting.
How to Make Compost
Now in addition to water and oxygen, you’ll want to do your best to add appropriate materials containing both nitrogen and carbon.
I like to aim for a balance of 2/3 Carbon to 1/3 Nitrogen.
For example, if you’ve collected a bin of coffee grounds and fruit & veggie scraps from the kitchen to add to your compost bin, make sure to add twice as much carbon materials to the compost bin at the same time.
Note: The smaller the pieces you add to the compost bin, the sooner your compost will be ready.
Nitrogen (Also Known as “Greens”)
Nitrogen rich items are essential to developing a good compost.
They are known as “Greens”, but don’t let the name fool you… many of these items won’t be green in color.
Following are some great sources of nitrogen to add to your compost bin…
- Coffee Grounds
- Fresh Fruit Scraps {including Banana Peels cut into smaller pieces}
- Fresh Vegetable Scraps {uncooked}
- Chicken Manure (from your Backyard Chickens)
- Fresh Grass Clippings
- Tea Leaves {out of the bag}
Carbon (Also Known as “Browns”)
Carbon is another key ingredient to developing a fabulous compost.
They are also known as “Browns” in the gardening world. Without carbon, the contest of your bin will become slimy and stinky.
Following are some great sources of carbon for your compost bin…
- Brown Paper Bags (cut into 1″ strips)
- Cardboard Egg Cartons (cut into 1″ pieces)
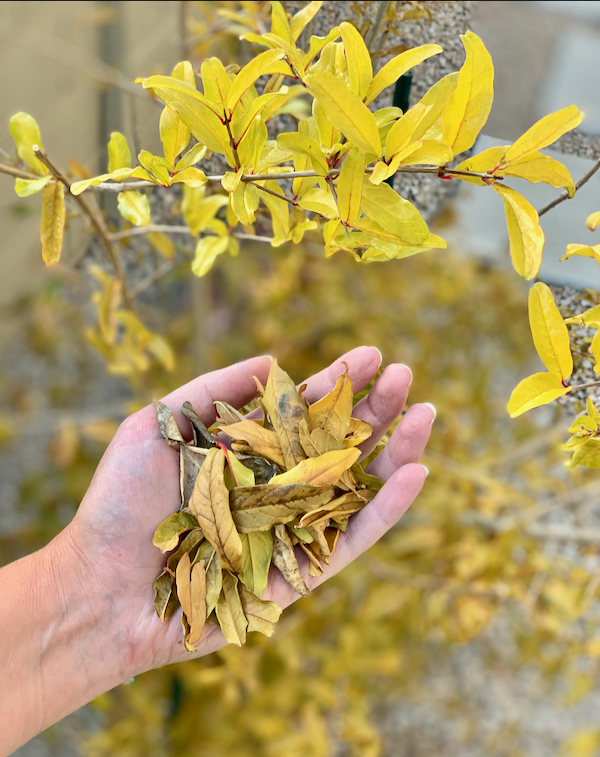
- Fallen Leaves
- Cardboard Paper Towel Rolls (cut into small pieces)
- Cardboard Toilet Paper Rolls (cut into small pieces)
- Pine Needles
- Shredded Straw

What NOT to Put In Your Compost Bin
When it comes to composting, I like to keep mine as pure and natural as possible, while avoiding pests, diseases, and common problems.
Here are several things that I choose NOT to put in my compost bin…
- Chemicals or Toxins
- Dairy Products (they attract rodents)
- Diseased Plants (they can carry and spread fungus)
- Eggshells (they may attract rodents)
- Large Branches {they will take too long to decompose)
- Meat (it slows down composting process & attracts flies and rodents)
- Onions (they have the tendency to re-sprout)
- Sawdust (the wood may have been treated with chemicals)
- Stickers or Labels found on Fruits or Vegetables
- Tea Bags (the synthetic fibers won’t break down)
- Wax-coated or Glossy Cardboard

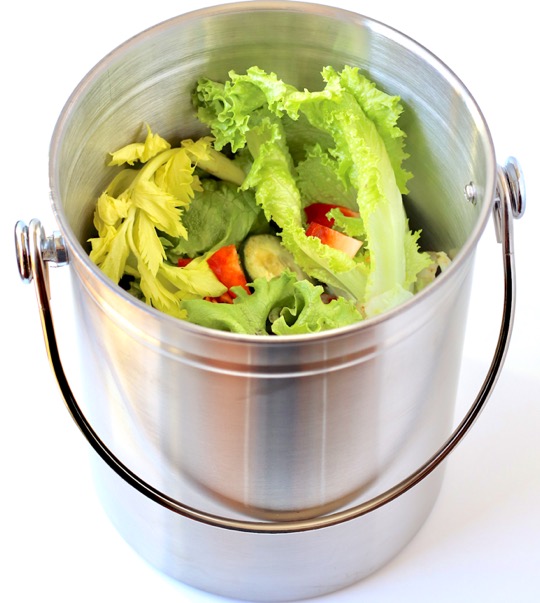
Countertop Compost Bins
An easy way to collect kitchen scraps for composting is by placing a Countertop Compost Bin on your kitchen counter.
It will remind you to collect those food scraps, and a lid with a charcoal filter will prevent any stinky smells from escaping. Then… every few days you can walk it outside and toss it in your compost bin.
Remember… when you add your bucket of nitrogen rich kitchen scraps to the compost bin outside, you’ll want to add an equal amount of carbon rich material to your bin at the same time.
How to Compost in a Tumbler
Then… you’ll need a compost pile in your back yard to finish the job.
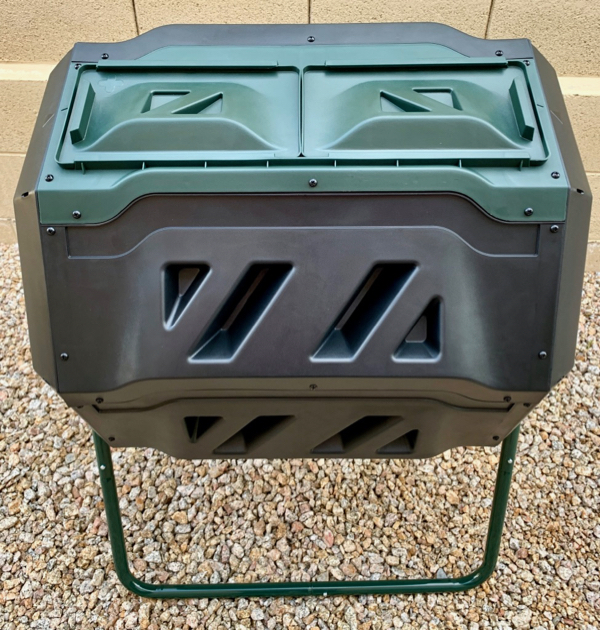
There are several ways to compost at home, but my favorite is in a Composting Tumbler. It keeps the pile out of sight, the smells hidden, and is easy to turn.
Here is my compost bin. I opted for one with two separate compartments, so I can have two compost piles going at once.

One that is further down the road in the process, and another where I am still collecting fresh scraps.
When you’re ready to start your first compost pile, I suggest starting with a nice layer of a few inches of fluffy Carbon material on the bottom (like leaves, cardboard pieces, etc.).
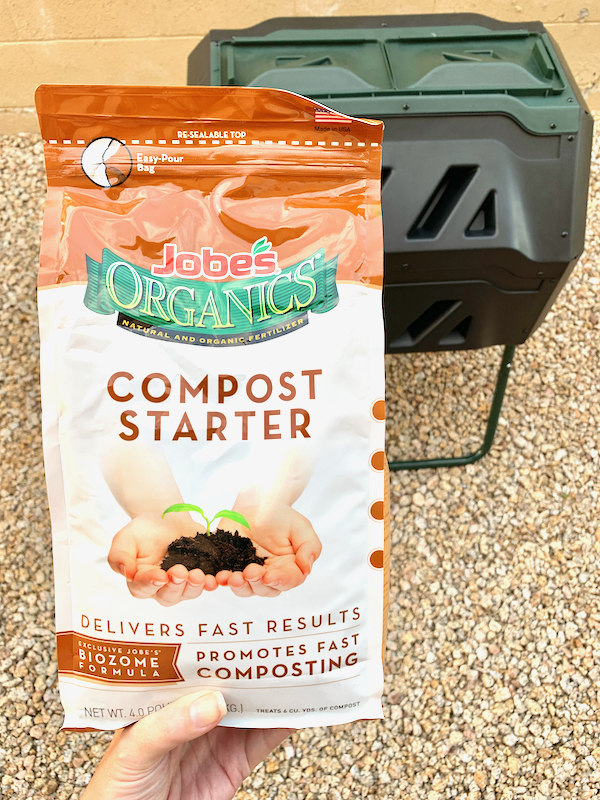
Then top with Nitrogen material, some Compost Starter to jumpstart the composting process, and a thin layer of additional Carbon material.
Note: Burying food scraps in between carbon materials is ideas for pest control.
Why Do You Turn Compost?
Now that you’ve started your compost, don’t forget to turn it!
I suggest turning your compost bin approximately two times per week. I aim for every 3 – 4 days. Turning your compost is very important in the composting process.
It will fluff up the contents and create new air pockets for oxygen to get in and do its work.
Common Composting Mistakes
Problem #1: My Compost is Stinky
This usually means you have added too much nitrogen… simply add extra carbon to combat the smells.
Problem #2: My Compost Won’t Break Down
This usually means you have added too much carbon… simply add extra nitrogen to kickstart the breaking down process.
Problem #3: My Compost is Too Dry
Simply add water as necessary to keep mixture moist. Remember… you’re aiming for a wetness level similar to a slightly moist wet sponge.
How Long Does it Take for Compost to Break Down?
Once you start your compost pile, you’ll need to wait at least 75 – 90 days for your compost to be ready. Some piles may take up to 6 months or longer to break down.
Just remember, a lot of it will depend on the size of pieces you place in your compost bin, and that’s why I suggest cutting down cardboard, banana peels, etc.
The heat will also play a large role in how fast your compost breaks down… expect things to compost slower in the Winter and faster in the Summer.
Note: Your compost will be ready to use when the material looks like soil… it should be crumbly, dark, and sweet smelling. Simply add it to your flower and vegetable garden beds by spreading it around and working it into the soil.
Just look at this gorgeous compost straight from my bin…
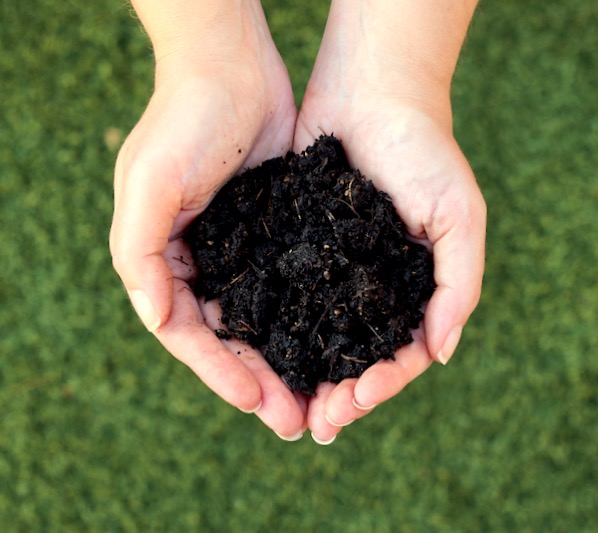
See, that wasn’t so hard, was it? Starting a compost pile at home can be a bit daunting at first, but now that you know what to do, and what to put in a compost bin, you’ll be composting like a pro in no time!
And yes… your wallet and garden will thank you!
More Genius Gardening Tips and Tricks
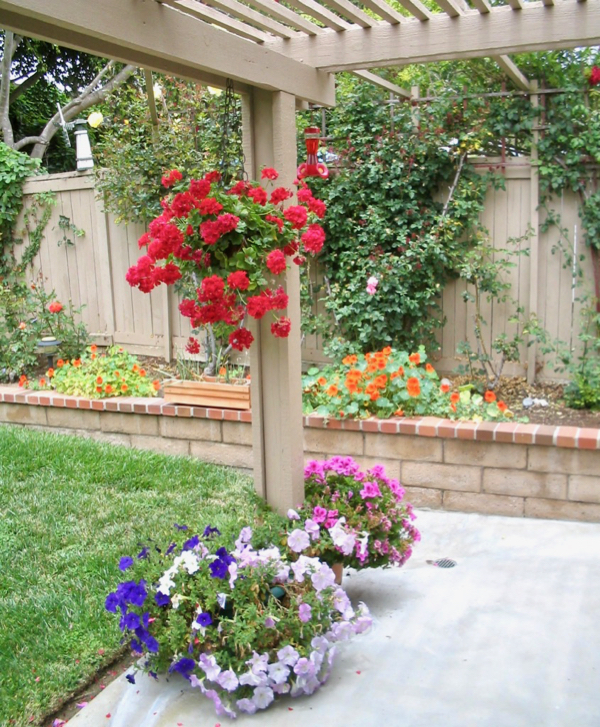
So now that you’re ready to conquer composting… it’s time to get your fingers in the dirt and make some magic happen in your garden this year.
Get inspired to create your best garden ever with these helpful tips and ideas…
55 Easy Gardening Tips for Beginners! (What You Need to Know)
You don’t have to spend a lot of money to create a fabulous garden. So go grab your shovel, and get inspired with these helpful Gardening Tips and Tricks you’ll wish you tried sooner.
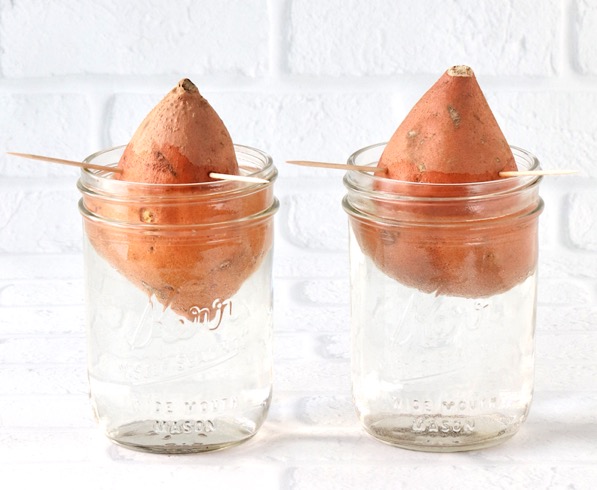
Sweet Potato Slips (How to Grow Sweet Potatoes at Home!)
Did you know it’s actually really easy to grow your own sweet potatoes at home? All you’ll need are some Sweet Potato Slips to get started!
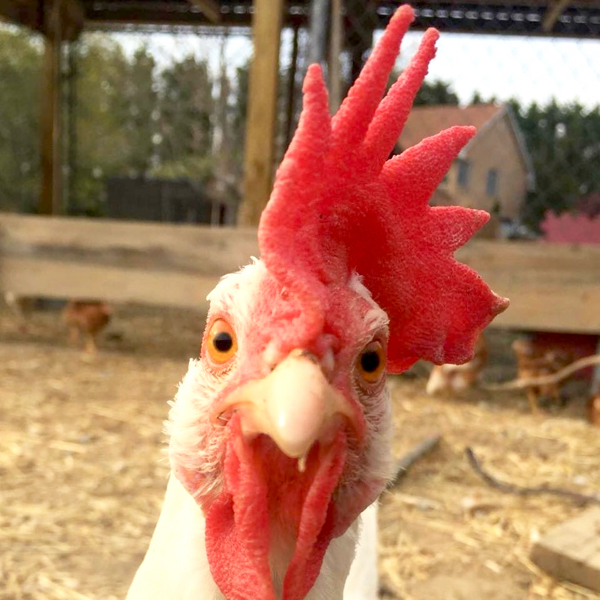
50 Backyard Chickens for Beginners Tips (Raising Chickens 101)
These Backyard Chickens for Beginners Tips and Hacks will have you up to speed and raising your own chickens in a jiffy!
30 Gardening Gift Ideas
Whether you’re shopping for him or for her, these creative gardening gifts are both fun to give and SO fun to receive.
So do you have any fun tips for what to put in a compost bin?
Share with us in the comments below…


Some great tips here!! We recycle, but don’t yet compost, but this is a great guide to get started. It amazes me how much less garbage we have once we started to recycle. I bet it would be even less of we composted….and great for our summer garden too 🙂
Thanks, Dawn… so glad you enjoyed the tips! And you’re right… saving all of these scraps really does cut down on the garbage, too. Plus, your garden will LOVE you! 🙂
What a useful post, bookmarking! Thank you for sharing so many tips on composting, Heidi!
You’re very welcome, Cyna… so glad you liked the tips! 🙂
This is such a great idea Heidi! I’m always looking for natural ways to compost!
Thanks, Christie! Composting really is so easy to do, isn’t it? I just love how you can take your scraps and leaves and turn them into ‘black gold’ for the garden! 🙂
These are such great tips!
So glad you found the tips helpful!