Use this easy Painted Mason Jars Tutorial to create some lovely homemade gifts for Teacher appreciation, Mother’s Day… and more!
Then… have even more fun crafting when you explore this MASSIVE List of Fun Crafts that Anyone Can Enjoy!
![]()
Following is a fun Craft Project and guest post
by frugal friends Jenny and Jess… enjoy!!
Painted Mason Jars Tutorial
Normally I wouldn’t do two tutorials in one post, but because it’s Teacher Appreciation time and Mother’s Day is coming, I wanted to share a simple Painted Mason Jars idea that I think either one would love.
Plus, I’m going to bet you will end up making some for yourself as well.
I realize there are a lot of blogs that have posted about how to paint glass jars, but because I think I finally found my favorite ‘mixture’ I thought I’d share it with you.
Related: Fun Crafts To Do that Anyone Can Enjoy! (huge list)
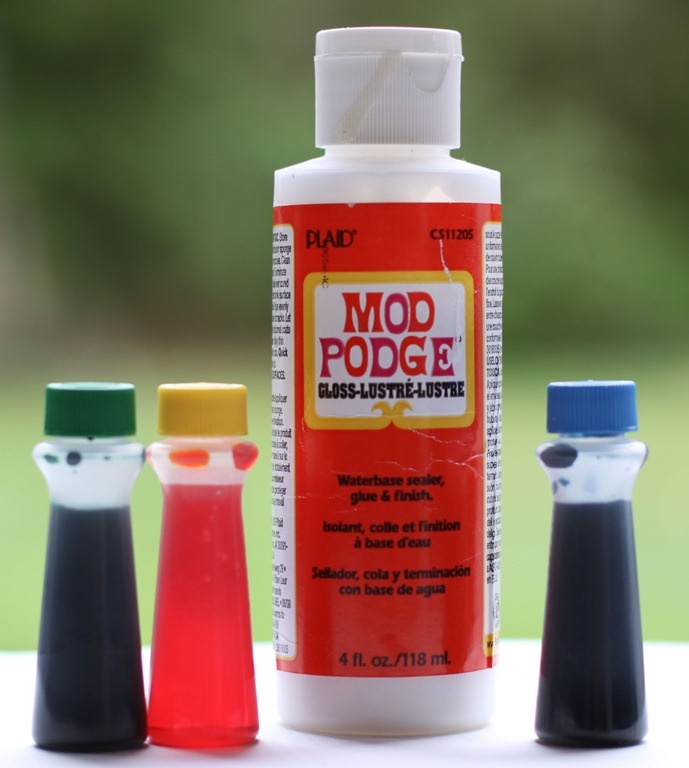
Painted Mason Jars Supplies
Before you get started, take a minute to round up your supplies.
Here’s what you’ll need…
- Gloss-Lustre Mod Podge
- Paint Brush
- Food Coloring
- Water
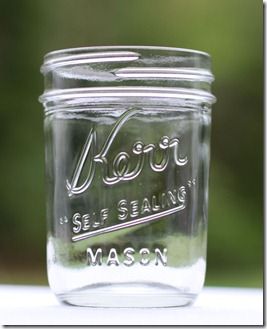
- Clean Jar (Mason or other clear jar: spaghetti sauce jars, soda bottles etc.)
Always save your clear jars and bottles. You just never know when you might want to break one out and make a craft with them.
How To Make Painted Mason Jars
Here’s what you’ll do…
1. Mix together 1 tsp. of Mod Podge, 3-4 drops of food coloring (or more if you want it darker), and 1.5 tsp. of water.
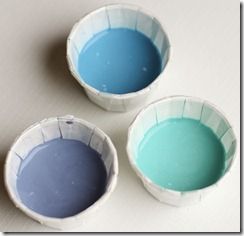
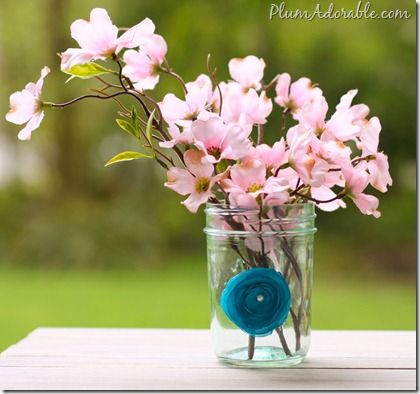
This is where you can have fun and experiment with colors. If you want the aqua/turquoise look, try two drops of blue and 1 drop of green.
One ‘mixture’ can actually be used on four to six jars depending on the size.
2. Next, paint the glue mixture onto your jar. It will look something like this below.
Don’t worry…it won’t stay like that. I took this picture when there were still some bubbles on it. I tried to paint most of the bubbles off so that it was smooth.
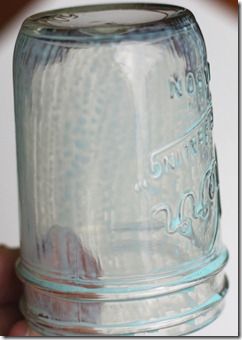
Also, I made these jars (the blue ones) a little lighter than I have in the past, so your ‘paint’ may look different than mine.
3. Then let the jars dry. Either let it dry on it’s own upside down over night, or (here’s the cool part) put it on a plate upside down place it in the microwave for 30 seconds.
You will see your results almost immediately.
I didn’t take any pictures of just the jars because it was late at night and I got straight to work on embellishing them, sorry.
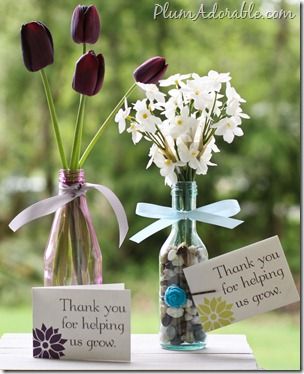
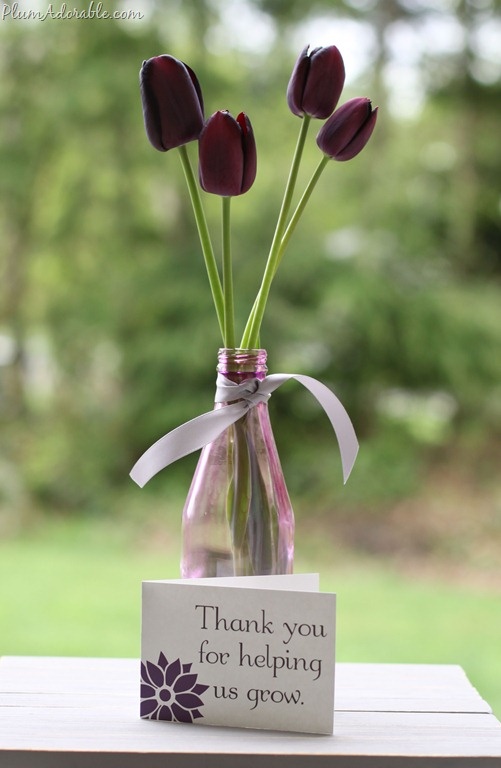
I love the purple one.
It goes perfectly with the tulips my hubby and daughter ‘surprise’ planted me years ago. Tulips always remind me of my friend Kristen who was one of my bridesmaids.
She’s always loved them. And I love how little things like tulips bring back memories of friends.
4. Ok, so once you have painted your jars set them aside.
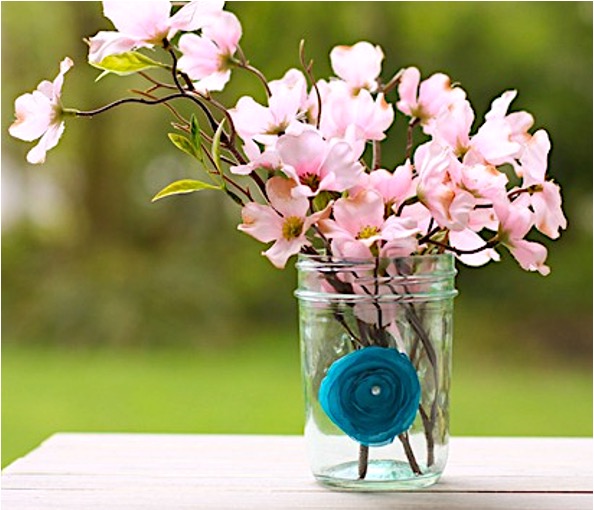
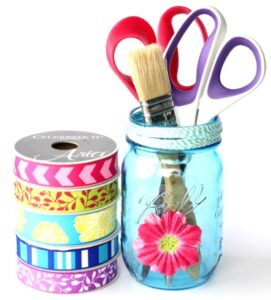
5. Finally, add some ribbon, flowers and a personalized gift note.
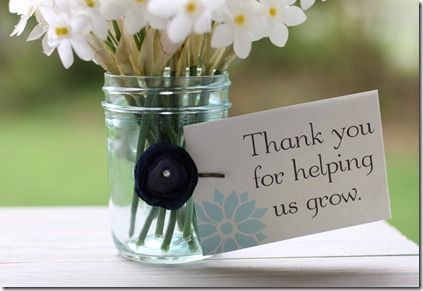
I’d love to hear if you make one or both of these projects.
They really are simple and oh so cute!
~Jenny
Jenny and Jess are two friends that love creating crafty stuff (for both kids and adults), cooking, reading, and so much more! They also love to create free printables and svg’s for both kids and home decor. You can also find Jenny and Jess on Facebook and Pinterest.
More Creative Crafting and Gift Giving Inspiration
You can never have enough creative ideas. Find even more creative crafting inspiration below…
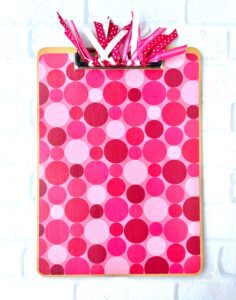
Clipboard Crafts (DIY Decorating Clipboards Ideas)
You’ll love learning How to Make Customized Decorative Clipboards with these easy DIY decorating ideas for clipboards!
HUGE List of Fun Crafts To Do at Home
There are Crafts for every season, holiday, and occasion ~ perfect for both kids and adults! So many of these ideas make great homemade gifts, too!
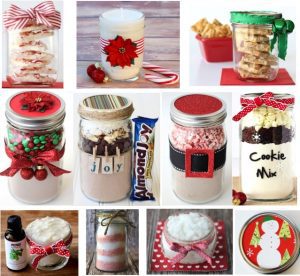
101 Gifts in a Jar Recipes
Get ready for one humongous gigantic list of homemade gift giving inspiration!
So have you tried making these Painted Mason Jars for yourself?
Leave a comment and share…


Where can I get this printable card?
Love your crafts but the easy instructions are GREAT!!!!
Hi heidi! I was wondering if I wanted to add glitter to the tops would I just put it on while paint dries??
Not clear whether you painted the inside or the outside of the jar.
Love the painted the jars and fabric flowers. Oh and of course the printable cards. Thanks.