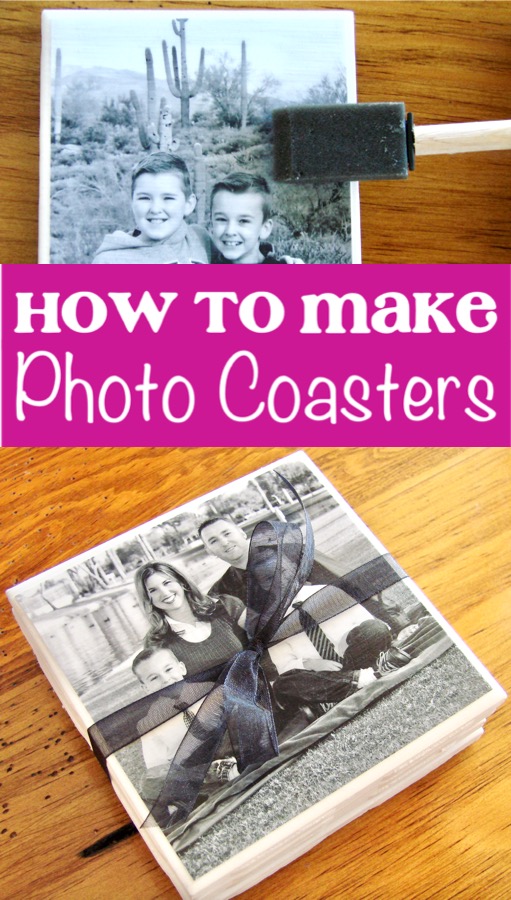
Are you wondering how to make Photo Coasters at home? They’re actually so easy to make!
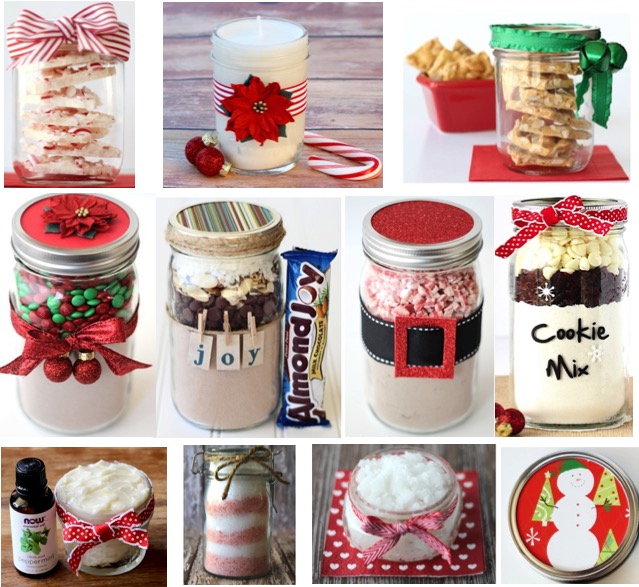
Be sure to check out these sweet Gifts in a Jar, too!
![]()
How to Make Photo Coasters
I’ve got another fun, easy & thrifty project to share with you ~ How to Make Photo Coasters. Grab the Mod Podge, it’s time to do a little crafting!
These easy DIY Photo Coasters start with a simple tile, and transform into sweet keepsakes that make great thrifty gifts!
Make some for yourself, and make some extras to give as a Frugal Gift Idea!
So what are you waiting for? It’s time for another frugally Fun Craft project!
Making your own personalized photo coasters is the perfect excuse to get some of those cute photos off of your phone. Plus, this easy craft isn’t very expensive.
So what exactly do you need to get started?
Keep reading…
Related: Fun Crafts To Do that Anyone Can Enjoy! (huge list)
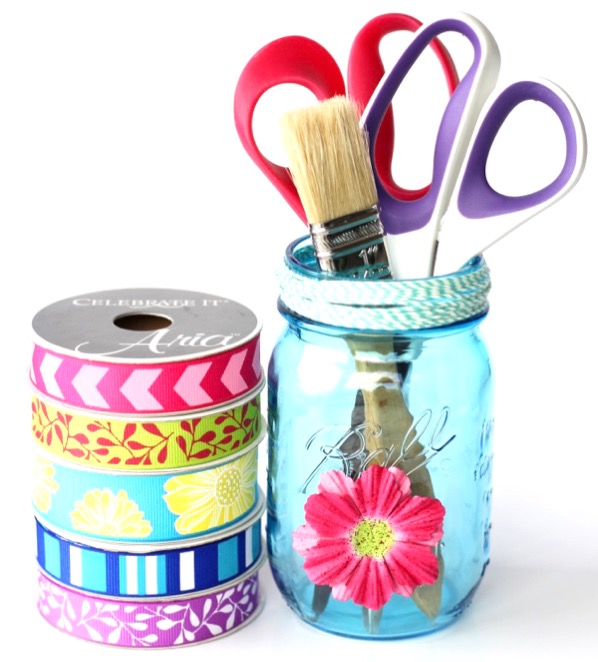
What is Needed to Make Coasters?
Here’s what you’ll need to round up to make your own fabulous DIY photo coasters at home…
- Small Foam Paint Brushes
- Ceramic Tiles (I found these at Lowe’s for 16 cents each!)
- Mod Podge (I used ‘Glossy’)
- 4×6 Photos (I had mine printed ‘Matte’ style)
- Waterproof Acrylic Sealer Spray
- Note: if you are using different brands of products, the results may vary.
- White Acrylic Craft Paint
- Felt, Fleece or Cork scraps for backing + Hot Glue to attach the backing
How to Make Photo Coasters with Mod Podge
Here’s what you’ll do…
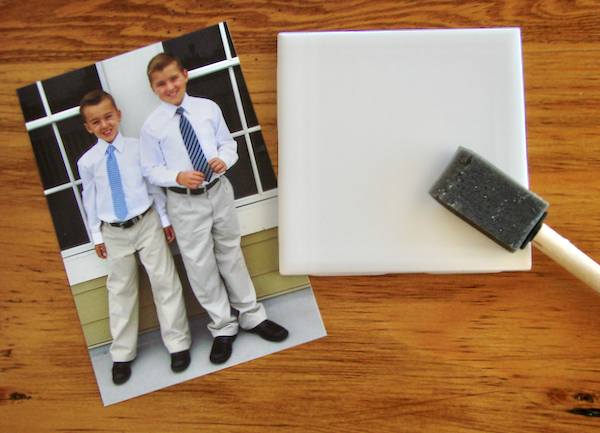
1. Paint the rough, unfinished side edges of the coasters. Now, be sure not to rush the project. Give it plenty of time.
I made these over the course of several days, and allowed each coat to dry completely for many hours before applying the next coat.
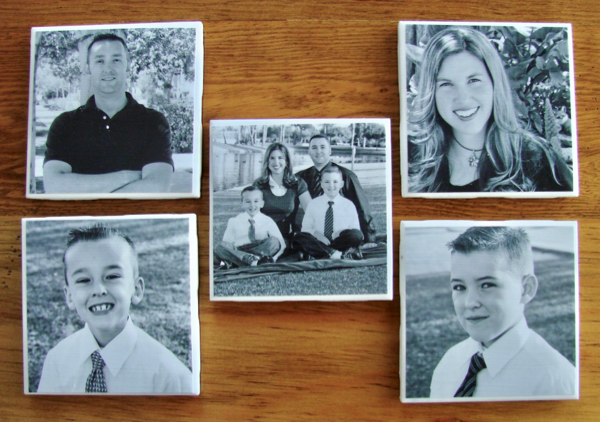
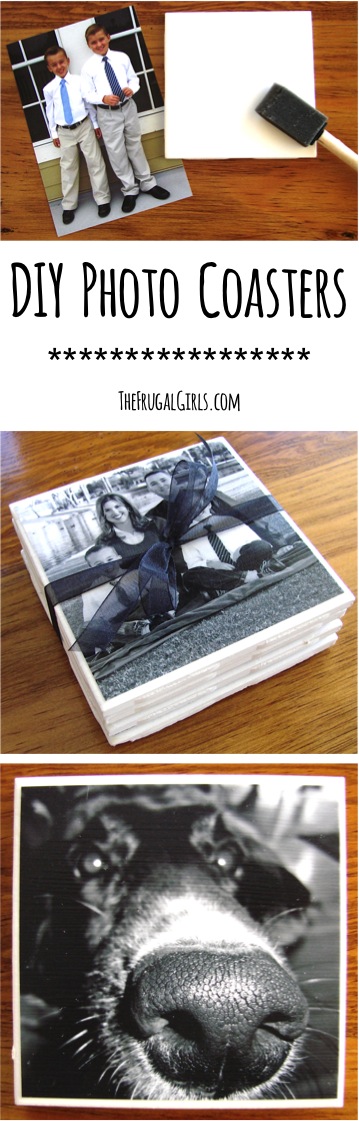
2. Once the tile has dried, grab your photos. Trim each photo into a square shape, to fit the your tile.
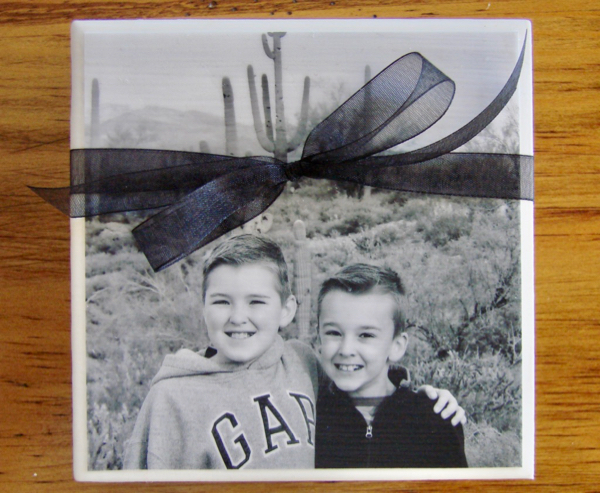
*Note: Black and white photos are also fun to use on this craft!
How Do You Transfer Pictures To Coasters?
3. Apply Mod Podge to the back of the photo with a sponge applicator.
4. Then press down onto tile. Allow to dry completely. (note: make sure each coat dries completely before applying the next coat.)
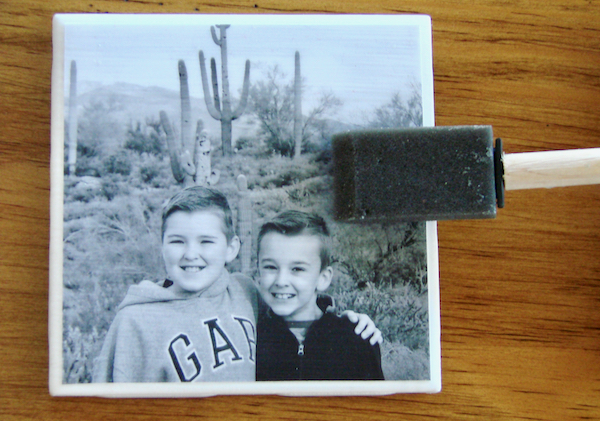
5. Once dry, apply a layer of Mod Podge with a sponge applicator to the top of the photo. Use even left-to-right strokes. (as always with Mod Podge, lines will show)
6. Allow to dry completely.
7. Repeat with 2 more layers of Mod Podge (allowing each layer to dry completely before applying the next).
How Do You Make Photo Coasters Waterproof?
8. Once the coasters have had 3 layers of Mod Podge applied, and have dried completely, take them on outside.
It’s time to spray with Acrylic Sealer! This is what you will seal the coasters with.
9. Lay coasters on wax paper. Or something else you don’t mind getting sprayed with some over-spray.
10. The Acrylic Sealer is an important step. It will seal the project. This will ensure the coaster is waterproof, and can handle wet glasses sitting on the coasters.
You’ll want a strong coat of sealer on each coaster. I applied a total of 5 coats of sealer, allowing each to dry completely overnight before applying the next coat.
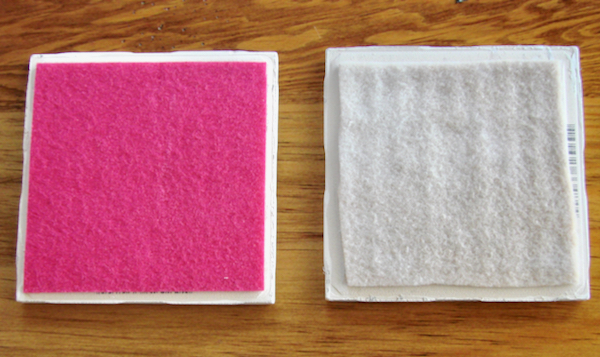
11. Now it’s time to add some backing to the coasters.
I used felt on some, some fleece scraps on some, or you could even use some squares of cork material…
12. Apply the backing with a hot glue g*n, and allow to dry completely.
You did it ~ aren’t these too cute??
Now its’ time to choose. Do you save some for yourself, or give some as Thrifty Gifts? Or should you do both?
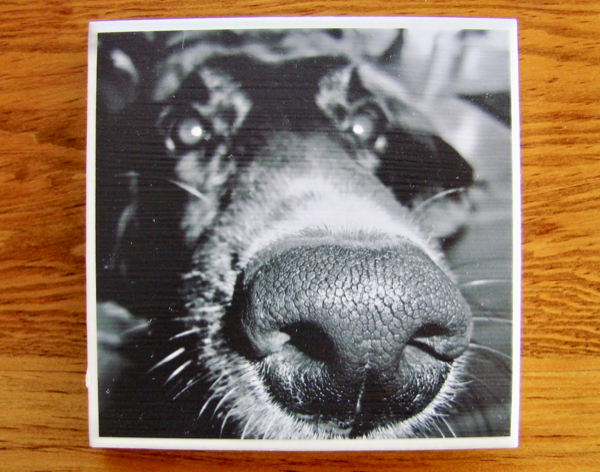
Then promise me, whatever you do… don’t forget to make one of the dog! 😉
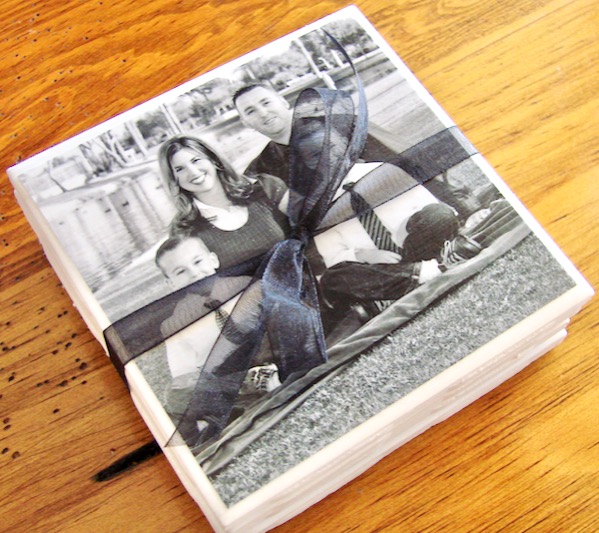
Once the coasters are completely dry, it’s time to stack up a set. Then grab some ribbon for a bow.
Voila!
Now you’ve got an extra-cute and thrifty homemade gift to give to someone special!
A BIG thanks to frugal friend Joli for sharing this fun project idea with us!
RELATED: Grandma Gift Ideas
Photo Coaster Reviews
What Your Frugal Friends are Saying About This Photo Coasters Project…
Maria writes: “Awesome! Gave them to my mother-in-law for her birthday, she loved them! Super cute & very inexpensive!”
Rachel writes: “I had my son decorate 2 tiles and then used pics for the other 2 and gave them as teacher gifts at the end of the year. They were a big hit!”
Eric writes: “Turned out great! Super easy and fun to make.”
Anita writes: “Made them as Baby shower favors!”
Lindsey writes: “Absolutely my favorite Diy project by far”
RELATED: Coffee Lover Gift Ideas
More Fun Crafts and Homemade Gift Ideas
So now that you’ve learned how to How to Make Photo Coasters, be sure to check out more Fun Photo Crafts and Homemade Frugal Gift Ideas.
Homemade gifts can be some of the most memorable gifts you can give.
Plus, giving homemade gifts is great for your budget!
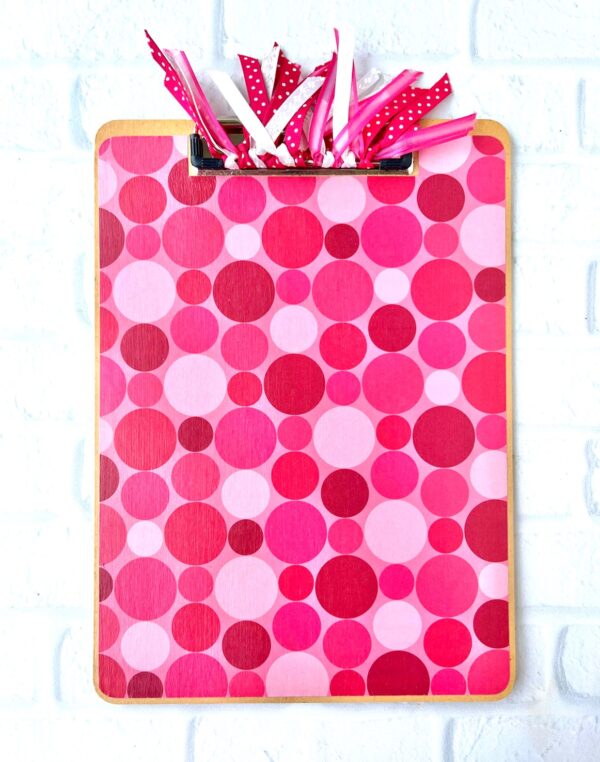
Clipboard Crafts (DIY Decorating Clipboards Ideas)
You’ll love learning How to Make Customized Decorative Clipboards with these easy DIY decorating ideas for clipboards!
Easy DIY Photo Ornaments
Deck the halls and trim the trees this Christmas with more fun photo ornaments!

How to Photograph and Create 3-D Photo Cards
Ditch those cheesy store-bought cards, and learn How to Make 3D Valentine’s Day Cards your friends and family will LOVE!
Needle Minder Magnets DIY (How to Make Your Own in 5 Minutes)
Keep your needle handy when you’re sewing, cross stitching and embroidering with DIY Needle Minder Magnets! They’re SO quick and easy to make!

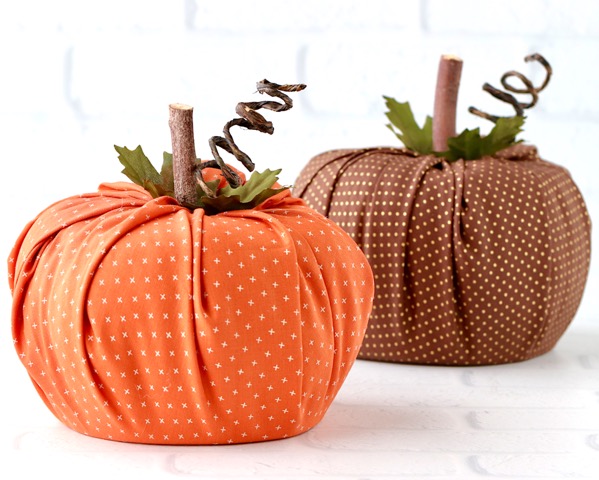
No Sew Toilet Paper Pumpkin Craft
These no sew toilet paper pumpkins are about as simple as can be to make, and will honestly take you less than 5 minutes to put together!
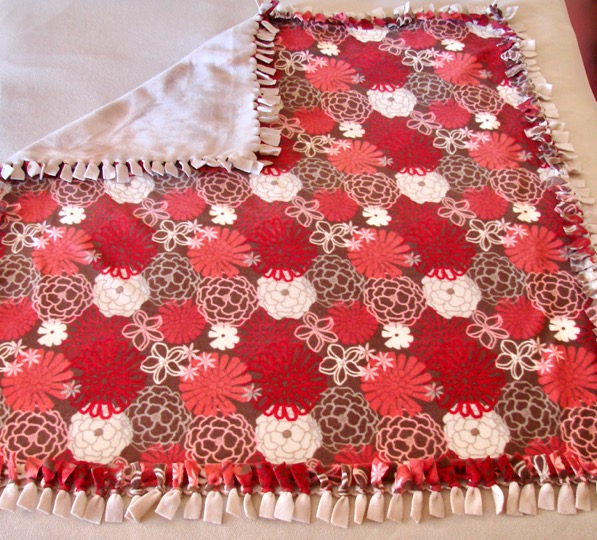
No Sew Fleece Blanket Tutorial
Create the perfect cozy blanket for a chilly day or make some extra special gifts with this easy No Sew Fleece Blanket Tutorial!
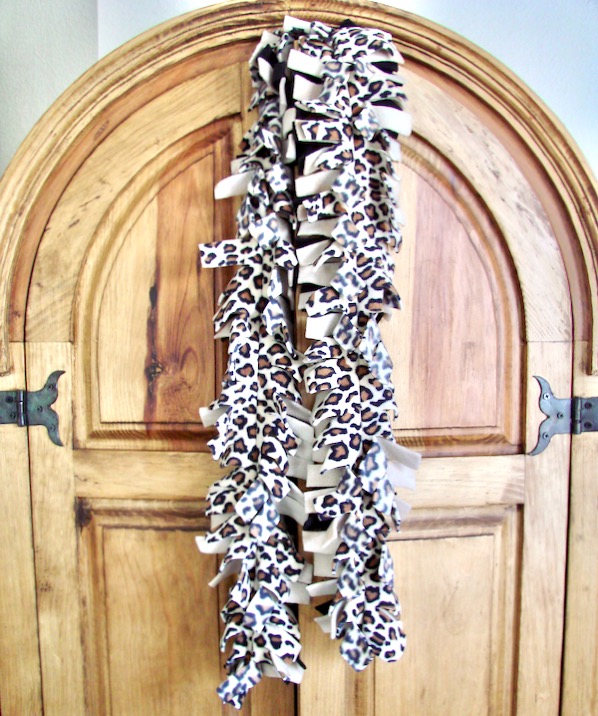
How to Make a Fleece Scarf with Fringes
When you know how to make a fleece scarf, you can afford as many scarves as you want!
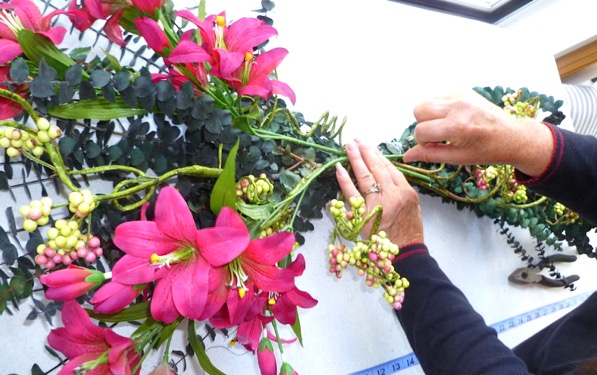
DIY Floral Swag Tutorial
Use this tutorial to create your very own budget friendly DIY Floral Swag… and enjoy beauty inside or out that will never wilt!
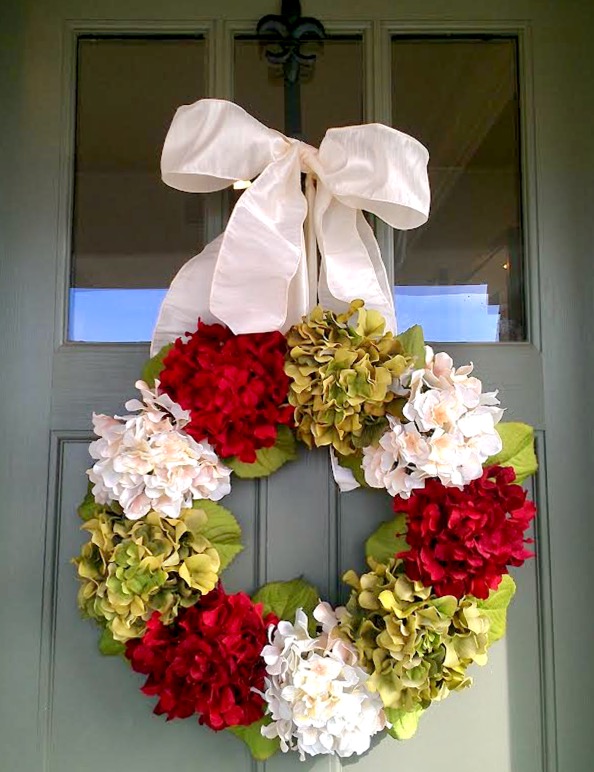
DIY Hydrangea Wreath For Front Door
Need to freshen up your front door for Spring? You can make this DIY Hydrangea Wreath for Front Door in just 5 minutes!!
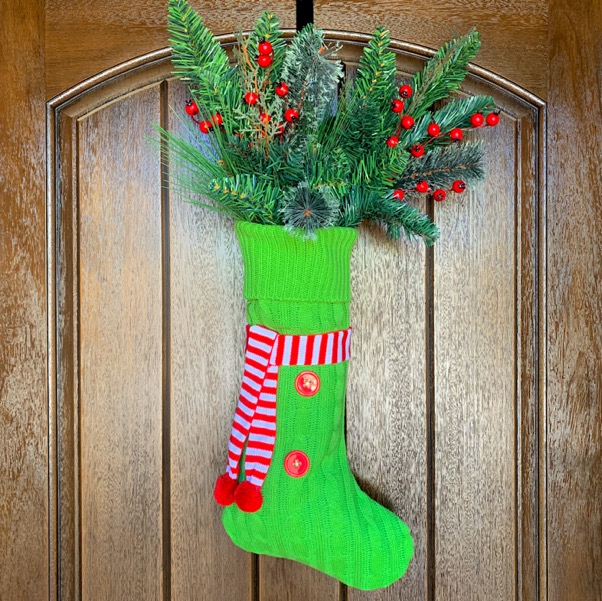
DIY Stocking Wreath
This cheerful Christmas DIY stocking wreath will make such a fun statement on your front door!
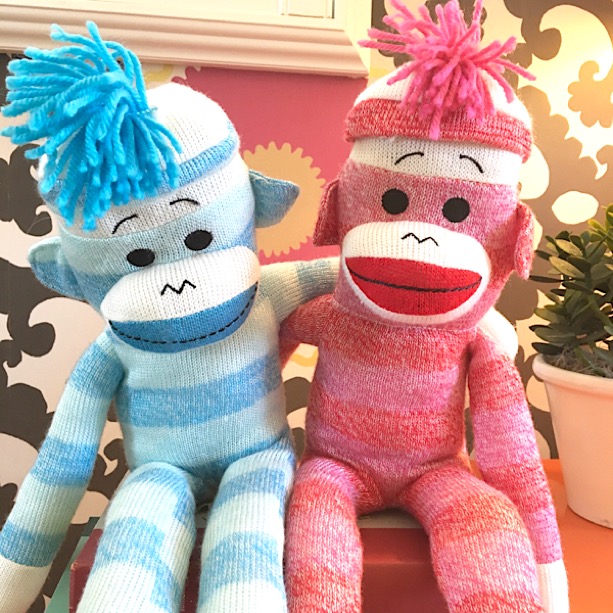
Fun Crafts To Do that Anyone Can Enjoy! (huge list)
There are Crafts for every season, holiday, and occasion ~ perfect for both kids and adults! So many of these ideas make great homemade gifts, too!
Photography Tips and Tricks For Your BEST Photos Ever!
Becoming an AMAZING photographer is easier than you think, thanks to these little-known Photography Tips and Tricks for your phone and DSLR!

101 Gifts in a Jar Recipes
Get ready for one humongous gigantic list of homemade gift giving inspiration!
Frugal Gift Ideas for Everyone on your List!
Score frugal gift ideas for the Kiddos, Teens, Dad, Grandma, Grandpa, Co Workers and more!
So have you tried this tutorial for How to Make Photo Coasters yet?
Leave a comment & share!


I made these for my three daughters and my mom for Christmas…needless to say it was a big hit!!
Love this project & can’t wait to get mine started too!!
1. MP needs to cure – depending on how many coats you use it could take 2-4 weeks to completely cure, then depending on which product you used you should apply the acrylic sealer. This is likely the problem that some are having with impressions being left in the surface of the coasters, etc. Make sure to start your projects with plenty of time to allow curing.
2. Plaid does NOT recommend you use original photos (like printed at CVS/Walmart/Target/Walgreens, etc). They say the best option is to make color copies using a dry toner copier. If others have had success with regular photos – great! More options for everyone, but this is their recommendation.
3. Outdoor MP is water resistant, but may need to be re-coated every so often if they’re actually used as coasters.
4. If you use inkjet printed items, seal them with a matte acrylic sealer before using the Mod Podge – spray a very light coat, let dry, spray again.
5. Air bubbles – don’t shake MP, just adds bubbles. Save the foam brush for base coating only as it adds air to MP and creates bubbles in your work. Use a large, flat bristle brush when applying the top coats.
6. 2 other products to try (yes I know MP is costly, but looks like it goes a long way): Mod Podge Hard Coat – dries clear with a non-tacky surface and Royal Coat Decoupage Finish – superior water resistance.
Sorry to be so long, but hopefully this answers many questions as people are checking this project out.
I made something very simular but, instead of tiles (love this idea) I used white plates. I purchased these at the Dollar Tree. I copied my pictures on my ink jet printer on plain white paper and decoupaged them using the same techinque as the tiles. They came out great!!! These make great gifts. Use several family pictures on one plate like a collage purcase plate hanger and you have a one of a kind gift.
I made these before but didn’t do the sealant. Thank you for pointing out how important this step it. My coasters did not do well without the sealant on them. Your coasters are adorable!!
Ok..here we go! I did Not want to use photo photo’s!! I wanted
to be able to print out my photo’s right out of my regular old HP printer. I did Only black and white to start out. Ok..ink jet
Ink WILL smear if you put Mod Podge on it Everytime. So the trick ( Paint Mod Podge one coat only on tile LET this DRY )
is print out your photo put a layer onto the top of the tile
then stick your photo on the tile and let Dry. DO NOT PUT MOD PODGE ON TOP OF PHOTO!!!!!!!!!! Also after you print out your photo the ink on the photo must dry also!! You have to do these stages of Dry Time I call it. Anywho after your photo ( on the tile ) is dry I sprayed several coats of
Matte Finish by Krylon ( got at Joanns Crafts). Spray tile
several times. Let dry out each time you spray a layer!!!! Now I went to my local Home Depo and picked up
a product called Super Glaze by Parks. This is a pour on Finish and Preservative. It does dry crystal Clear resistes heat & chemicals and is Water-Proof. There is 32 fl oz 1 ( one quart ) in the box. You just mix the two bottles for as much
as you may need. Pour on the top of the coaster smooth out with a spreader / stir stick / paint paddle / anything to help
you spread the mixture…very easy. Use latex vinyal gloves also. Super Easy to use. Dries crystal clear. Only thing you have to MAKE SURE you do is Mix the glaze the right way with
even even parts. If you don’t mix like it says the glaze will have soft spots on your project area ( like the photo tile ).
So Mix and Stir Stir Stir like it says!!! Sure you might have to pay a
bit more for this Glaze but you can USE your Ink Jet Photo’s
right out of your printer. Also like with Mod Podge you have
to ALWAYS ALWAYS LET EVERYTHING “DRY” BETWEEN STAGES!!!
Hope this works for some of you it did for me! You can use
this Super Glaze for all kinds of projects…Great Stuff.
Oh…almost forgot….I did this outside / or / garage. This
is epoxy resin. Have fun!! When you may see a table/ bar top
that has coins/ shells / fabric et in it…the embedding was
done with a product like this Super Glaze. I got smooth white
tiles and also 10 rock type of tiles for my project. Remember
if you DONT Seal the Ink Jet Photo with SPRAY the ink WILL
SMEAR everytime. Also I like the Spray as it goes on even unlike using a brush of Any type. Pop any bubbles you might see also !! Have fun :-)))
Totally cool concept Heidi! I’ll be playing around with this idea a bit. Thanks………….Azara
What type of paper is needed to do this? Did you use transfer paper? Or will regular photos work?
Hi Caitlin ~ I just used regular photos. No special paper is required. 😉
~ Heidi
I LOVE this coaster idea! I have a St. Patrick’s Day Party every year & I like to give our guests a keepsake to remember each year and googled how to make coasters and found this idea. I’m thinking of using the invitation in place of the photo as its going to be in the shape of a beer bottle cap this year. I’m hoping to find a round tile or I guess I could still put a round invitation on a square tile. Any other ideas on what other “medium” I could use to apply the invitation to via modge podge?
Thanks!
Terri
HELP! I did some photo coasters for the family but when I stacked them together they got stuck and when I pulled them apart them got messed up….
Does the sealant have to specify “waterproof”? I cannot find the brand listed anywhere around me… I am thinking of using polyurethane instead. I do have Mod Podge brand acrylic sealant, but it doesn’t say that it is waterproof. Any thoughts as to which might be more likely to actually seal them for use with wet/hot cups?
Thanks so much for the great idea, my grandmother will LOVE these. 🙂