Are you wondering how to make Photo Coasters at home? They’re actually so easy to make!
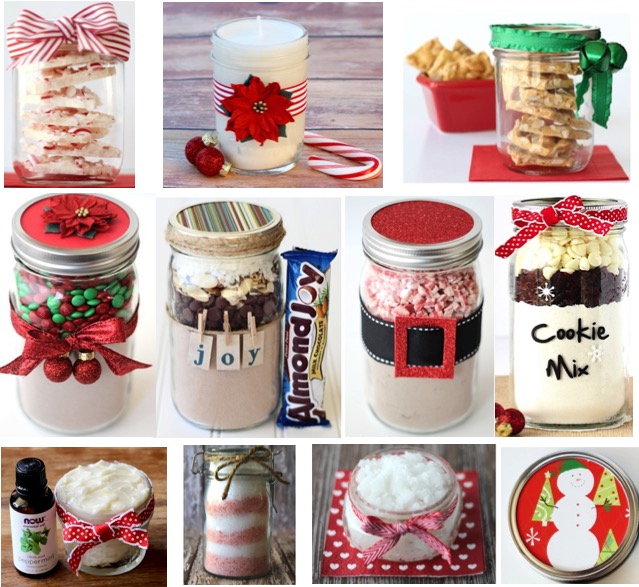
Be sure to check out these sweet Gifts in a Jar, too!
![]()
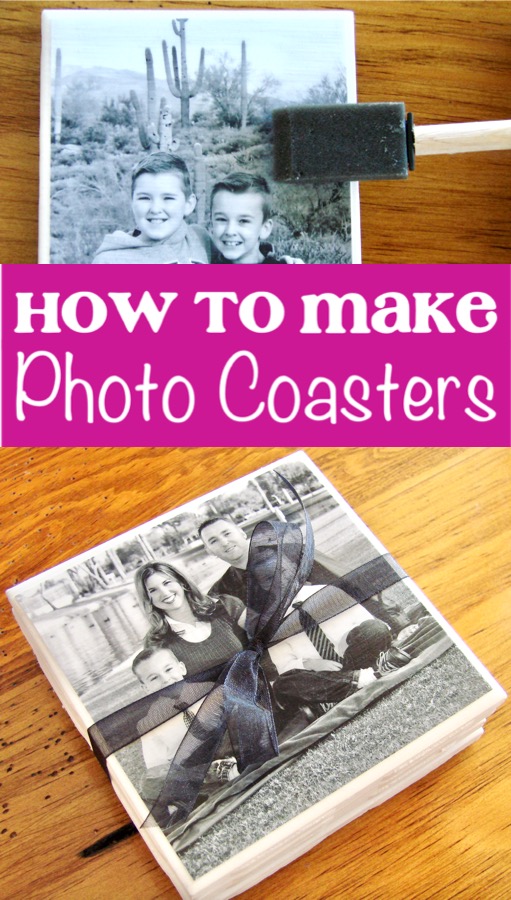
How to Make Photo Coasters
I’ve got another fun, easy & thrifty project to share with you ~ How to Make Photo Coasters. Grab the Mod Podge, it’s time to do a little crafting!
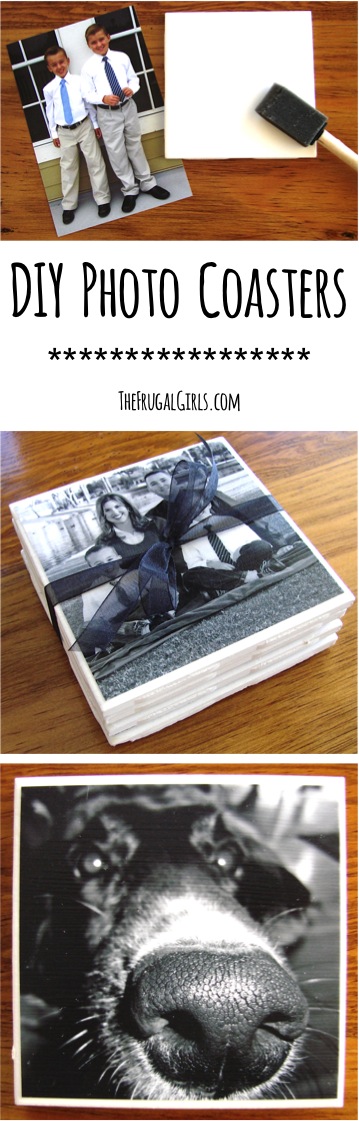
These easy DIY Photo Coasters start with a simple tile, and transform into sweet keepsakes that make great thrifty gifts!
Make some for yourself, and make some extras to give as a Frugal Gift Idea!
So what are you waiting for? It’s time for another frugally Fun Craft project!
Making your own personalized photo coasters is the perfect excuse to get some of those cute photos off of your phone. Plus, this easy craft isn’t very expensive.
So what exactly do you need to get started?
Keep reading…
Related: Fun Crafts To Do that Anyone Can Enjoy! (huge list)
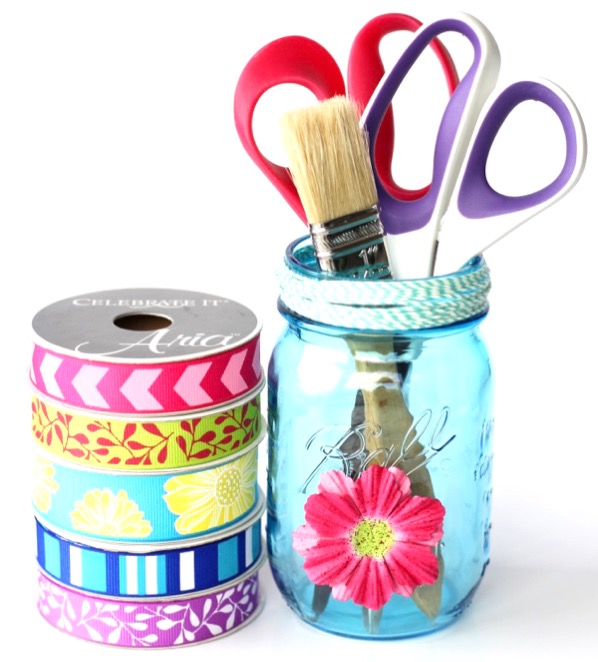
What is Needed to Make Coasters?
Here’s what you’ll need to round up to make your own fabulous DIY photo coasters at home…
- Small Foam Paint Brushes
- Ceramic Tiles (I found these at Lowe’s for 16 cents each!)
- Mod Podge (I used ‘Glossy’)
- 4×6 Photos (I had mine printed ‘Matte’ style)
- Waterproof Acrylic Sealer Spray
- Note: if you are using different brands of products, the results may vary.
- White Acrylic Craft Paint
- Felt, Fleece or Cork scraps for backing + Hot Glue to attach the backing
How to Make Photo Coasters with Mod Podge
Here’s what you’ll do…
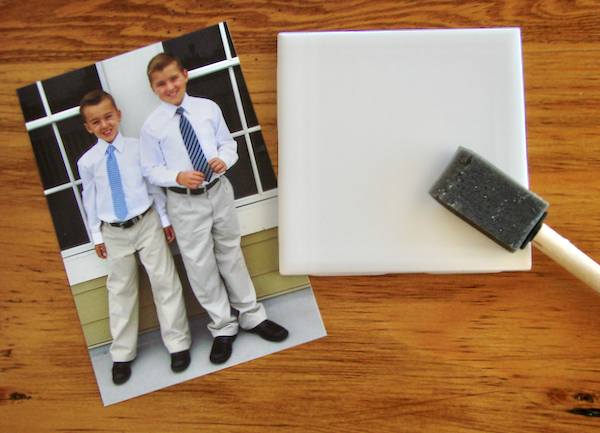
1. Paint the rough, unfinished side edges of the coasters. Now, be sure not to rush the project. Give it plenty of time.
I made these over the course of several days, and allowed each coat to dry completely for many hours before applying the next coat.
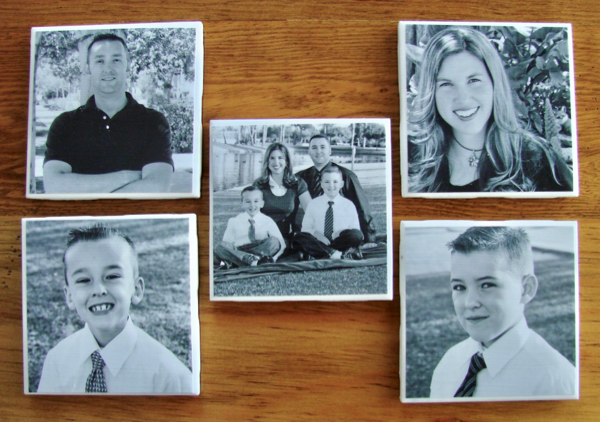
2. Once the tile has dried, grab your photos. Trim each photo into a square shape, to fit the your tile.
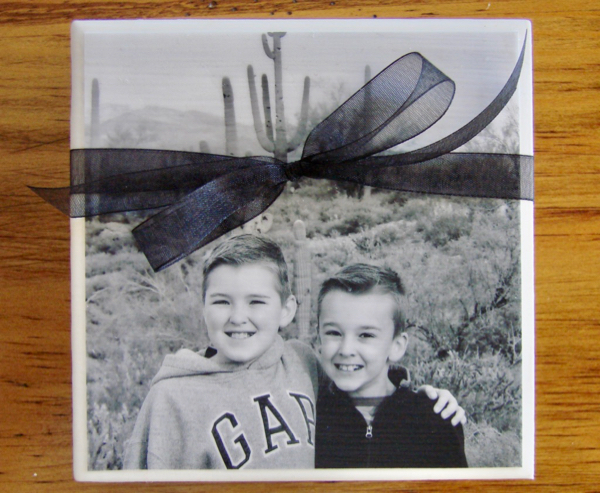
*Note: Black and white photos are also fun to use on this craft!
How Do You Transfer Pictures To Coasters?
3. Apply Mod Podge to the back of the photo with a sponge applicator.
4. Then press down onto tile. Allow to dry completely. (note: make sure each coat dries completely before applying the next coat.)
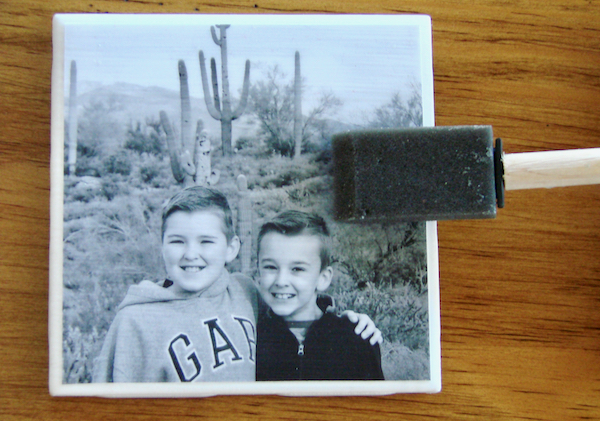
5. Once dry, apply a layer of Mod Podge with a sponge applicator to the top of the photo. Use even left-to-right strokes. (as always with Mod Podge, lines will show)
6. Allow to dry completely.
7. Repeat with 2 more layers of Mod Podge (allowing each layer to dry completely before applying the next).
How Do You Make Photo Coasters Waterproof?
8. Once the coasters have had 3 layers of Mod Podge applied, and have dried completely, take them on outside.
It’s time to spray with Acrylic Sealer! This is what you will seal the coasters with.
9. Lay coasters on wax paper. Or something else you don’t mind getting sprayed with some over-spray.
10. The Acrylic Sealer is an important step. It will seal the project. This will ensure the coaster is waterproof, and can handle wet glasses sitting on the coasters.
You’ll want a strong coat of sealer on each coaster. I applied a total of 5 coats of sealer, allowing each to dry completely overnight before applying the next coat.
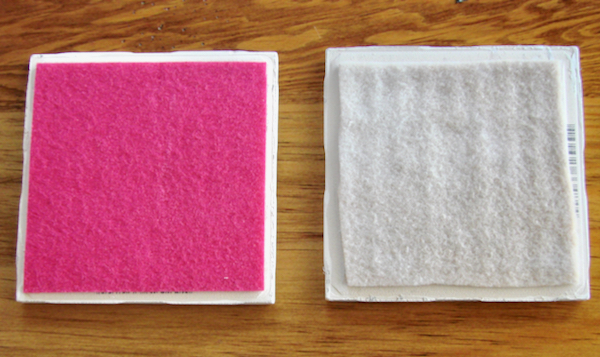
11. Now it’s time to add some backing to the coasters.
I used felt on some, some fleece scraps on some, or you could even use some squares of cork material…
12. Apply the backing with a hot glue g*n, and allow to dry completely.
You did it ~ aren’t these too cute??
Now its’ time to choose. Do you save some for yourself, or give some as Thrifty Gifts? Or should you do both?
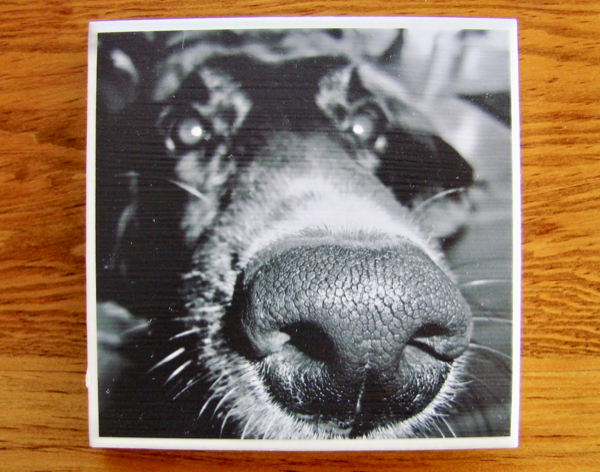
Then promise me, whatever you do… don’t forget to make one of the dog! 😉
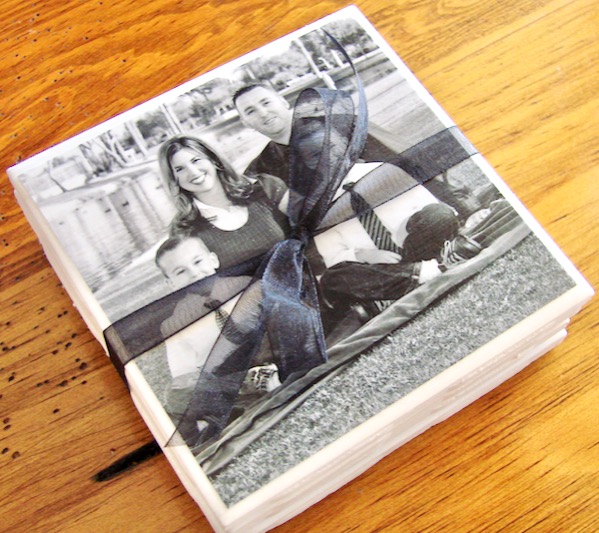
Once the coasters are completely dry, it’s time to stack up a set. Then grab some ribbon for a bow.
Voila!
Now you’ve got an extra-cute and thrifty homemade gift to give to someone special!
A BIG thanks to frugal friend Joli for sharing this fun project idea with us!
RELATED: Grandma Gift Ideas
Photo Coaster Reviews
What Your Frugal Friends are Saying About This Photo Coasters Project…
Maria writes: “Awesome! Gave them to my mother-in-law for her birthday, she loved them! Super cute & very inexpensive!”
Rachel writes: “I had my son decorate 2 tiles and then used pics for the other 2 and gave them as teacher gifts at the end of the year. They were a big hit!”
Eric writes: “Turned out great! Super easy and fun to make.”
Anita writes: “Made them as Baby shower favors!”
Lindsey writes: “Absolutely my favorite Diy project by far”
RELATED: Coffee Lover Gift Ideas
More Fun Crafts and Homemade Gift Ideas
So now that you’ve learned how to How to Make Photo Coasters, be sure to check out more Fun Photo Crafts and Homemade Frugal Gift Ideas.
Homemade gifts can be some of the most memorable gifts you can give.
Plus, giving homemade gifts is great for your budget!
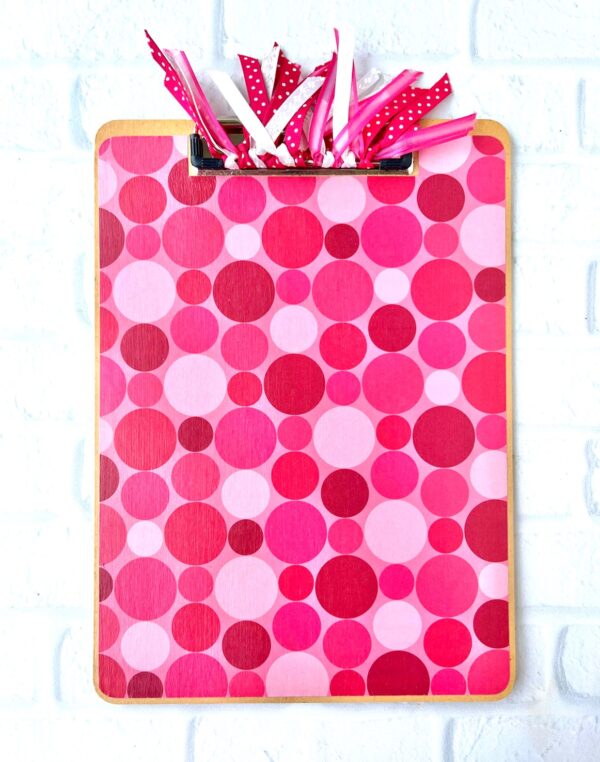
Clipboard Crafts (DIY Decorating Clipboards Ideas)
You’ll love learning How to Make Customized Decorative Clipboards with these easy DIY decorating ideas for clipboards!
Easy DIY Photo Ornaments
Deck the halls and trim the trees this Christmas with more fun photo ornaments!

How to Photograph and Create 3-D Photo Cards
Ditch those cheesy store-bought cards, and learn How to Make 3D Valentine’s Day Cards your friends and family will LOVE!
Needle Minder Magnets DIY (How to Make Your Own in 5 Minutes)
Keep your needle handy when you’re sewing, cross stitching and embroidering with DIY Needle Minder Magnets! They’re SO quick and easy to make!

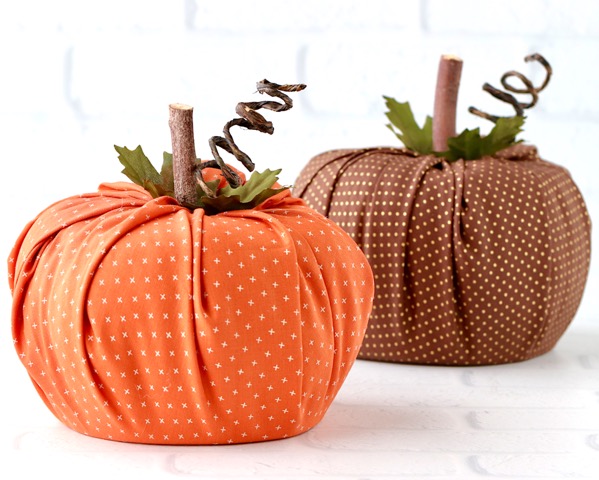
No Sew Toilet Paper Pumpkin Craft
These no sew toilet paper pumpkins are about as simple as can be to make, and will honestly take you less than 5 minutes to put together!
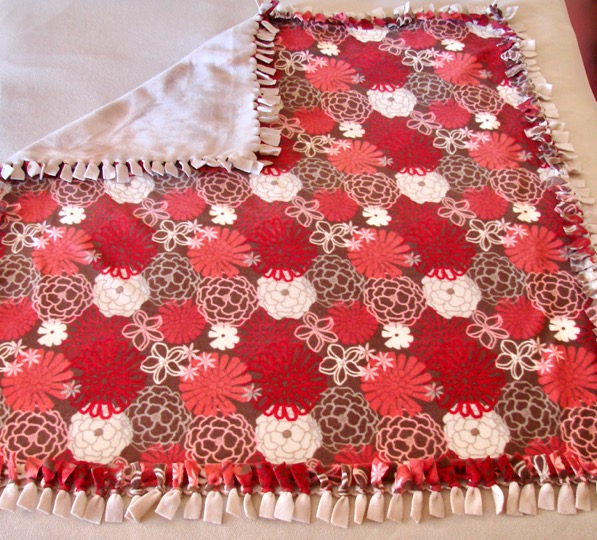
No Sew Fleece Blanket Tutorial
Create the perfect cozy blanket for a chilly day or make some extra special gifts with this easy No Sew Fleece Blanket Tutorial!
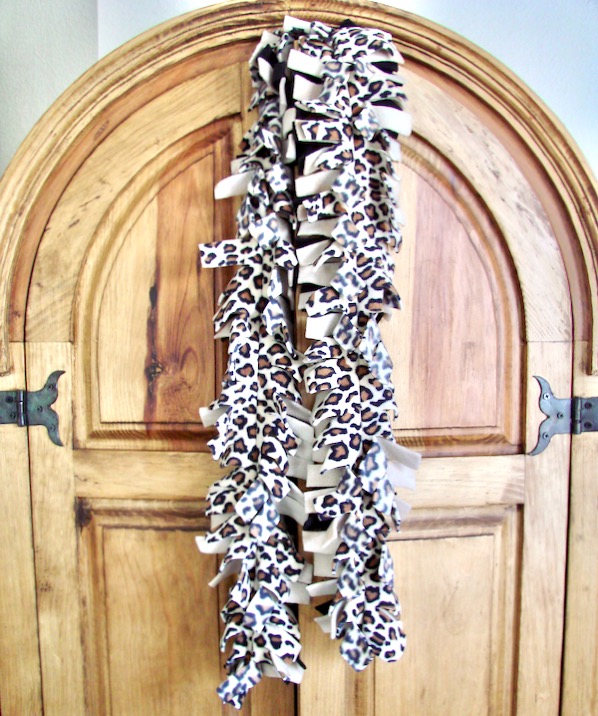
How to Make a Fleece Scarf with Fringes
When you know how to make a fleece scarf, you can afford as many scarves as you want!
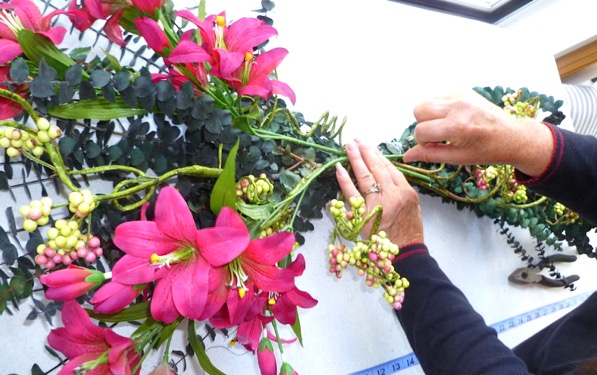
DIY Floral Swag Tutorial
Use this tutorial to create your very own budget friendly DIY Floral Swag… and enjoy beauty inside or out that will never wilt!
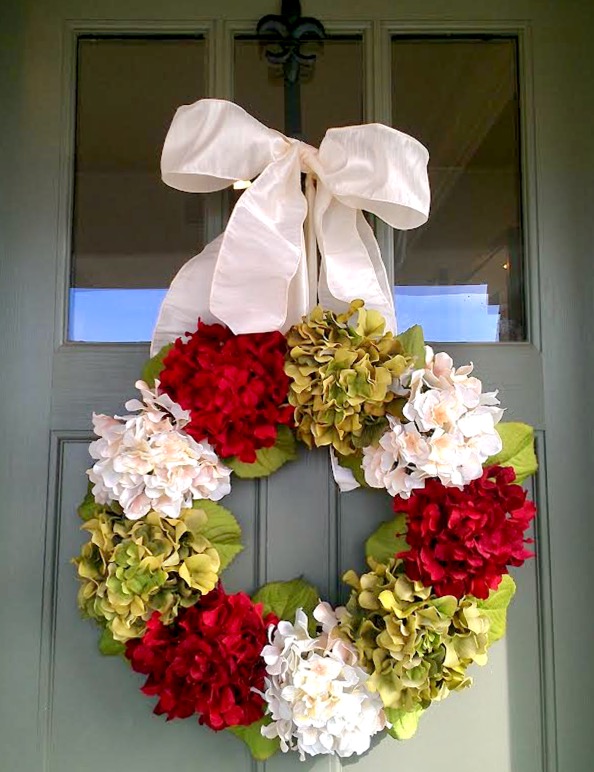
DIY Hydrangea Wreath For Front Door
Need to freshen up your front door for Spring? You can make this DIY Hydrangea Wreath for Front Door in just 5 minutes!!
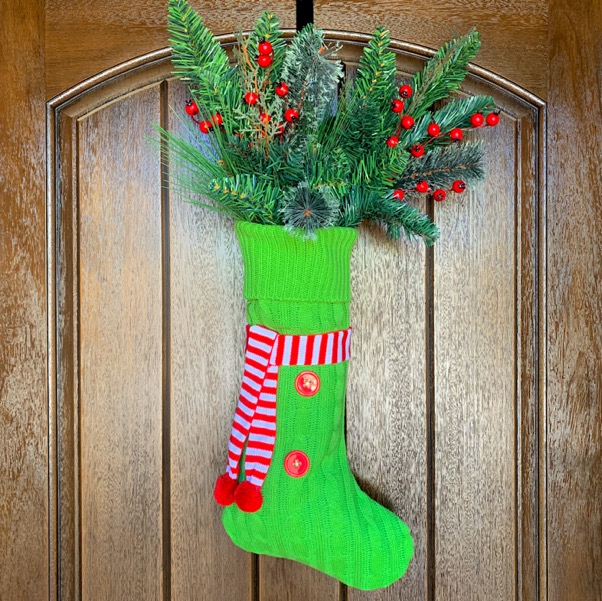
DIY Stocking Wreath
This cheerful Christmas DIY stocking wreath will make such a fun statement on your front door!
Fun Crafts To Do that Anyone Can Enjoy! (huge list)
There are Crafts for every season, holiday, and occasion ~ perfect for both kids and adults! So many of these ideas make great homemade gifts, too!
Photography Tips and Tricks For Your BEST Photos Ever!
Becoming an AMAZING photographer is easier than you think, thanks to these little-known Photography Tips and Tricks for your phone and DSLR!

101 Gifts in a Jar Recipes
Get ready for one humongous gigantic list of homemade gift giving inspiration!
Frugal Gift Ideas for Everyone on your List!
Score frugal gift ideas for the Kiddos, Teens, Dad, Grandma, Grandpa, Co Workers and more!
So have you tried this tutorial for How to Make Photo Coasters yet?
Leave a comment & share!


Hello,
Hoping you would still answer a question even though this is an old thread. Isn’t Mod Podge kind of white? So why are we spreading it on top of the photos? Wouldn’t that cover up the picture somewhat? Or does it dry more transparently than it looks when first applied?
Any insight from anyone would be helpful! Thanks, and happy holidays!!
Hi Lauren ~ Mod Podge is white when applied, but dries clear. You will still see the brush strokes from the application process, but it will dry clear.
Hope that helps! 😉
~ Heidi
Awesome! Thanks so much for replying. I’m not much of a crafter, but I’m giving these a try. Thanks for the great and CHEAP idea!
I love these!
I have a question…I did a ‘test’ coaster and gave it to my husband to use. He put a cup of hot coffee on it and the cup melted the acrylic coating, causing the coaster to stick to the cup! I had let each coat dry 24 hours and the last coat for two days. Can you not set hot cups on the coaster or did I do something wrong? Thanks!
Love the idea. I tried this using tiles with some white porcelain tiles and transparency paper. This was for my gf who is going to dental hygeine school. The transparencies were printouts of teeth radiographs (xrays). When I glued them to the porcelain with Mod Podge, it would not dry.. even after several days. I think this is because I was gluing a non-permiable surface to another non-permiable surface. So, I tried a non-water-based glue (Elmers All Purpose Spray Adhesive) for them. It worked ok. I allowed it to dry (3-4 hours) and then did the sealing with an acrylic sealer. I did probably 10 coats. Ultimately it was a huge failure. I’m not sure what happened but about a week after completing it those I gave them to said they were leaking water. Odd considering the only thing I used that was water was the acrylic sealer.. unless the liquid was actually some kind of silicone or something from the Elmer’s glue.
So why use the transparency? When I print the radiographs using regular paper or even photo paper, they don’t have that… “pop” The Transparency against the white background looks AMAZING. Pitty I can’t get it to work right.
Could you color copy the transparencies & get the “pop” you were going for or we’re they black & white transparencies? Just a thought.
hello i would like to glue, stick fabric and pictures to glass like glass jars and candels in jars. how and what would i need?
I’m currently making these for a friend as a wedding present, and I say currently, I’m letting the mod podge dry underneath the pictures as I type this! I want to be sure before I continue on…. once they’re dry and the pictures are stuck to the tile, do I just apply the mod podge layer to the top of the photo, or do I do the entire photo just starting at the top??
Hi Rachel,
After they are completely dry with this first layer you’ve started, you’ll apply the Mod Podge over the entire top of the photo. Just make sure each layer dries completely before applying the next. Hope that helps! 😉
~ Heidi
I used free sample tiles from Home Depot…they are the perfect size for coasters!
I tried this but my photos smudged and the colors smeared and did not lay flat. What am I doing wrong? Thanks
Hi! I’m making these coasters as a gift for my grandmother. I have already pasted the pictures to the coasters bu was wondering if I put the Mod Podge all over the picture or just at the top? 🙂
I just posted the same question, it’s been a bit since you’ve done them, do you have an answer??
Did you use actual photo paper or regular paper? I am making this for mothers day for my mom of all her grandchildren.
Thank you for your help.
Hi Liz ~ I used actual developed photos on photo paper.
~ Heidi