This fun Mod Podge projects and guest post
comes from Amy at Mod Podge Rocks… enjoy!!
Mod Podge Projects: Citronella Lanterns Tutorial
Related:
- 14 Easy Mod Podge Crafts {fun gift ideas}
- Fun Crafts To Do that Anyone Can Enjoy! {huge list}
Hello! I’m Amy from Mod Podge Rocks. My blog is all about crafting – specifically with Mod Podge. I’m so delighted to be here at Frugal Girls.
I love Heidi’s blog (I’m a regular reader), and I completely believe in being frugal. While also maintaining cuteness. I also believe in using up everything from my craft stash, which brings me to my outdoor lantern.
I live in Atlanta, and during the summer the mosquitoes are BAD. And let me tell you, whatever mosquitoes like, I have in my skin. I am a piece of candy to them. So I use citronella lanterns when I’m outside – and I can get them at a great price from my local grocery.
There’s just one problem. They look like this.
Um, yeah – that’s not going to work for me. I need to Mod Podge it! Now you might be one of those people who doesn’t mind the metal, and if you are, consider dressing up your lanterns for a special occasion like a pool party. For myself, every day is a pool party (whether there is a pool or not!). Here’s what you need. Being a frugal girl, I used what I had on hand.
Gather These Supplies:
Citronella lantern
Mod Podge Outdoor
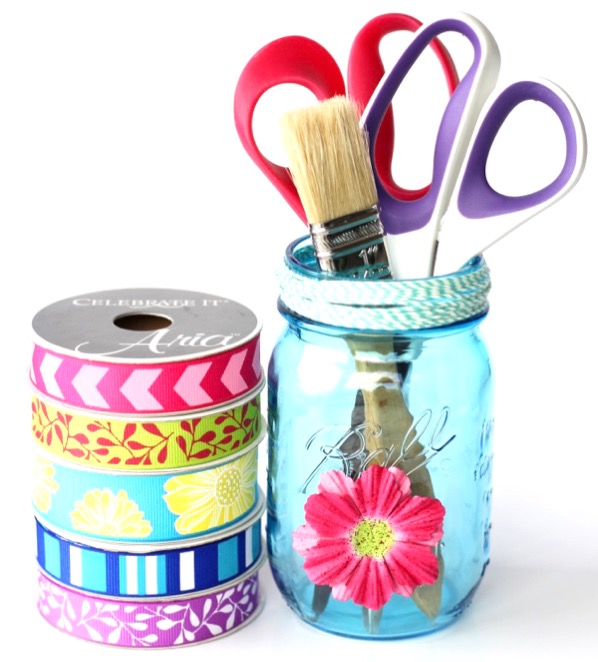
Fabric scraps (you could also use paper scraps)
Paintbrush
Scissors
Embellishments – flowers, a button, etc.
Clear acrylic outdoor sealer
Normally I would suggest that you “prepare” your fabric with Mod Podge before cutting it to prevent fraying. I always do that on furniture so that the edges are clean and the fabric is easier to Mod Podge down.
In this case, we’re dealing with a small item that’s going to go outside, so you don’t have to be as neat. Cut up a bunch of fabric scraps (or paper) into different shapes.
Using your Outdoor Mod Podge and paintbrush, start applying fabric squares to the tin. Paint a little bit on the surface, apply the fabric and then paint right over it. Super easy.
Note – Mod Podge looks *really* messy while applying. It dries clear! Promise.
The edges and around the handle might seem challenging, but just use your scissors and cut to fit. It all just comes together. Keep applying fabric squares until the tin is completely covered.
Allow to dry and then apply two more coats of Mod Podge. Allow to dry.
Use your Outdoor Mod Podge to apply embellishments. In normal circumstances you could use regular craft glue, but this puppy is going outdoors.
You want to be able to leave this outside and not get damaged. Let everything dry.
Here’s our finished lantern, all done and lit. Bye bye, mosquitoes! Sorry you can’t hang with me and my cute lantern. Not really. Oh, one more tip after you are finished. You are probably wondering about the flower and how you can leave the lantern outside without it getting damaged by the elements.
That is where the clear acrylic outdoor sealer comes in. You can spray the entire lantern with it and you should be good to go (though I still recommend bringing your lanterns in at night so they don’t fade in the sun).
Thanks to Heidi for having me. I’m always at Mod Podge Rocks if you need some fun (and frugal) crafting ideas or just want to hang with a girl who likes pugs and the color blue. Come by and see me when you get a chance!
You can never have enough creative ideas. Find even more Craft Ideas below…
14 Easy Mod Podge Crafts {fun gift ideas}
Create some Mod Podge magic with these easy Mod Podge crafts!
Fun Crafts To Do that Anyone Can Enjoy! {huge list}
Feeling crafty?? It’s time to get your Craft on and get inspired to do some fun crafts!
Home Decor Tips and Tricks
Give your home a gorgeous makeover with these Easy Designer Home Decor Tips and Tricks!
AmyB says
I think I will make a few of these to take along as thank you gifts when going to barbeques this summer. The hostess can use them right away! Anybody can bring a bottle of wine…not me!
Shannon says
What a cute idea!
Creative Mind says
wow..its smart..Amy is always Amazing with her Creative Tutorials,& this is such a easy peasy tutu..keep rocking friendzzzzz 🙂
Mod Podge Amy says
Great idea for the Father’s Day bucket – love it!! Thanks for the feature Heidi – yay. 😀
Heidi says
You’re very welcome, Amy! Thanks so much for sharing your fun project with all of us!! 😉
~ Heidi
Jennifer says
That is one cute bucket! I love it. I will have to keep this project in mind for sure.
Kathy says
I love this idea! Looks easy enough for even me to try. 🙂
Thank you!
Afrikka says
Super Cute..I am in GA as well and the bugs here are gross.I think I will make a few for the summer 🙂
Creacy says
Oh, that is SO cute!!!
Kendra says
ADORABLE!! I think the kids and I will be making sporty ones for Father’s Day!! Thanks for sharing 🙂