Create the perfect cozy blanket for a chilly day or make some sweet homemade gifts with these EASY No Sew Fleece Blanket Instructions!
Then… be sure to also try making this gorgeous Fleece Scarf with Fringes, too!
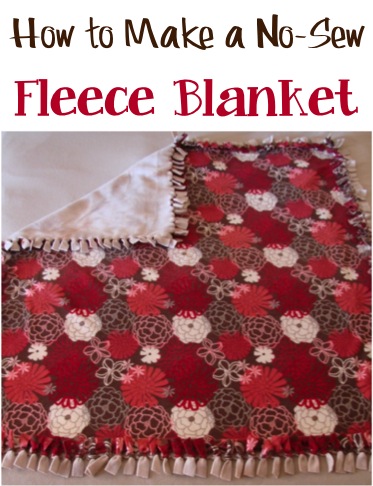
No Sew Fleece Blanket Instructions
There’s nothing cozier than being wrapped up in a soft, warm blanket, right? That’s why I know you’ll love this easy No Sew Fleece Blanket Tutorial!
Sherry writes: "They make great gifts! Made them for my family a few years ago and they still cuddle with them!! Just made one for my grand dog!!"
If you’ve been wondering How to Make a Fleece Blanket… they’re actually such a cinch to make!
Not only are they fun to add to your home as a cozy throw, but fleece blankets also make the best Baby Shower gifts, and Christmas gifts for kids and adults!
Plus, if you wait for the fleece to go on sale… they’re so inexpensive to make, too!
So what are you waiting for? Check out these simple step-by-step instructions and learn how to make a fleece tie blanket…
What Type of Fabric to Use for a Fleece Blanket?
Fleece blankets are so simple to personalize. Just customize your fabric choice for each individual with a fun pattern that suits their decor or interests!
Here are some print ideas to get you brainstorming…
- Animals
- Camouflage
- Character themes
- Christmas prints
- Floral patterns
- Nature prints
- Paw print for pets
- Plaid
- Sport Teams, etc!
What Type of Fleece is Best for Blankets?
Following are my two favorite choices of fleece fabric when making cozy no sew blankets…
- Blizzard Fleece {Polar Fleece – thick, heavy, and warm}
- Anti Pill Fleece {Polar Fleece – just as cozy as Blizzard Fleece, but slower to develop pill balls when washing}
Both are soft, so my first choice is always the Anti Pill Fleece.
It can be slightly more expensive, but if you wait for a sale, it won’t be much more at all.
Do I Need Batting for a Fleece Blanket?
Nope… no batting is required for these Fleece Tie Blankets. You’ll simply use two layers of fleece tied together.
Easy-peasy!
Supplies Needed for a DIY Fleece Blanket
Here’s what you’ll need…
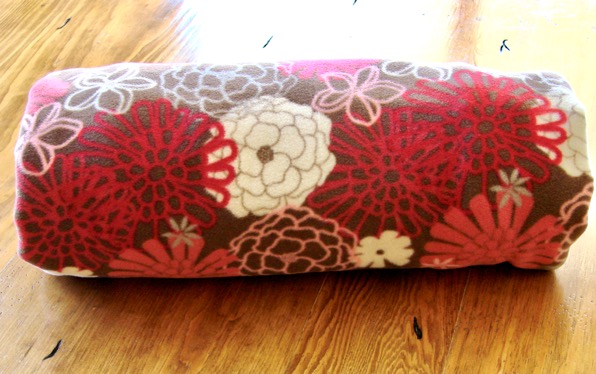
- Patterned Fleece
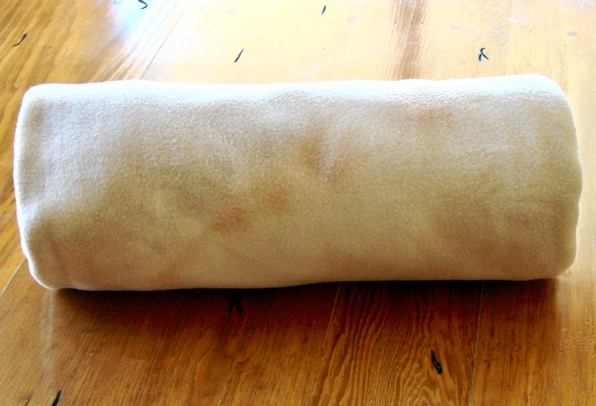
- Solid Colored Fleece
- Sharp Fabric Shears and Ruler… or a Rotary Cutter + Cutting Mat
How Many Yards of Fabric Do I Need for a No Sew Fleece Blanket?
For Small Blanket: (for babies, small kids, or pets) – 1 1/3 yards of Patterned Fleece + 1 1/3 yards of Solid Fleece
For Large Blanket: (for teens or adults) – 2 yards of Patterned Fleece + 2 yards of Solid Fleece
How to Make a No Sew Fleece Blanket
Here’s what you’ll do…
1. Line up both pieces of fleece. (with the ‘wrong’ or ‘dull’ sides facing in towards each other). Then lay that down on a flat surface. (floor, dining room table, etc.)
2. Trim off any extra pieces, so your layers are nice and even, then carefully smooth out any bumps.
3. Now cut a 4″ x 4″ square from each of the four corners.
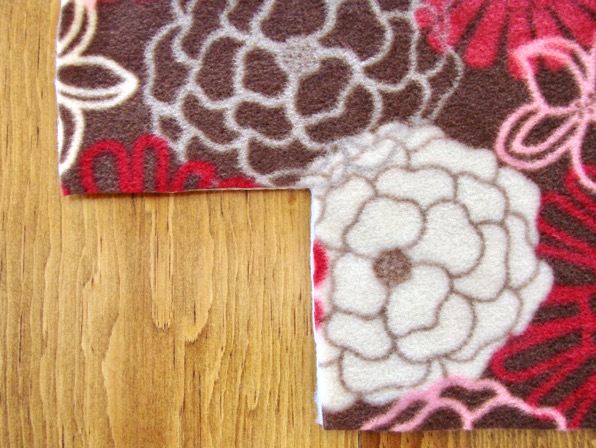
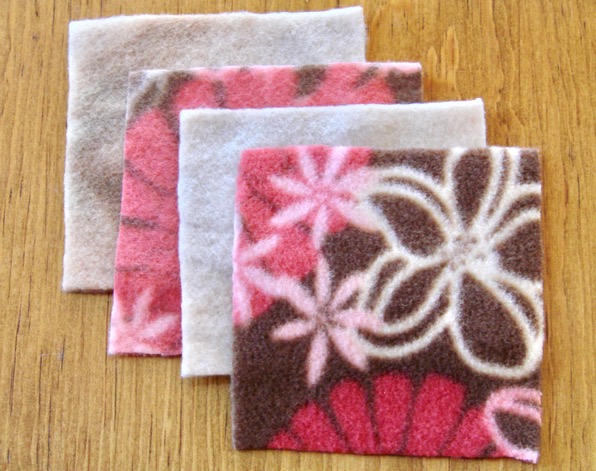
4. Don’t toss the squares ~ I used my leftover fleece as backing on my Photo Coasters Craft Tutorial!
5. It’s time to start snipping! And speaking of snipping, I used to have a border collie named Roy that went bazerko every time I used a pair of scissors. He would run around the house like a crazy man, then come back for more.
The fixation got so strange, that we could just say the words “snip snip”… or just be completely silent and pretend to be cutting like a scissors with just our fingers, and he would go WILD!! 😉 Meet Roy…

Anyhoo… now back to the blanket ~ we’re getting sidetracked here!
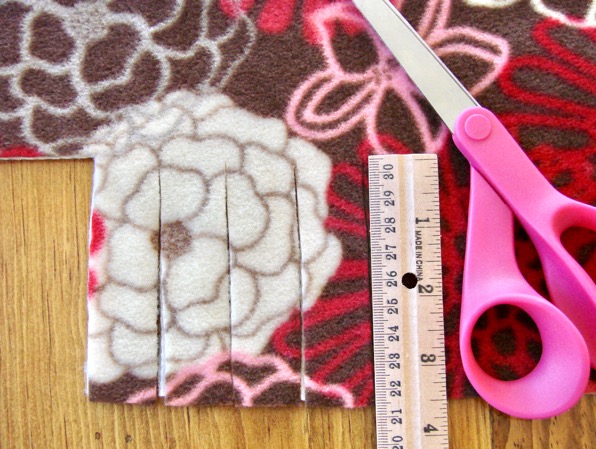
To cut the fringes, you can either use a rotary cutter with a cutting mat, or if you don’t have one… simply use a ruler and sharp fabric scissors. I used my Fiskars Fabric Shears.
Pro Tip: Never use your fabric scissors to cut paper, as they’ll quickly become blunt. Designate them as fabric scissors only, and they will work like a charm!
6. Cut each fringe about 1″ wide, and 4″ long. (I went just under 4″, because I didn’t want my fringes to be too dangly.) You can even take a piece of masking tape at this point and tape it down across the blanket as your guide, so you don’t cut up too far.
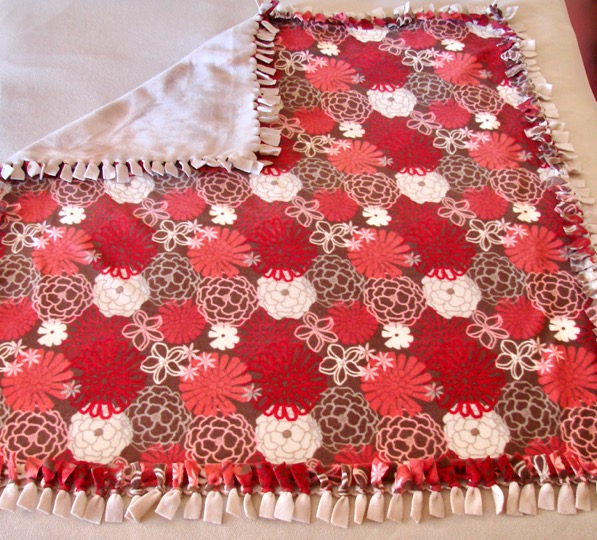
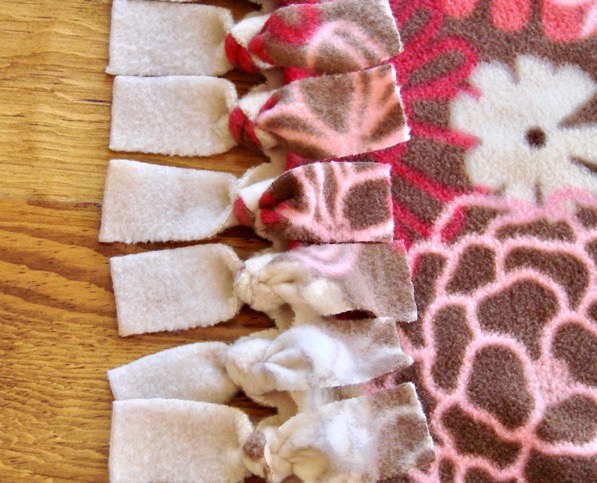
7. Once you’ve completed the cutting, it’s time to start tying those knots! You can do a simple knot, or even try a different style of knot… on this blanket I did the right over left knot, then left over right knot on each section.
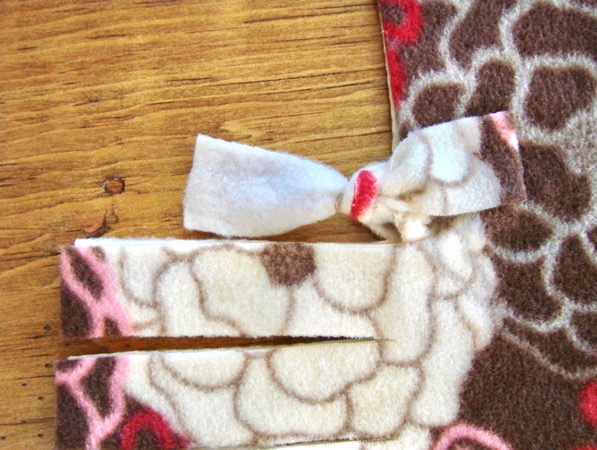
I guess it’s called the ‘Square Knot’? Whatever knot you choose, just be sure to double knot each time, so they don’t come undone. 🙂
And there you have it… an easy handmade gift! Have fun picking out your fleece ~ these are so many fun and pretty options!
I even made some manly ones for my little boys, and let them pick out the fabric.
One chose a deep dark blue with fish, and the other chose some green/tan camouflage fleece. That’s why I chose this fabric here, just to keep things girly in my own personal world. 🙂
How to Wash a Fleece Blanket
We’ve had a LOT of fleece blankets in our home over the years, and here is what I’ve learned to work the best when washing fleece to keep it soft…
- Use Only a Small Amount of Detergent
- Cold Water
- Gentle Cycle {with Lower Spin}
- Tumble Dry Low Heat
No Sew Fleece Blanket Reviews
What Your Frugal Friends Are Saying About This No Sew Fleece Blanket Tutorial…
Sherry writes: “They make great gifts! Made them for my family a few years ago and they still cuddle with them!! Just made one for my grand dog!!”
Joyce writes: “We love them! Easy project!”
Mar writes: “I made one for each of my daughters and they love them!!!”
Nicole writes: “So fun and easy to make, and warm!”
Suzy writes: “I make these for baby shower gifts as well as for gifts for family and friends”
Ellen writes: “I make these blankets ALL THE TIME!!! They are awesome holiday or birthday or anytime gifts. I enjoy making them!!!”
Nadine writes: “They are easy to make, and so nice”
Danielle writes: “My kids love these blankets. They have at least 3 – 4, over the years the characters have changed. I made my daughter one for her college last year for Christmas.”
Dianna writes: “Great gifts for the guys if you get the sports team fleece!”
Deborah writes: “Love these! So easy to make and everyone loves them!!!”
Pamela writes: “Fast and easy to learn, and make great Christmas gifts!”
Marie writes: “My daughter made several as gifts for friends. It’s super easy to make and you can make any size. It’s great for folks that have to go to their kids’ sports throughout the cool seasons.”
Lisa writes: “We were given one of these as a Christmas gift a few years ago and still use it – so warm & cozy!”
Jennifer writes: “I’ve done them 2 or 3 times! So fun, easy and simple!!!! They’re awesome for littles… so soft and comfy! I’ve given two as baby shower gifts!!!”
Mills writes: “I have made so many of these as gifts! (pillows too!!)”
Jessica writes: “I just made a blanket with matching pillows for my nephew. You can do any size pillow and I just cut about about 3 inches longer on each side of the pillow. I made 18 inch pillows so I cut the fleece at about 25 inches. Tip for pillows: watch the clearance section at stores like Kohl’s and stack the coupons on top of the clearance to get high quality pillow inserts for under $5.”
More Fabulously Easy Crafts
So are you ready for even more fabric inspired crafting ideas??
Get inspired with these fabulous Craft Projects and tips below…
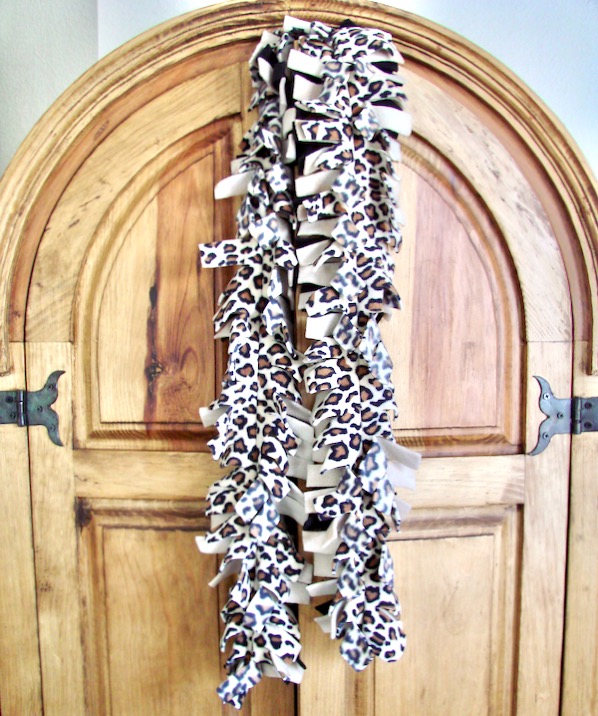
How to Make a Fleece Scarf with Fringes
When you know how to make a fleece scarf, you can afford as many scarves as you want!
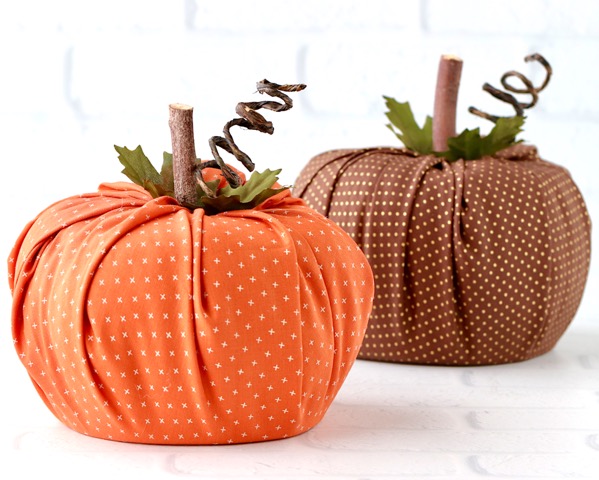
No Sew Toilet Paper Pumpkin Craft
These no sew toilet paper pumpkins are about as simple as can be to make, and will honestly take you less than 5 minutes to put together!
Needle Minder Magnets DIY (How to Make Your Own in 5 Minutes)
Keep your needle handy when you’re sewing, cross stitching and embroidering with DIY Needle Minder Magnets! They’re SO quick and easy to make!

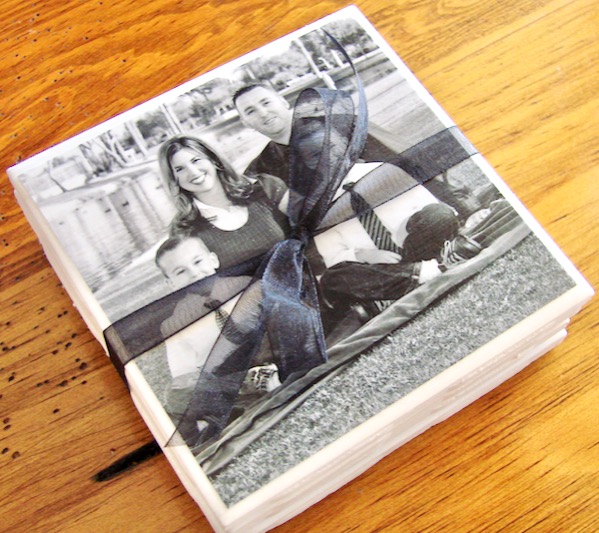
How to Make Photo Coasters
These easy DIY Photo Coasters start with a simple tile, and transform into sweet keepsakes that make great thrifty gifts!
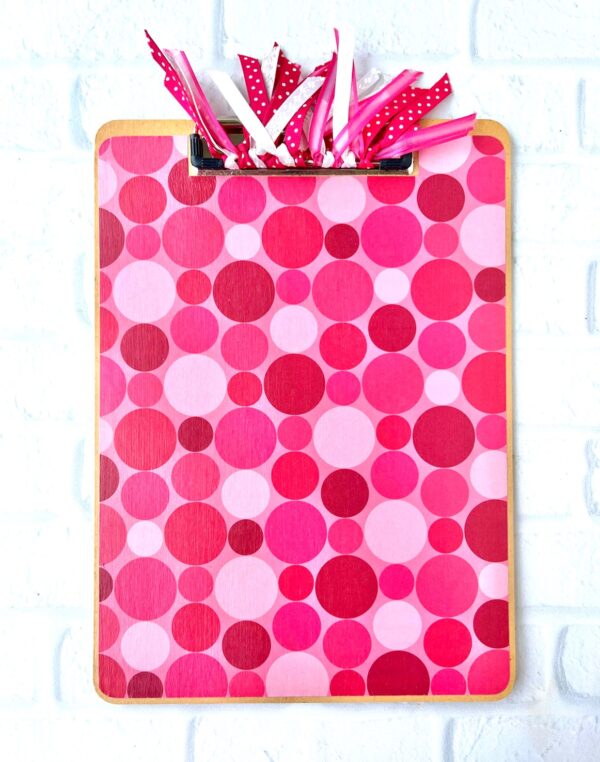
Clipboard Crafts (DIY Decorating Clipboards Ideas)
You’ll love learning How to Make Customized Decorative Clipboards with these easy DIY decorating ideas for clipboards!
Homemade Soy Candles
Have you been thinking about making your own candles? I’ve got to tell you… Homemade Soy Candles are so easy to make!
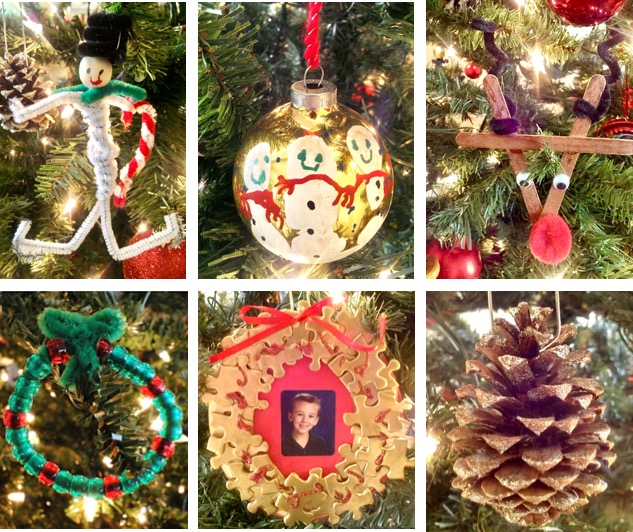
10 Easy Christmas Ornament Crafts for Kids
Nothing beats homemade ornaments by the kids. These are my favorite ornaments that I’ll treasure forever!
BIG List of Easy Craft Projects
Feeling crafty?? It’s time to get your Craft on and get inspired to do some fun crafts!
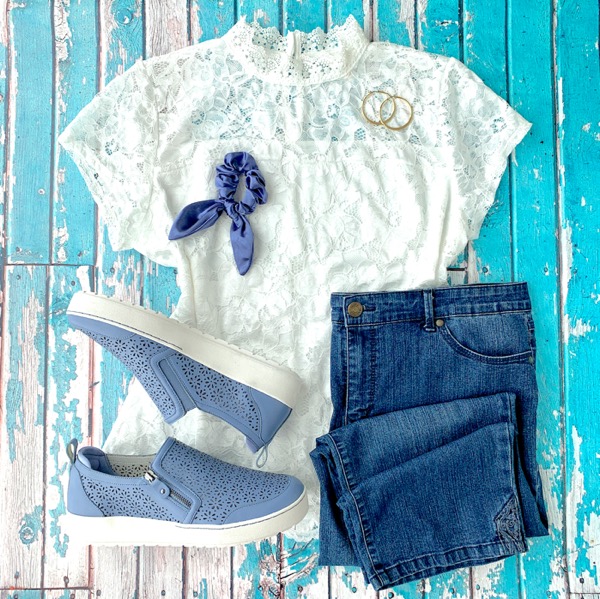
Frugal Fashionista (Today’s Top Deals to Save BIG!)
Get ready for some seriously sweet Frugal Fashionista Deals and Tips to save you more money!
So did you try making a blanket with this No Sew Fleece Blanket Tutorial yet?
Leave a comment & share!


“I absolutely love how you’ve detailed every step of the no-sew fleece blanket process! The idea of adding character-themed fabrics is genius—I’ve seen firsthand how popular those are with customers. Do you find that Blizzard Fleece is preferred for its thickness, or do most people gravitate toward Anti-Pill for easier care? Great post—I’ll be sharing this one!”
Hi Jason ~ here’s what I’ve found when comparing the types of fleece…
Blizzard Fleece {Polar Fleece – thick, heavy, and warm}
Anti Pill Fleece {Polar Fleece – just as cozy as Blizzard Fleece, but slower to develop pill balls when washing}
Both work well, but I usually first opt for Anti Pill Fleece. It can be a bit more expensive, but will wash up a little better. Hope that helps! 🙂
Just found this online when looking for baby blankets. I’m crocheting one for my daughter and baby to be, but I wanted a warm one to give her as well. This looks like such a good idea. One question, though. Do the two pieces of fleece separate at all? I guess I’m thinking especially when washing. And by the way, border collies are smart but very neurotic lol. I had one that was like that too. sweet, though. Thanks for the idea!
Hi Joanna,
These blankets are great for babies! They’re very warm and cozy. I’ve made several and washed them over and over and over… I’ve never had the pieces of fleece separate. Hope that helps!
That’s so fun that you had a border collie, too! Aren’t they crazy, silly, and SO sweet? 😉
I have seen where people are an X from corner to opposite corner of they are after of separation.